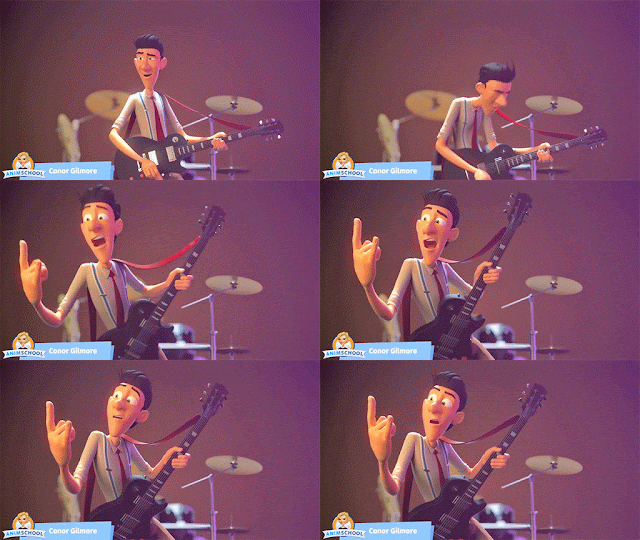
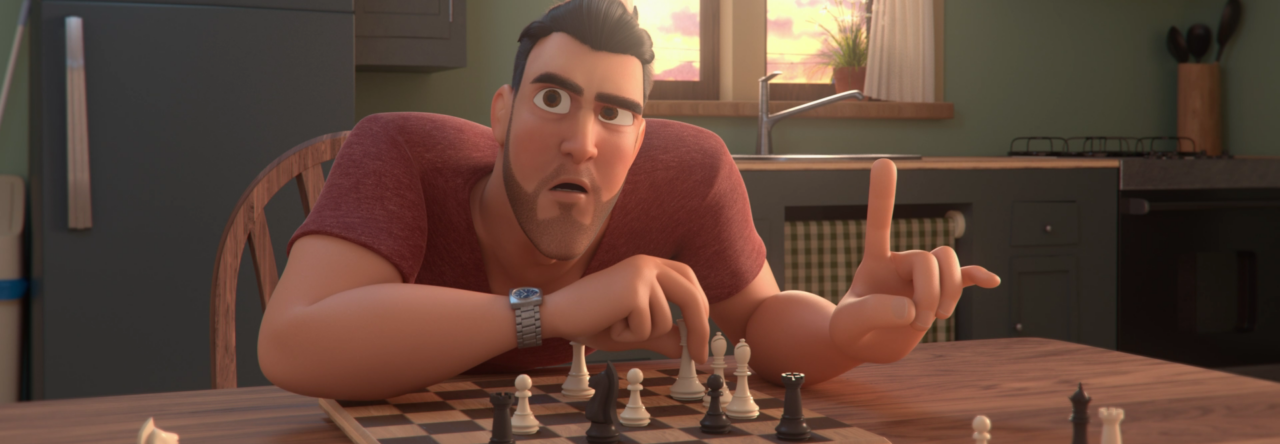
Stepped and spline refer to the way your keyframes are interpolated in an animation. Stepped means that there is no change in values between two keys. With spline, the computer automatically adds in-betweens values between two keyframes.
Most 3D animation is splined in the end, making smooth motion, but there are two main ways of starting out when animating. So stepped and spline also refer to two different workflows.
With Stepped, you focus on key poses and only work on those keys. When you hit play, the software plays it like a series of drawings.
Pros
 The biggest benefits of working in stepped mode is that you can really focus on the key poses for your shot. Since the software doesn’t interpolate between any of the keyframes, stepped mode allows you to keep your shot very clean in a way that you can tell the story of your animation with a small amount of keyframes.
 Cons
The biggest drawback of stepped mode is that it can be hard to envision how your timing is going to turn out. Animators fill in more and more poses as they go, but there is a point when you have to leave the stepped world behind and convert the curves from stepped to spline. That’s a simple click, but seeing your hard animation work that way is nearly always a disappointment.

If you are an animator, you’ve probably seen how an animation loses its snappiness when going from stepped to spline. This is because your brain had been filling in the gaps but now the computer interpolates between each keyframe. The simple version you were used to looking at wasn’t a very complete representation of the movement. It’s the time when you get a big surprise seeing it with fluid motion – and it’s never a pleasant one!
Spline:
Another method of starting out is skipping the stepped keyframes
entirely and having smooth movement from the very beginning, where you
focus on the overall movement of the body and don’t worry about the
poses yet.
You start by moving the rig’s root control or COG (center of gravity) to find the movement of the scene in a fluid way. Then you layer in the spine and head’s motion, and the limbs.
Pros
 Spline gives you the possibility to work more straight ahead and feel how your animation is going to look already in the early stages of blocking. You skip the painful process of getting used to looking at simplified stepped movement, only to hit the hard reality of the ugly “first spline” phase later.
If the movement doesn’t feel right, it is easy to shift individual keyframes around until you get what you are looking for.
Cons
It’s easy to get distracted by the interpolation of the keyframes and not focus on posing when using splined curves to block out a shot. It may also be hard to work in a clean way – the keyframes aren’t neatly organized on individual frames – they are scattered all over.
Since you’re not spending time on making beautiful poses up front, the posing can suffer and feel like an afterthought.
Students can have a difficult time learning with a spline method, since they get used to seeing bad motion and aren’t able to see how to improve it, and instructors aren’t able to see which timing decisions were made consciously and which are just the raw computer interpolation. At least with stepped blocking, an instructor knows exactly what the student’s posing and timing decisions are and can give specific ways to fix it.
 Spline workflow is often associated with faster productions since the motion is worked out earlier, and it avoids that two-step process. But it is also associated with lower production values because of that.
However experienced animators can achieve excellent results with a spline workflow as well since they know how to overcome these issues. Now spline workflow is used at all ranges of quality, from the cheapest animation to the very best animation.
Although one method might be better than the other depending on the shot being animated, choosing stepped or spline comes down to personal preference. It is important to try both of them out and determine what’s better for your type of workflow.
|
|
Happy animating!


Leave a Reply