In this video from Maya Keys series, professional instructor Justin Barrett explains the second important Maya key in setting an animation setup called, Breakdowns. He explains the role of breakdowns keys in 2D animation setup in the past and what their function is now in a 3D dominating world.
Visit www.animschool.edu for information regarding our animation program so that you could learn more such tricks and tips from our professional animator instructors.
One way to get better at character animation is to develop your eye for great, appealing animation. It is very helpful to look at the work of master animators for reference and inspiration, and in this clip, instructor Anthea Kerou walks us through a scene from the animated film Hotel Transylvania ( by Sony Pictures Animation ) and shows us how the the shot skillfully utilizes anticipation as well as other animation principles to tell a story. This clip is from Introduction to 3D Animation, which is our first introductory course in 3D character animation.
For more information about AnimSchool and our online animation programs, visit us at www.animschool.com
One helpful animation workflow method that many students don’t learn about until they take more advanced courses in animation is the use of Animation Layers. Animation layers are extremely useful for making non-destructive changes to parts of your shot while maintaining the animation that is working well. Animation layers are used mainly in the spline phase when you’d like to (or are directed to) make adjustments to certain portions of your animation, or you want to try out different poses and motions. They can save you a lot of time and effort when you’re making changes, and help make you a more efficient animator overall. In this clip from a Body Mechanics class, which is our third introductory course in 3D character animation, instructor Tony Mecca does a great job of explaining the fundamentals of how Animation Layers work by relating them to layers in Photoshop, and showing an example in Maya.
The following are covered in this video:
How animation layers work
How to set them up
How to tweak your animation with keys in the animation layer
How to adjust how much the animation layer affects the base animation
How to merge the new animation with your base animation
For more information about AnimSchool and our online animation programs, visit us at www.animschool.com
Created by animator Alan Camilo, aTools not only enables you to easily select sections of a rig quickly but also stores lots of handy tools in one convenient place. It makes your work flow faster and it’s very easy to install; just drag and drop it into your Maya viewport!
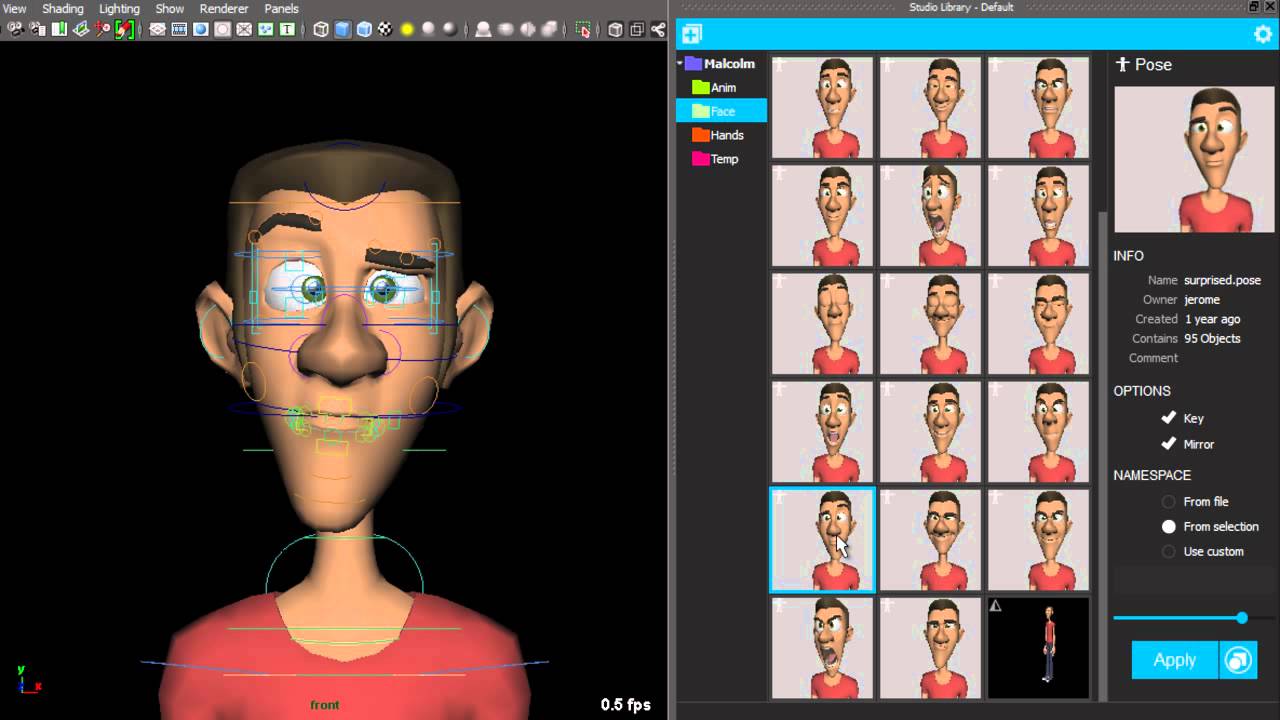
This plugin allows you to save out your character poses and also export your animation. Creating a good character pose can take a lot of time, but being able to save those poses and find them again in a hurry can save a great deal of time and work. Apart from saving poses, Studio Library also lets you mirror them and organise them into folders of your choice!
This plugin lets you save and label poses and current selections to your shelf by just pushing one button! Pose2Shelf comes in handy not only when you have to set a lot of keys on your shot but also when you are transferring a lot of animation onto characters!
The AnimSchool Picker is a plugin that provides a GUI for selecting rig controls or geometry on 3D characters more quickly.
It is tightly integrated into Maya and Softimage, highlighting when you make a selection in Maya, as well as picking from the buttons.
Users can zoom and pan using standard Maya/Softimage navigation hotkeys, make single or multiple object buttons and make script/command buttons.
The AnimSchool Picker also gives you the possibility to move buttons or groups of buttons with the control key, nudge buttons precisely with the arrow keys and arrange and distribute buttons horizontally or vertically.
In this opportunity, we had the pleasure to have a Video Interview with one of our students, Allen Ostergar.
Allen is an Animation Student who has just finished an Internship at BlueSky Studios. He talks about what made him choose an online school like AnimSchool, his inspirations and some other activities he’s been doing besides animation!
He shares with us his Internship Reel and some cool stuff he has learned during his time at BSS, so you won’t want to miss it!
Hi Daniel! Can you start by telling us a bit about yourself, like your background, where you’re from and experience before AnimSchool?
I’m from California, The Sacramento area. I originally went to Expression College and studied animation and visual effects. I didn’t focus on animation initially but more of a generalist role learning a little of everything. Only near the end of my time there did I focus on animation. Later I worked over at Adhesive Games as an animator and wanted to polish my animation skills more and do some shot animation. I looked for a good school and that’s when I found Animschool.
Who are the animators that inspire you?
It’s hard to choose, I get inspired by all the animation I see. One animation that sticks out for me is Ryan Woodward’s “Thought of You”:
I love the movement and expression that he conveys with simple gestures. I also view Wayne Unten’s blog and love his simple quick animations. Its creative animations that make me just want to buckle down and get my own done.
Can you share your process from start to finish on your shots for the body mechanics class?
This was a really fun assignment. I started with a brainstorming session. I knew I wanted to get the most out of this animation that I could. I took some time to come up with a clever and fun way to tell a story. I made a web with all my ideas and how they could be done differently. I went through quite a few ideas before settling on this one. The next step for me was to plan out my shot, I didn’t want to build any props if the idea was going to fall flat. A few thumbnails later and I was confident enough to get into Maya a build my scene.
Thumbnail drawings for Daniel’s body mechanics assignment
I built the tree house trying to keep it simple as I could so it would match the character. I left out the rope till later and just imagined it as I animated.
Then I filmed reference. I didn’t have access to a rope swing so I found some reference online for that. I did have my brother and a friend drag me around the floor to get reference for the end:
After some notes on my idea in class I began to block out my scene. I did the main story telling possess at first and from there broke down the physicality of the movements. Then it was on to more blocking! I got it down to 3’s for most of it, I think, before I moved into spline.
Of course I had lots of notes from my teacher to improve my work. In the polish stage I would do a pass then play blast and write down everything that I could see and then do another pass. Then repeated that step a few times more. After I was happy with it I modeled and rigged the rope and put it in.
Continuing on that, your facial expression shot is very emotional, and the character really shows that. How was the process to convey such subtle internal feelings on the character, from start to finish?
My facial performance shot was a challenge. I had several different ideas and quite a few sound clips. I really tried to get into the head of the character. I explored how she would act, not just what she was saying. I wanted her body and face to tell what she was thinking as she said the line. Again, I shot a lot of reference. When I got into Maya and started posing I really took the time to sculpt each pose.
But after a round of crits I had to rethink my acting choices. I redid most of my shot and tried to catch up to the class. I was a bit nervous at this point because I had a long shot and had already been set back but I knew the changes really helped. In spline I actually did some exploration of subtle acting choices to find the ones I thought worked best. I was still behind schedule so I pushed through polish in a weekend!
What was the most valuable pointers that your instructors at AnimSchool gave on your assignments, in your opinion?
Planning pays off! If you don’t spend the time up front it doesn’t matter how well you polish a shot it won’t be as good. You need to lay the foundation of a shot and how its framed and how it plays out before you get started. Then you need to look at the foundation you just made and pick it apart and try it differently. Then you know you’ve got something good. Another great bit of advice is that if it feels wrong it is wrong. It might be animated perfectly but if it doesn’t feel right then it’s not. On the flip side if it breaks the rig but feels great use it.
Any advice for your fellow students?
Don’t be afraid to start an animation over. When you do it the second time it will be faster and better!!

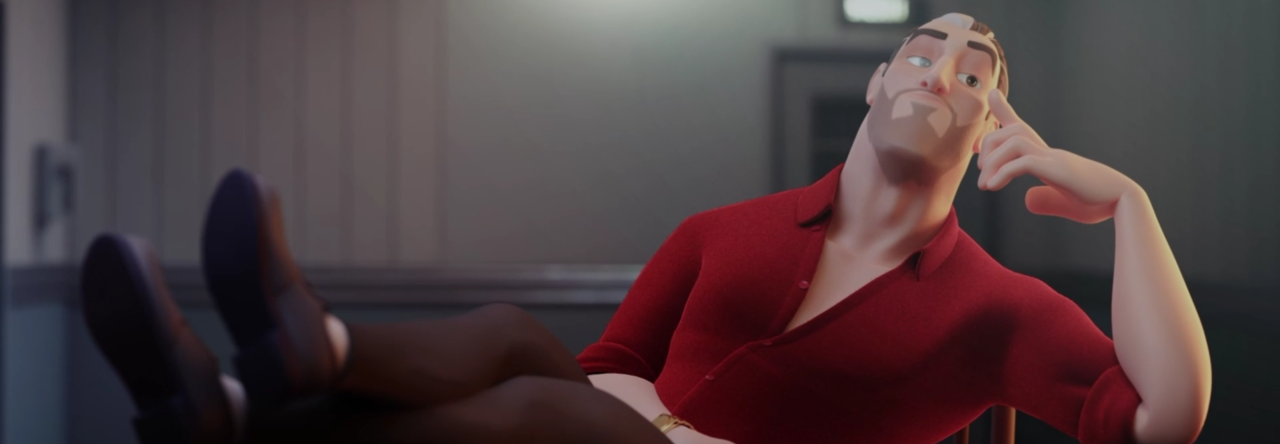


.JPG)
.jpg)
