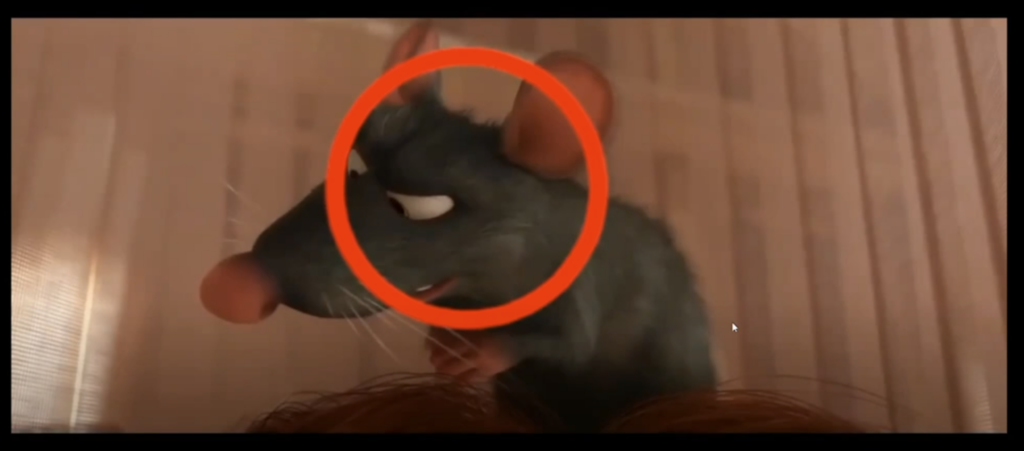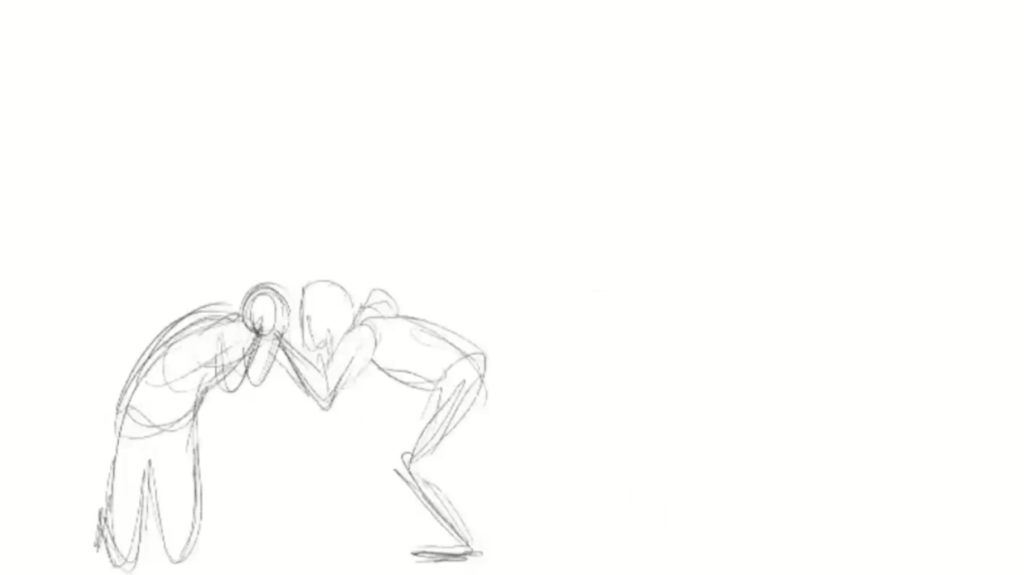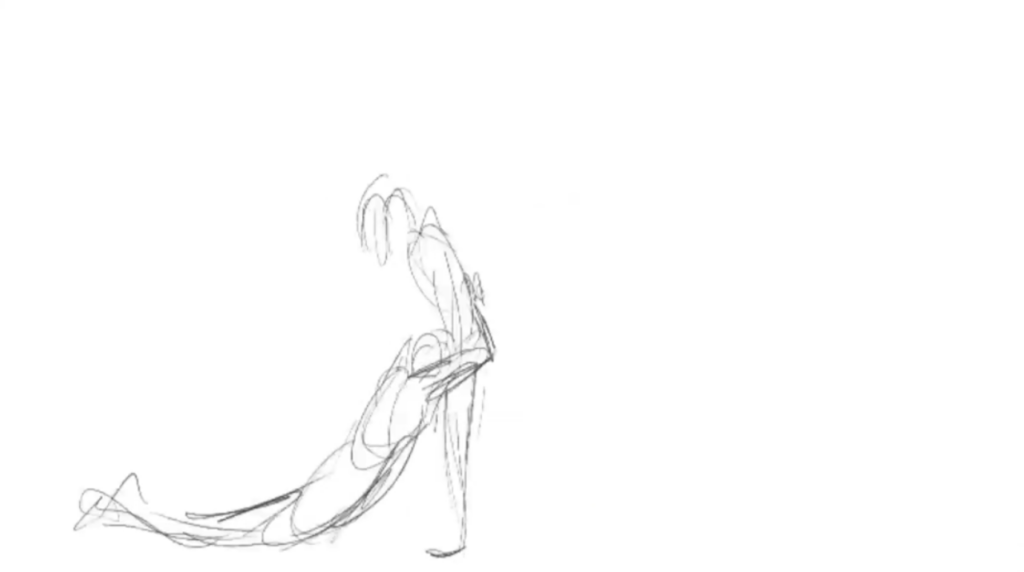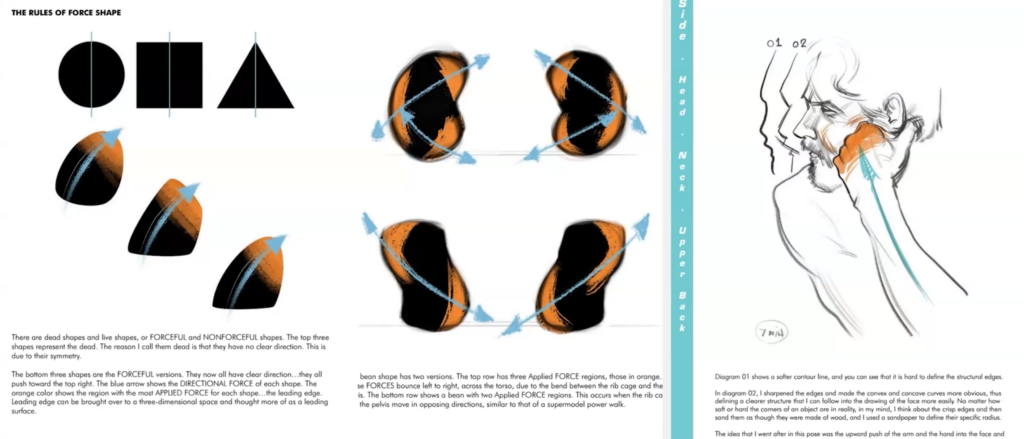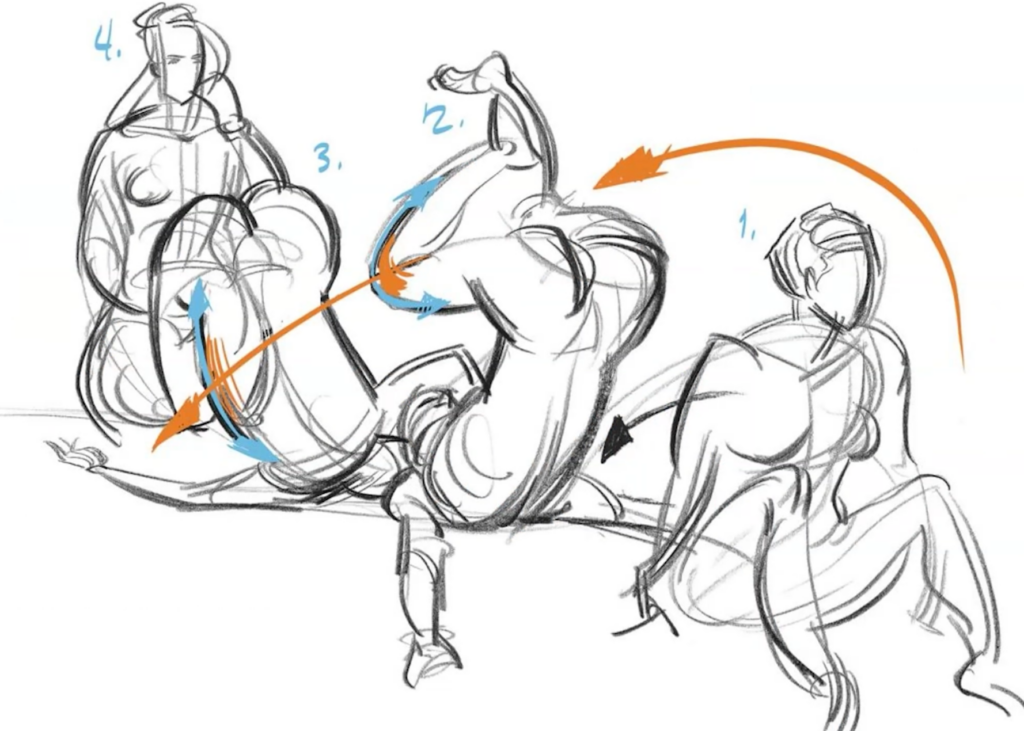
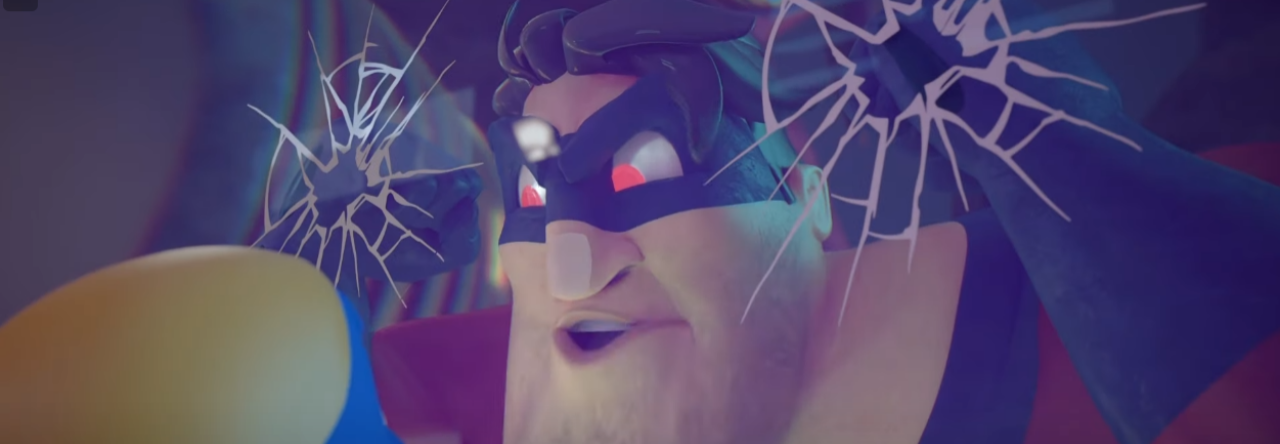
In this clip, AnimSchool student Igor Madeira shares his experience creating an animation using trending audio from the “Possessed by an Owl” meme, and offers some insight to his animation process from reference to final animation.
Igor explains that he was inspired by other people using the trending audio to reimagine the scene, and decided to utilize it as well for his own assignment. He mentions that he does not like to limit himself to just shooting one reference video; instead, he records himself multiple times, pushing the poses differently in each, and finds something new and worth referencing in each iteration.
Igor’s shot was featured in the 2024 AnimSchool Student Showcase, linked below.
Watch Igor Madeira’s full showcase clip here:
Watch the full AnimSchool Student Showcase Livestream here:
At AnimSchool, we teach students who want to make 3D characters move and act. Our instructors are professionals at film and game animation studios like Dreamworks, Pixar, Sony Pictures, Blizzard & Disney. Get LIVE feedback on your Animation from the pros. Learn more at https://animschool.edu/
In animation, anticipation is what will sell your character’s action and intention. Animschool Instructor, Gwilym Morris steps through the importance of anticipation in animation. Anticipation doesn’t just add drama and believability to an action, but, by anticipating an action or a thought, you are preparing the audience for what is about to come. Successful anticipation can drive a character forward in space but also a plot forward in energy. By taking a few extra frames to build believable and interesting animation through anticipation, your piece will feel faster, better-paced, and more interesting.
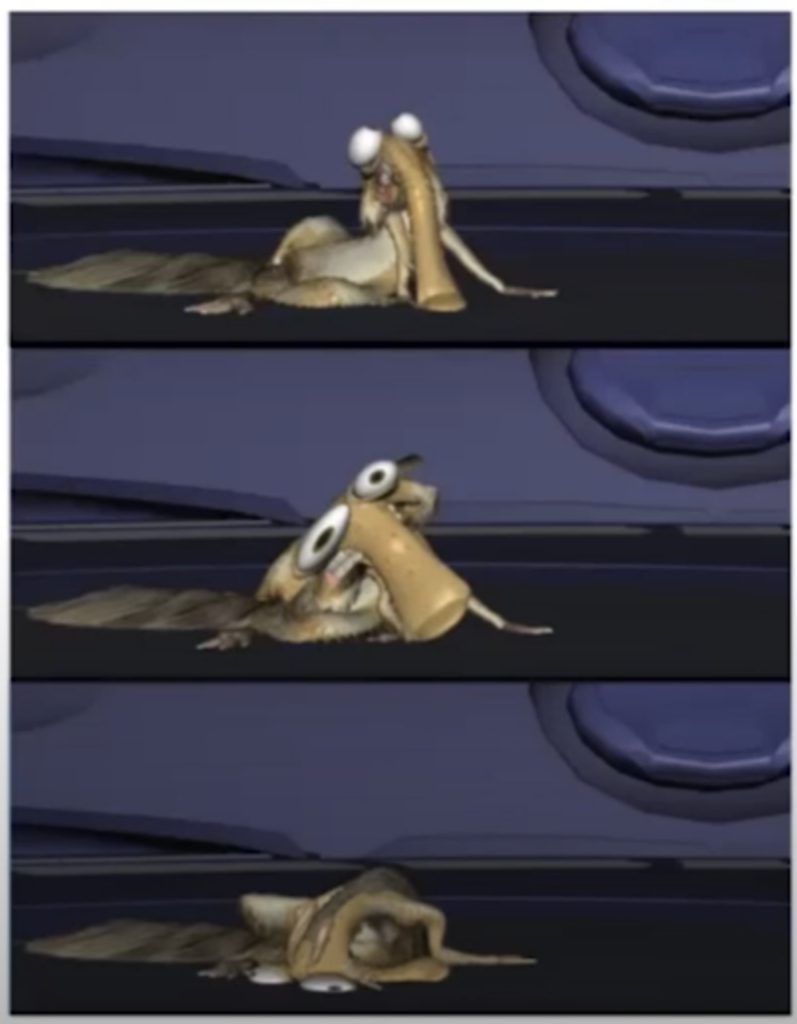
Animators use anticipation to prepare the audience for an upcoming event. For instance, when a character is about to move forward, they will move backwards first to help build up the momentum of the forward propulsion. By the same token, this prepares the audience for the motion of the character. A “surprise gag” is when the anticipation pose is left out altogether to create a feeling of surprise in the audience when the movement takes place.
Anticipation, in addition to preparing the audience, adds texture and movement to the animation by helping it become more believable. Consider a runner getting ready to spring into action and leap into the air; before the main action, they will stoop down and “compress” in order to prepare to spring up and move against the forces of nature and have a greater buildup of momentum.
Anticipation can also be used to direct the audience’s attention somewhere. If a character is reacting to something happening off-screen, the audience may see this as a cue to prepare themselves to watch and wait for the main action. Depending on the nature of the reacting character, the audience can infer and anticipate what sort of action is about to occur. However, using anticipation in this way can also be a tool to mislead the audience. The audience may perceive something as a heavy object due to the character reacting a certain way, when it is actually very light.
Watch the full clip from an AnimSchool lecture here:
At AnimSchool, we teach students who want to make 3D characters move and act. Our instructors are professionals at film and game animation studios like Dreamworks, Pixar, Sony Pictures, Blizzard & Disney. Get LIVE feedback on your Animation from the pros. Learn more at https://animschool.edu/
What is the role of an animator? Is it to have the best spline pass? Is it to have a masterful lip sync? At its heart, the role of an animator is to be a storyteller. As animators, we have to bring characters to life – but it’s our choices, how a character jumps, how a character sits, even how a character breathes – that tell the story underneath.
From a walk cycle to a dramatic all-out fight, every decision made by an animator can tell a different story. Similar to a painting, posing in animation is an integral part of storytelling, every frame gets sculpted, every pose is thought out and together the sequence can become a masterpiece.
In a snippet from a live AnimSchool class, Brendan Fagan takes viewers through the main role of an animator as a storyteller by explaining how the fundamentals of storytelling can be combined with the principles of animation to produce unparalleled animators.
The Role of an Animator
To help tell the story
To entertain the audience
To bring characters to life
Use acting skills to communicate ideas
Creating a variety of animation styles
To make adjustments according to feedback of directors or supervisors
Work to a deadline
Animators are actors! Understanding how to create appealing and entertaining poses to help communicate the story to the audience is a crucial part of an animator’s job. (Animation by AnimSchool graduate Catarina Rodrigues)
Telling the Story
You are writing a story with pictures; goal is to entertain the audience
A picture is worth a thousand words – an idea can be conveyed with a single image/single pose
Any good story has a beginning, middle and end – your animation should, too!
Know where your scene fits within the wider story; know where your character is coming from and going to so you can apply the overarching theme to your process
Each animator, if given a story, can come up with a different visual representation to best convey it
Avoid cliche ideas – make things unexpected!
Keep it simple!
What is the main character feeling here? What might the story be? What hints from his body language, facial expressions, etc., help to convey that? (Animation by AnimSchool graduate Piotr Jalowiecki)
Storytelling Factors
Stories generally have a three-act structure: setup, conflict/obstacle, and resolution. Even in short scenes, the three acts are still present, but may not be as noticeable or traditional with how they appear.
Reflect on some questions about the story you are trying to tell:
What is the situation?
Who is the character?
What is the character trying to accomplish?
What is the outcome?
(Animation by AnimSchool graduate Marcus de Andrade)
Considering this information and familiarizing yourself with the overarching story can help you become a better visual storyteller through your animation.
Watch the full snippet from an AnimSchool class lecture here:
At AnimSchool, we teach students who want to make 3D characters move and act. Our instructors are professionals at film and game animation studios like Dreamworks, Pixar, Sony Pictures, Blizzard & Disney. Get LIVE feedback on your Animation from the pros. Learn more at https://animschool.edu/
Establishing good practices in 3D modeling is crucial to ensure that the model deforms correctly during animation, allowing for smooth and natural movements of characters or objects. Additionally, clean topology facilitates easier modification and editing of the model, enabling artists to iterate quickly and make adjustments as needed. It not only improves the visual quality of the model but also streamlines the entire production process, making it an essential aspect of professional 3D modeling.
AnimSchool instructor Jackie Marion shows how she gets started in creating new 3D character models and discusses the workflow of a production modeler.
Creating a Head: The Forms When modeling a head, consider what different forms make up the overall shape of the head. Jackie advises against starting with a sphere – though it may be your initial instinct to start with a sphere, the grid-like topology and edge flow of a basic sphere primitive in Maya will work against the design of a face.
The head is typically much more than a sphere (though some stylized characters can have a very spherical head). Generally, the top of the head is egg-shaped, while the face and neck areas can be formed with cylinders.
Start Modeling When patch modeling a head, Jackie explains that she starts with a plane (subdivisions width 2, height 1). This plane has an edge running down the center which will allow her to maintain symmetry across the X axis as she extrudes new faces and edges from the plane. She typically places the plane somewhere near the center of the face, such as along the bridge of the nose, and then starts to extrude new segments that follow the form and contour of the face.
Jackie recommends to find a good rhythm as you place new sections – don’t go so far apart that you lose the form, but also don’t go too close together that you end up with too many edges and too much detail. Once she has formed a basic frame that wraps around the form of the head, she uses Fill Hole to start closing the gaps.
There are various alternative methods to closing these gaps, such as extruding the inner edges or using the Append tool, but Jackie mentions that she prefers to use Fill Hole so that she can add in the topology and edge flow afterwards with the Multi-Cut tool.
Jackie explains that the “rule” to follow here is to determine where the “corner” is, and build your edge flow from that. For instance, all edges on the left and in front of the corner might flow towards the back, while edges on the right and behind the corner might flow up and towards the left. Once you have established the rule for your own models, you can apply it to the other sections as well.
When building out the form of the face, remember that, even though you are only making the exterior “shell,” there is anatomy underneath that is informing the shapes you are building. This is what will help you achieve a realistic and believable look.
Watch the full snippet from an AnimSchool class lecture here:
At AnimSchool, we teach students who want to make 3D characters move and act. Our instructors are professionals at film and game animation studios like Dreamworks, Pixar, Sony Pictures, Blizzard & Disney. Get LIVE feedback on your Animation from the pros. Learn more at https://animschool.edu/
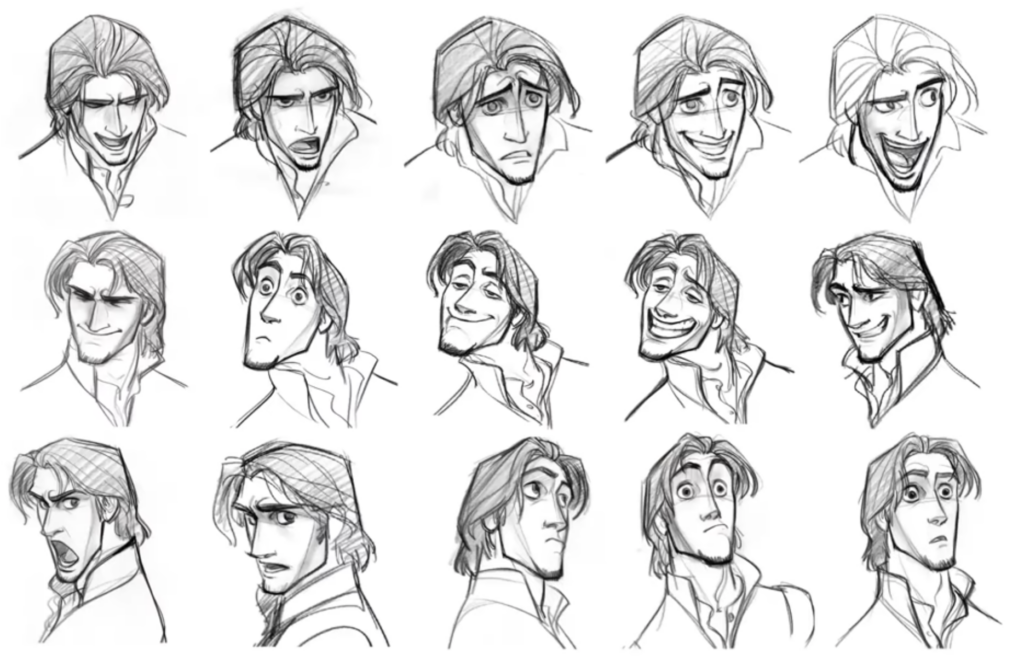
AnimSchool instructor Scott Guppy discusses the most common forms of storytelling structure, and how you can use it in your animation to convey a complete story.
By distilling your narrative to its basic structure, you unlock a compelling journey that resonates with your audience. Keep it concise, and focus on key elements. In simplicity lies the magic that makes your tale unforgettable.
Stories typically follow a three-act structure: Setup, Conflict, and Resolution. As with animation, these rules can be broken; however, we must first understand the rules
Act 1: Setup
Establishes a scenario that the audience can identify quickly. Ensuring that the audience can identify the situation quickly is essential for animators.
These are typically stereotypical settings (i.e. a western is set in a desert with older, rundown buildings)
The setup helps to relate important information about the story to the audience.
Act 2: Conflict
This part contains the story; the obstacle that the character overcomes in an escalating fashion.
It needs to be interesting and intriguing; otherwise, you will lose the audience’s attention – the ending won’t matter if the audience does not stick around to see it.
Act 3: Resolution
Contains the “gag” – the whole point of the story
Does the character win? Do they solve the problem and fail dramatically?
Story Tips
Archetypes and stereotypes are important in storytelling – while they may not be entirely accurate or correct, they contain generalizations that are helpful in conveying information quickly to the audience so they know what to expect from the story. Utilizing these generalizations can help keep your story simple and easy for the audience to follow. If you are not purposefully trying to confuse your audience, ensure that your animation is readable and clear!
Who is your main character? Dive into the mind of your character: gender, age, race, intelligence, emotional state, goals, dreams, etc. Visualizing your character can give you inspiration for what you want to convey with your story.
Juxtaposition: two things being seen or placed together with contrasting effect Juxtapositions are useful in creating a joke with the incongruity of two ideas. They can also be used in establishing an idea with a predictable outcome, then deliberately misdirecting the audience to an unexpected outcome.
Watch the full excerpt from a live AnimSchool lecture below:
At AnimSchool, we teach students who want to make 3D characters move and act. Our instructors are professionals at film and game animation studios like Dreamworks, Pixar, Sony Pictures, Blizzard & Disney. Get LIVE feedback on your Animation from the pros. Learn more at https://animschool.edu/
AnimSchool instructor Masha Juergens explores the process of getting into character from behind the camera.
Acting for animation is a unique art form, where animators bring characters to life not just with the use of technology, but through the use of their own physical and emotional performances. With boundless creativity, they craft compelling personalities that resonate with audiences of all ages, making animated worlds come alive on your screen.
Animators vs. Actors
Animators focus on externals in characterization and caricature (facial expressions, body movement, emotional reaction, etc.)
Actors, by contrast, learn specifically notto focus on these things because they are “results” – you cannot act results.
As an animator, you must understand what your body is doing, what your emotional status is, etc., and translate all of that into a digital space and onto a model.
The challenge comes from making your audience feel like your character is alive, not because they are moving around onscreen, but because they are thinking and have a personality that makes them unique!
You don’t have to be a physically great actor to be a great actor in your mind, and in turn a great animator!
Becoming a Better Actor
To get better acting in your animations, you must become a better actor. Get into the head of your character – try to figure out and better understand where they are from, what their personality is, what their motivations are, etc. It’s not just about portraying a clear external (happy, sad, etc.) – try to look deeper for an internal feeling, or consciousness. Identify the character’s emotional state and use the thought to drive the action, not the dialogue. When there is a change in the character’s emotional state, change the character’s main pose. Be careful here: don’t change poses simply because there is a new emphasis in the dialogue!
Adding Beats in Animation – Emotional Hang Time
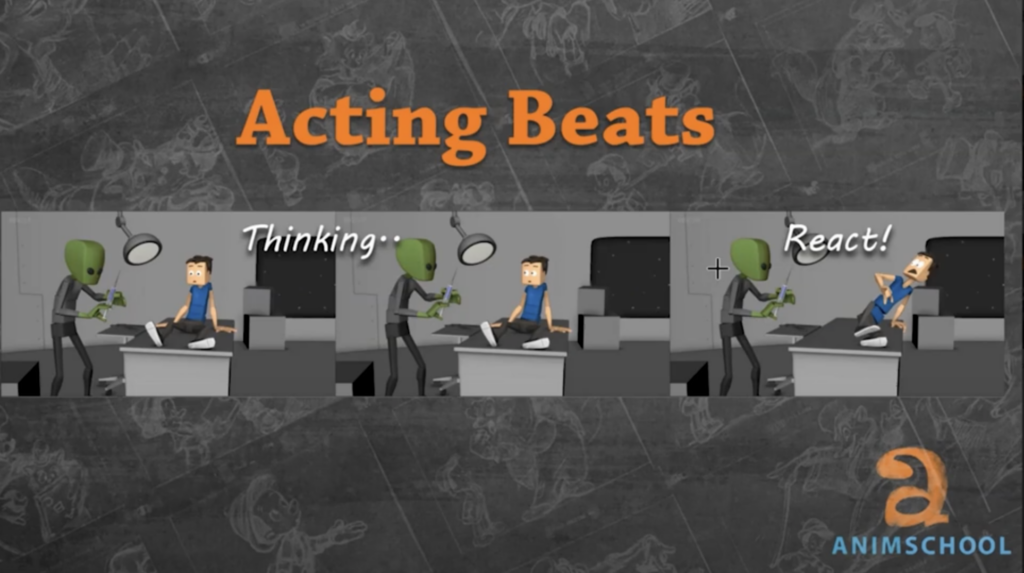
When a character is feeling one emotion and something happens to make the character feel something else in the same shot, the character needs to have a moment to process before the emotional change can take place. Building beats into the animation can show that the character is mentally absorbing and processing the events that are occurring in the shot. These moments can be quick, but readability is key.
Watch the full excerpt from a live AnimSchool lecture below:
At AnimSchool, we teach students who want to make 3D characters move and act. Our instructors are professionals at film and game animation studios like Dreamworks, Pixar, Sony Pictures, Blizzard & Disney. Get LIVE feedback on your Animation from the pros.