Spline and polish—two essential stages in the animation process—can often feel like a frustrating uphill battle, especially for newer animators, which can result in “spline depression.” Yet, as with any skill, with time and practice, the process becomes more intuitive and manageable. Still, that dreaded “ugly phase” never completely goes away—it just becomes easier to push through. In this clip from a live AnimSchool lecture, instructor Martin Scotto offers some important step-by-step tips in taking an animation from blocking to spline.
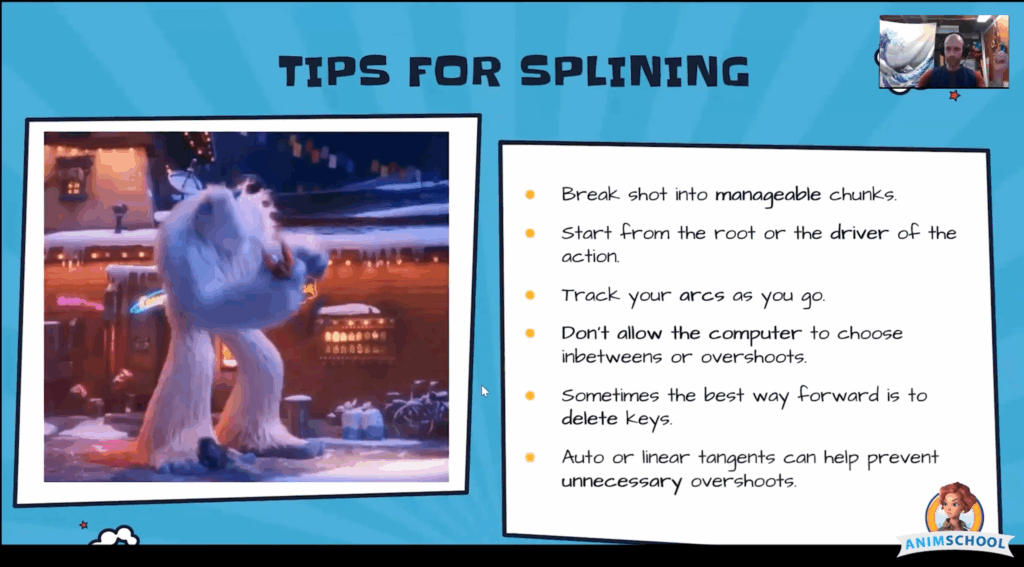
One of the most effective strategies to navigate this stage is to break the shot into manageable chunks. Whether it’s by frame range or body parts, working piece by piece helps avoid feeling overwhelmed. For example, you might start from the root of the motion and begin by polishing the body and center of gravity, then move on to the legs, spine, arms, and so on. Trying to spline everything at once often leads to chaotic results and progress that feels scattered, or, even worse, feeling like you are undoing work.
Track the arcs. If something feels off, it can often be traced back to the arcs. Try to draw out what is happening, whether on the screen or on a separate piece of paper or whiteboard, to help visualize the flow of motion. Furthermore, don’t solely rely on the computer to do the work for you—the default spline and auto tangent settings don’t take into account timing, weight, or intent. It’s only the first step in connecting the dots.
Don’t be afraid to delete keys. Simplifying the animation can make it easier to create a clean arc and polish up the motion. Analyze the curve and reduce it to just the essential poses; this will offer better control and cleaner results. If needed, don’t hesitate to rework a section by starting over from the blocking. Clean up and lock in the key poses, delete the clutter, and spline from a clean slate so that you are not working with a messy timeline.
Finally, be intentional with your tangents. Auto tangents can introduce overshoots that ruin otherwise solid motion. Use linear tangents when you want a clean hold, or adjust handles manually to sculpt the curve just right. You may even find that adding a few more keys in the right places creates better control than trying to wrestle with just two.
Watch the full clip from an AnimSchool lecture here:
At AnimSchool, we teach students who want to make 3D characters move and act. Our instructors are professionals at film and game animation studios like Dreamworks, Pixar, Sony Pictures, Blizzard & Disney. Get LIVE feedback on your Animation from the pros. Learn more at https://animschool.edu/