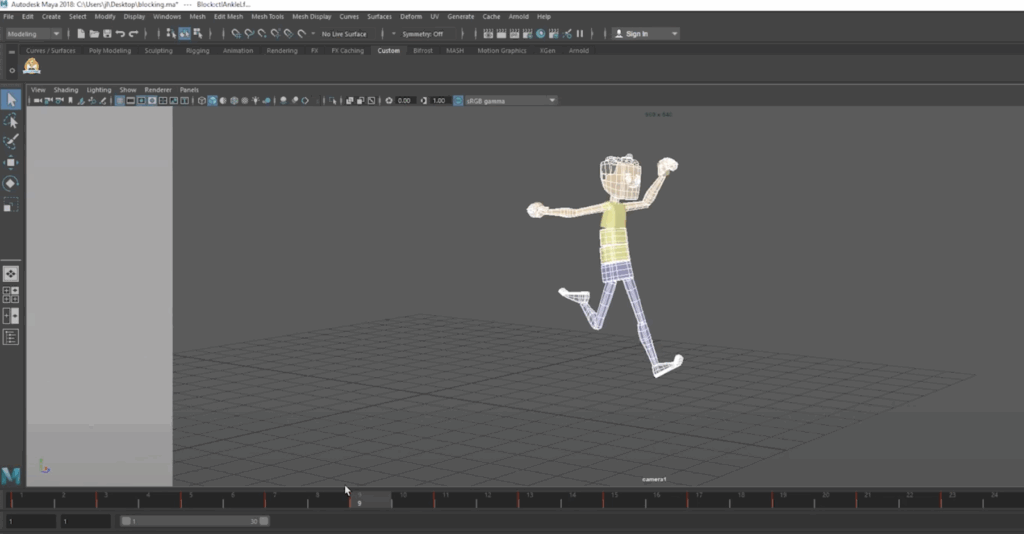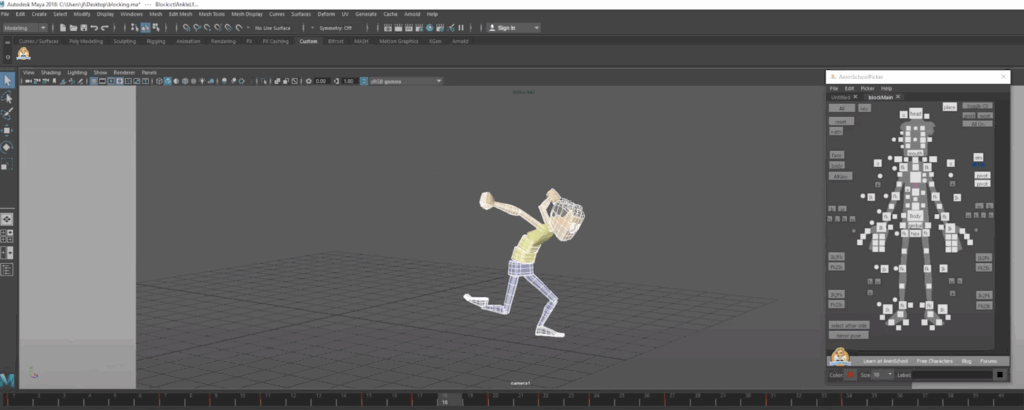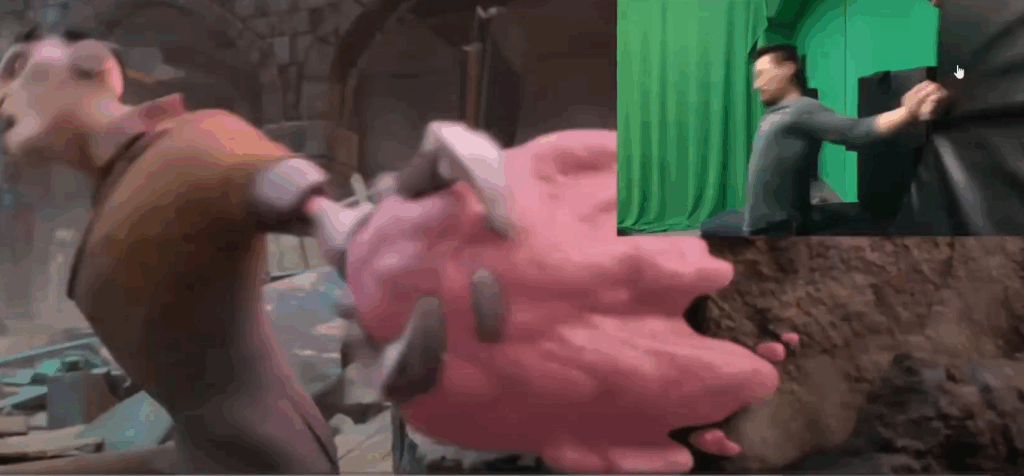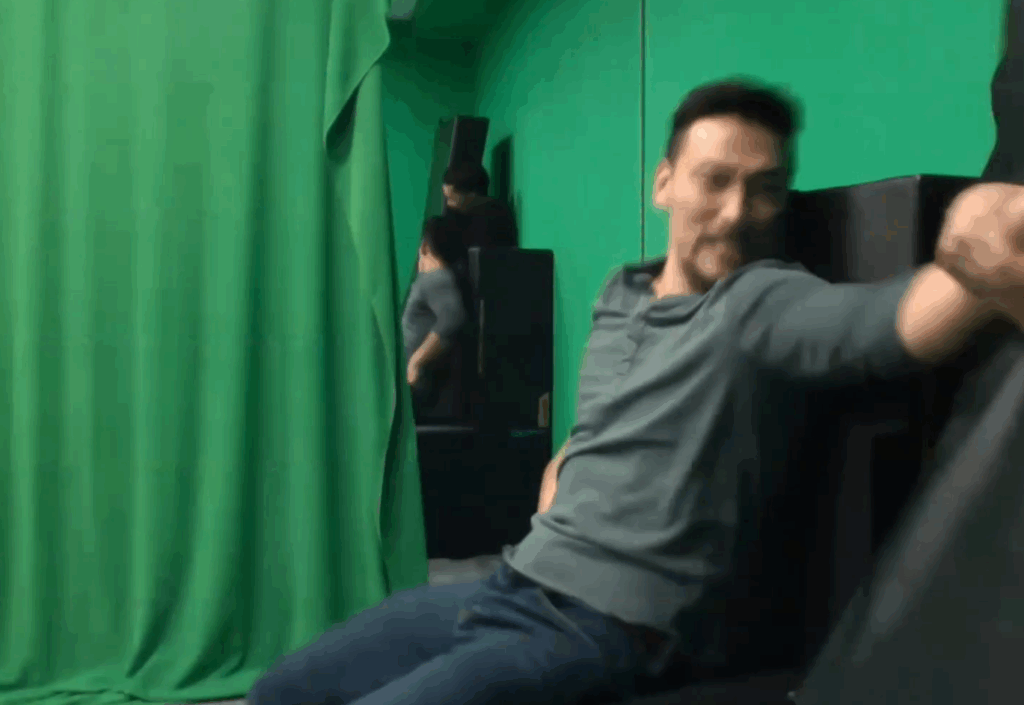
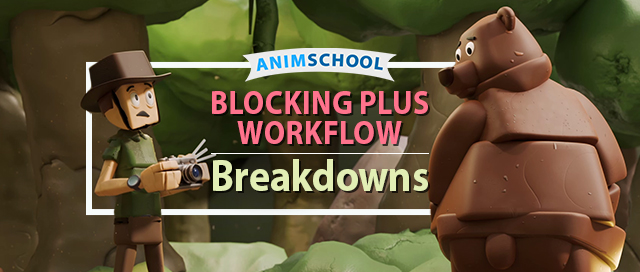
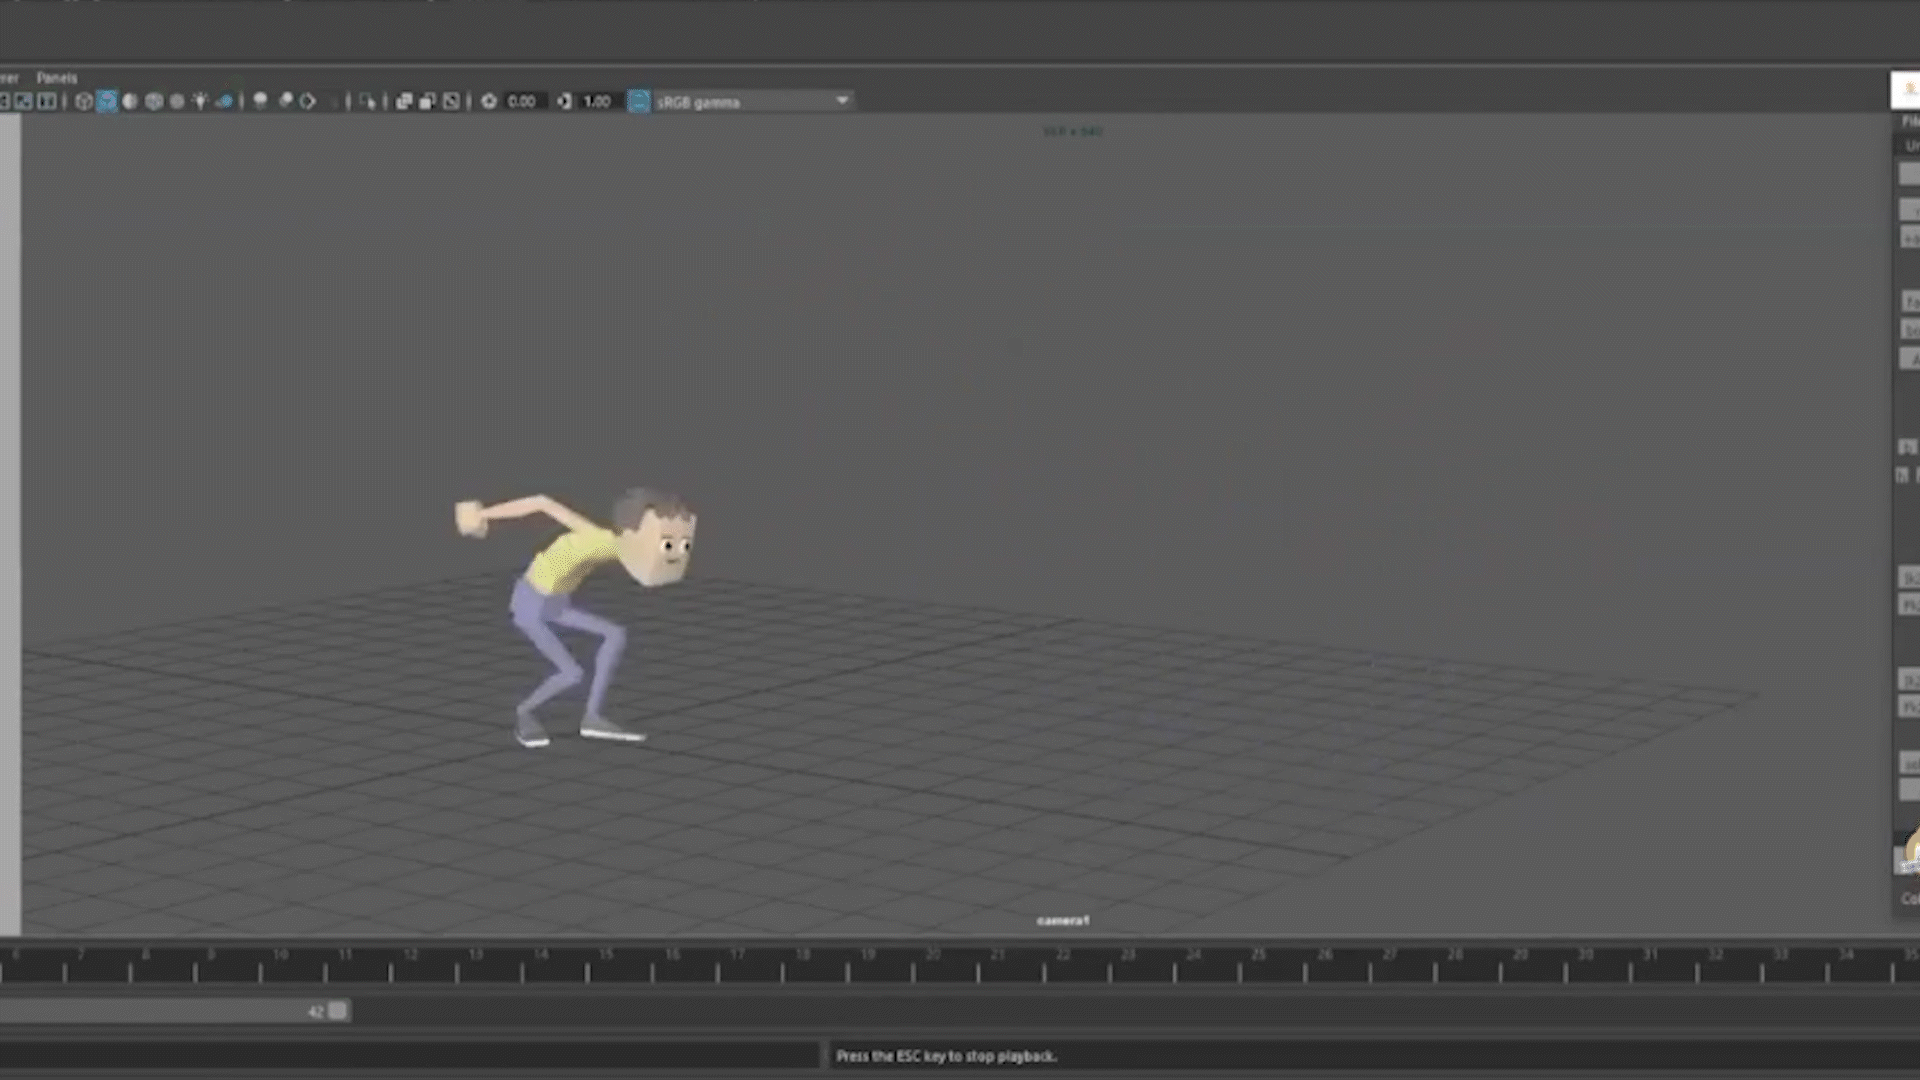
In animation, moving from blocking to spline isn’t just about flipping a switch. It’s a shift in mindset and detail. While a shot may look “done” in blocking plus, the real depth of motion often only starts to emerge when you stop and assess if you truly have all of the information you need. In this clip from a live AnimSchool lecture, instructor Jean-Luc Delhougne shows his workflow for getting your blocking animation to the next level.
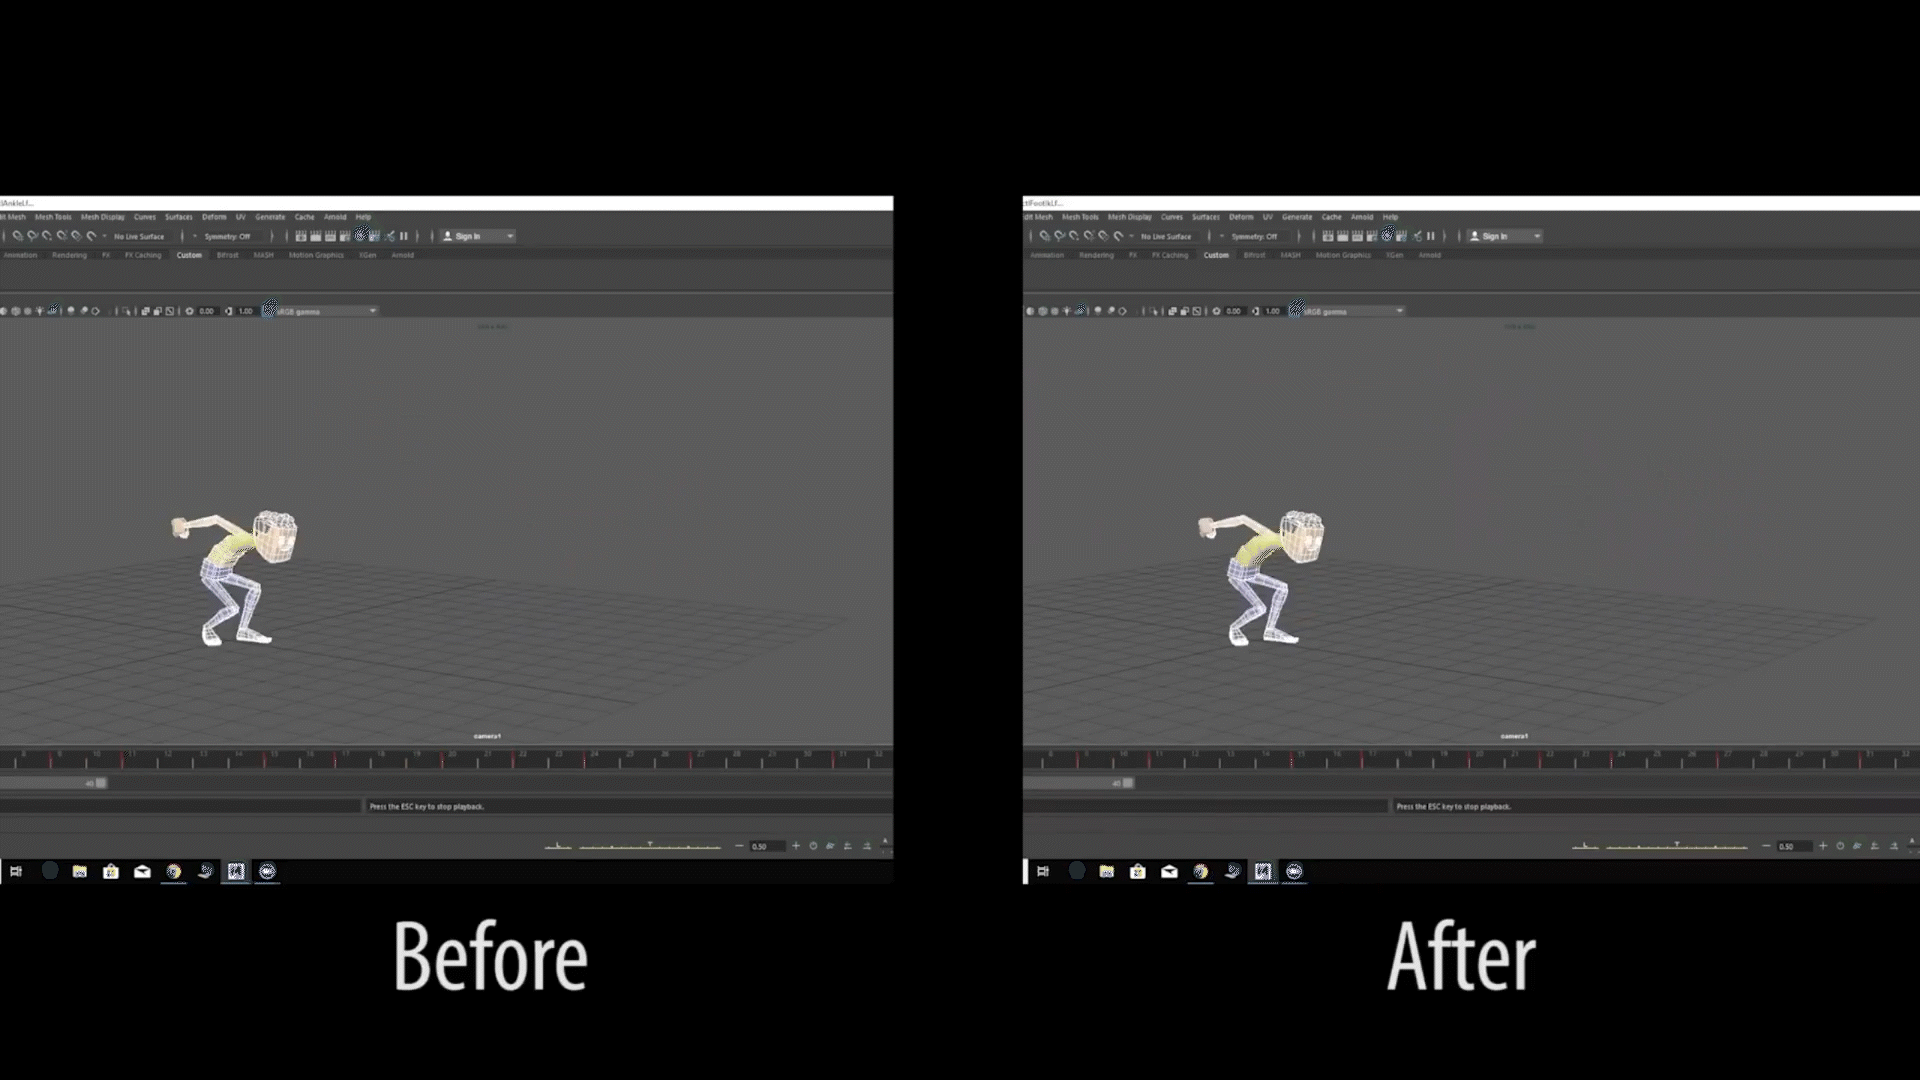
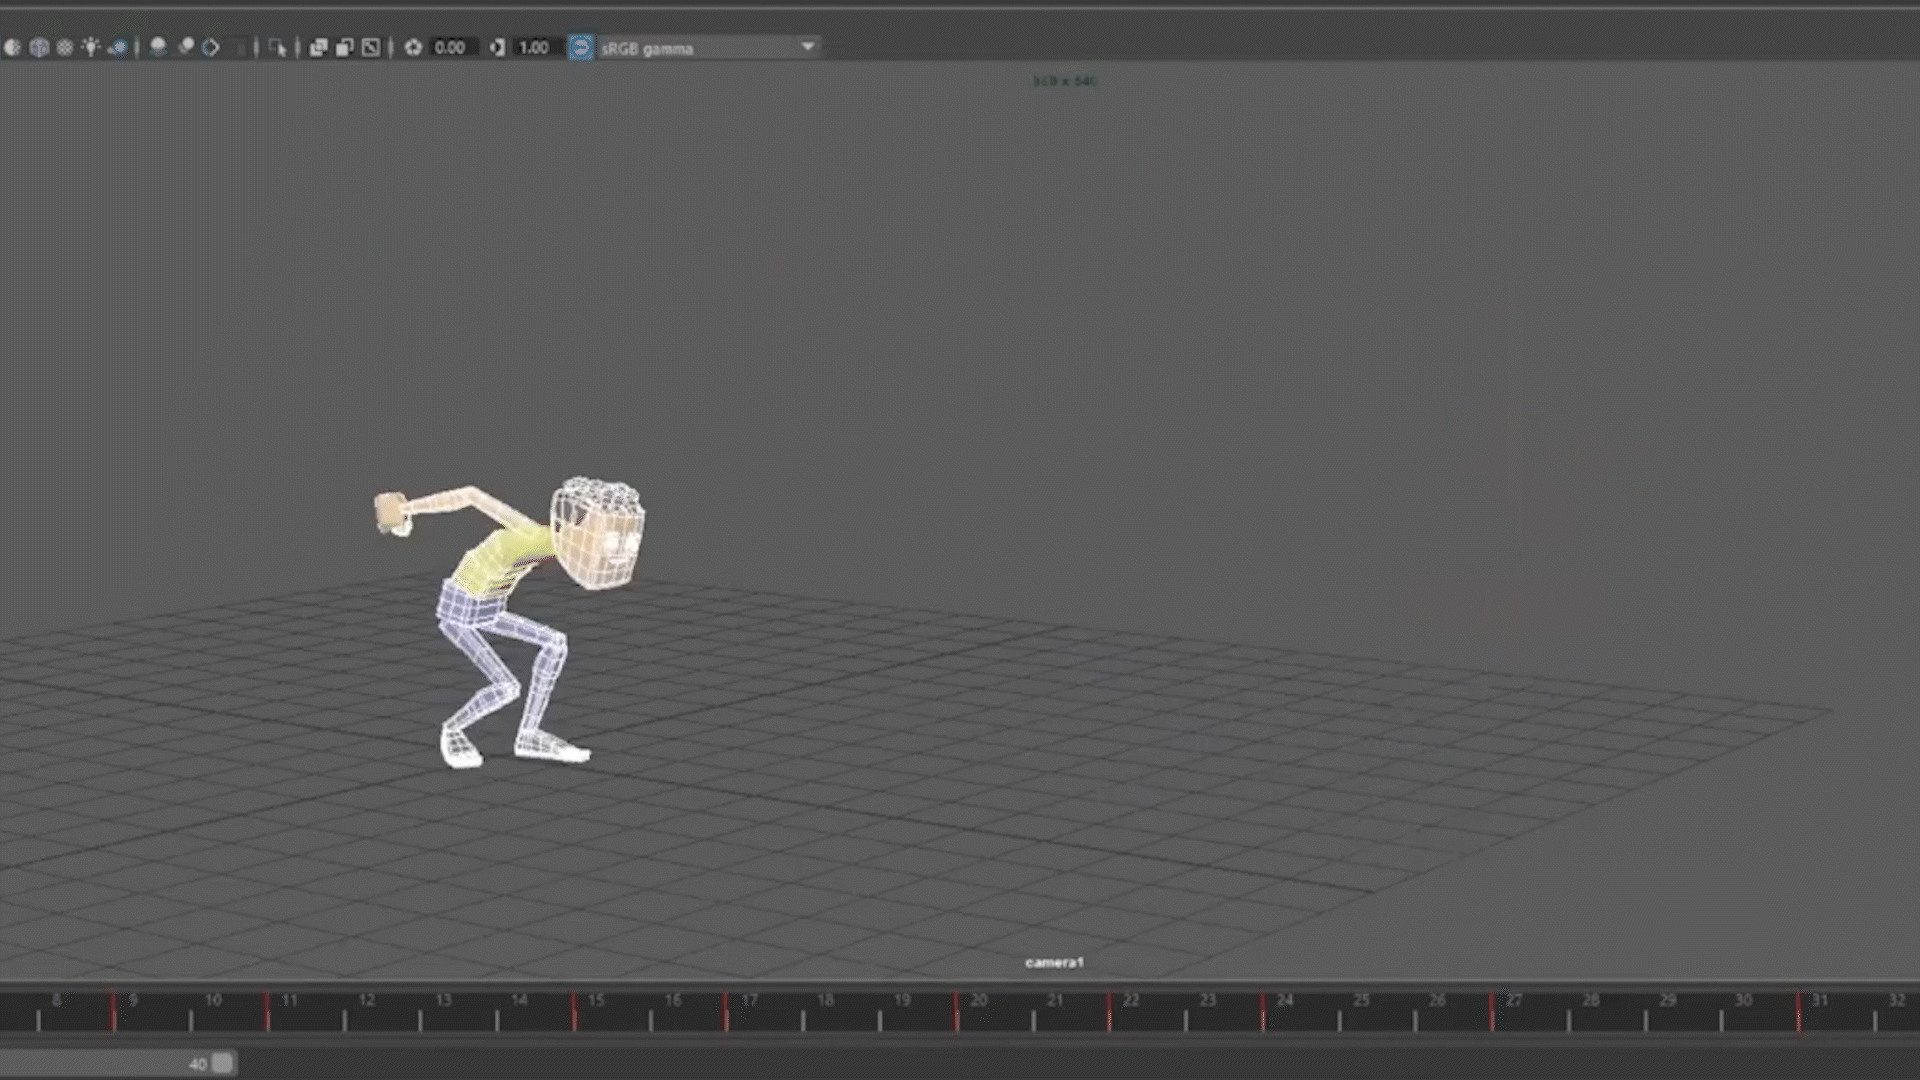
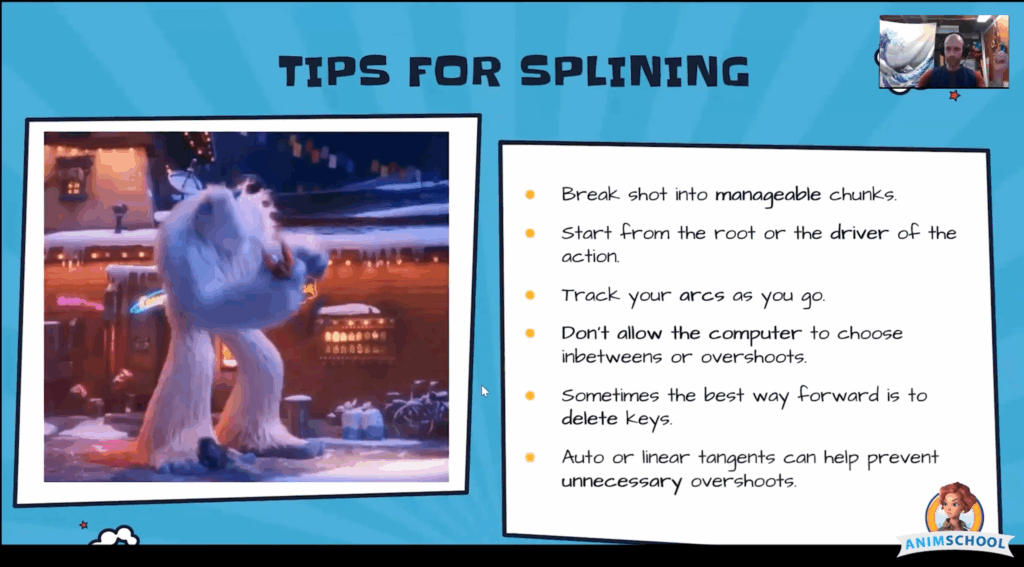
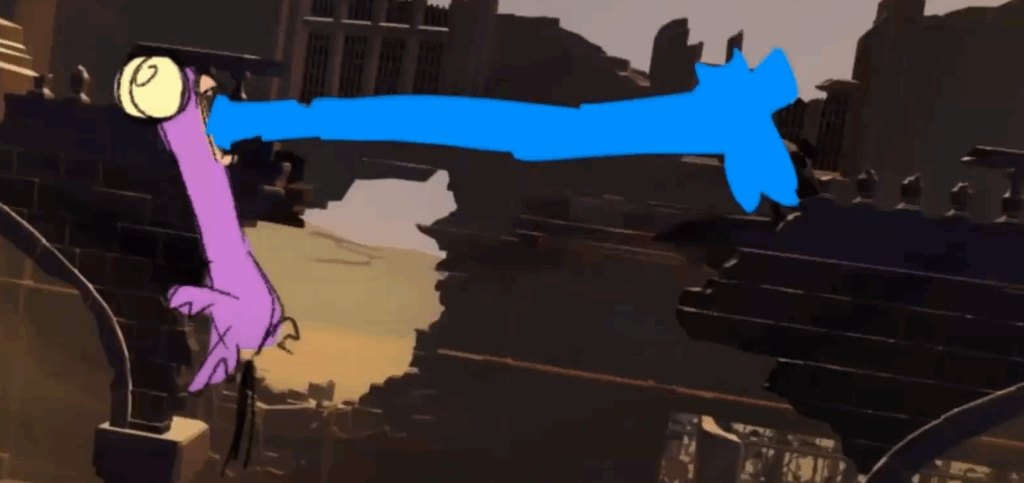
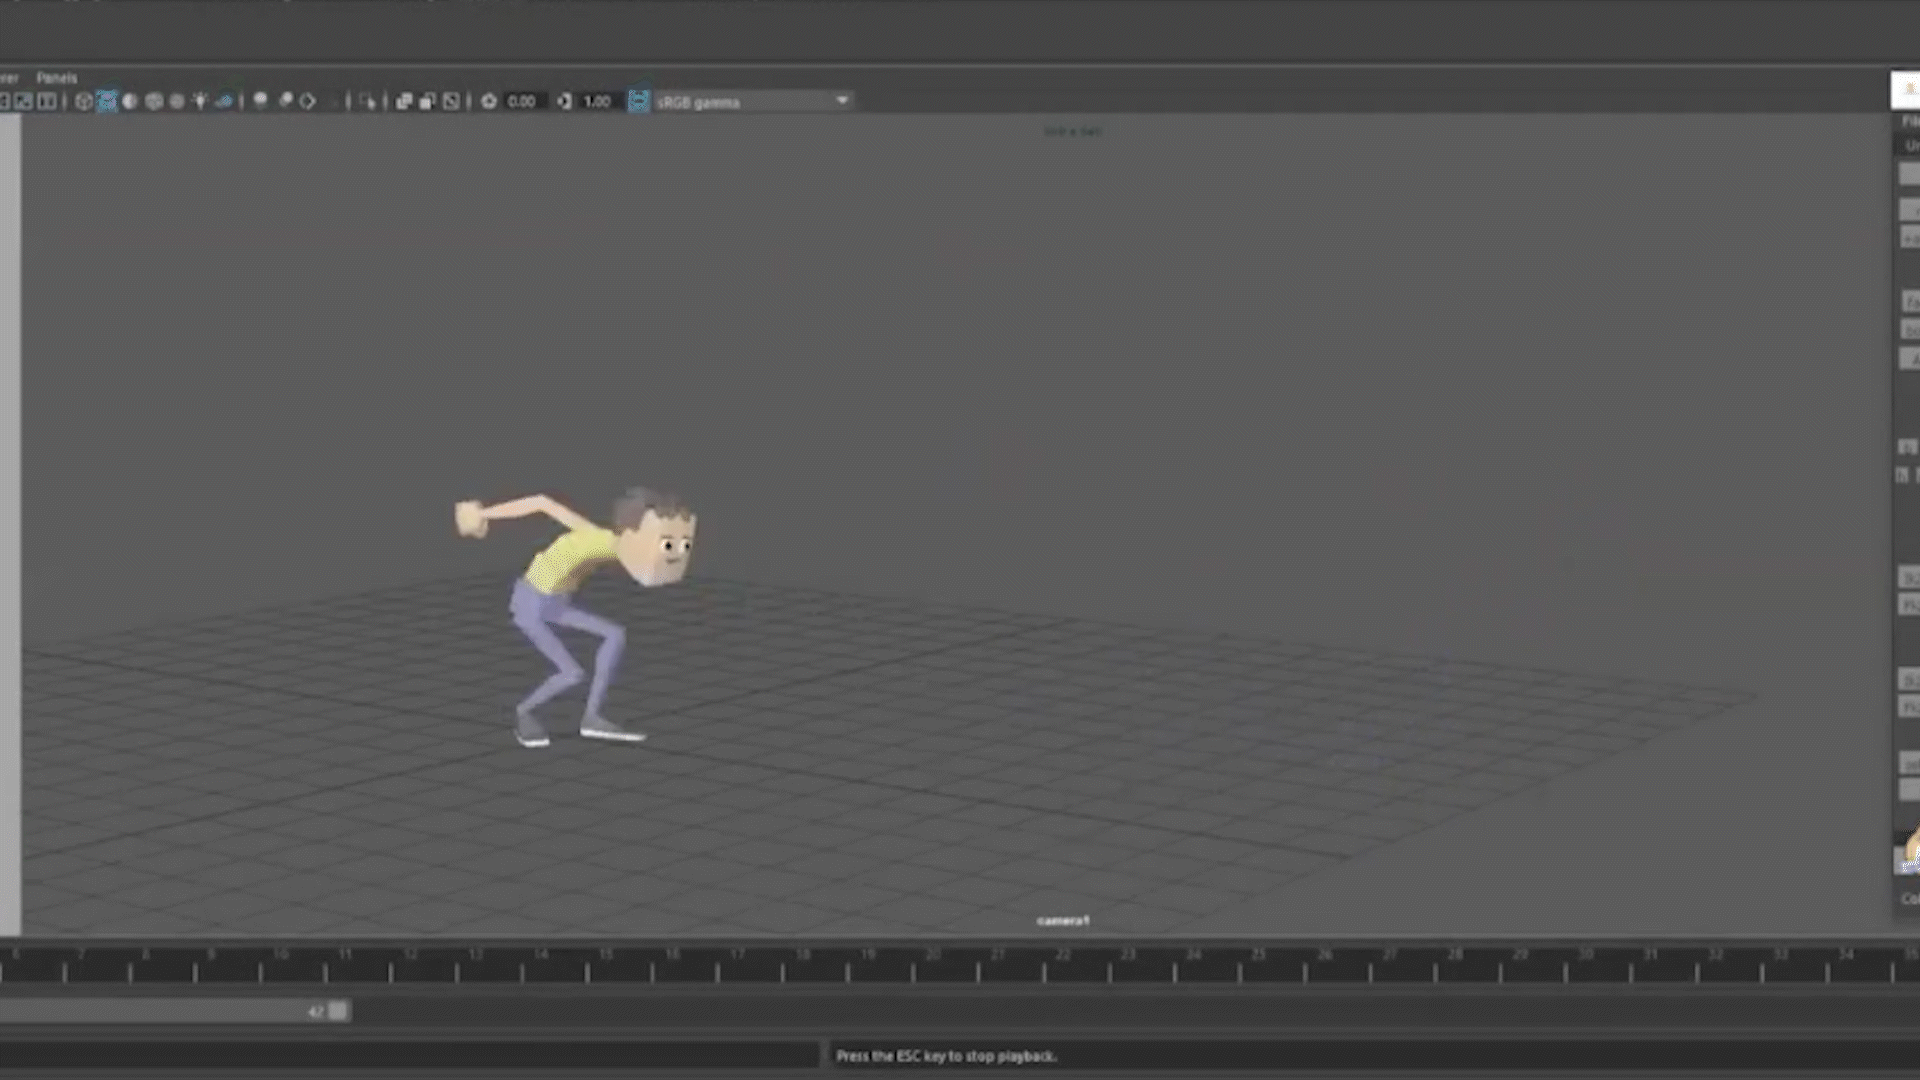
The point between blocking and splining is where many animators pause and reassess. The character might be hitting the right key poses, but the transitions, timing, and energy might still feel off, like the movement starts or stops abruptly. In order to remedy this, pay attention to the shape of the moving hold—that subtle buildup of energy before a big motion—so the viewer feels the intention behind every movement.
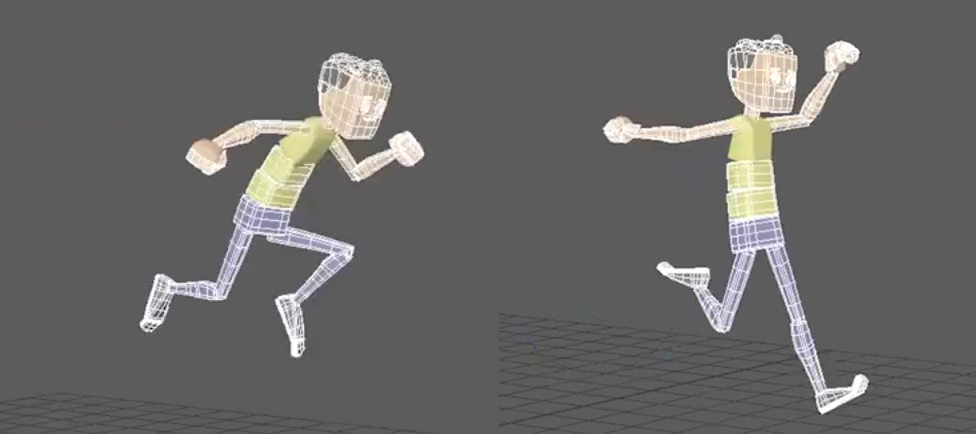
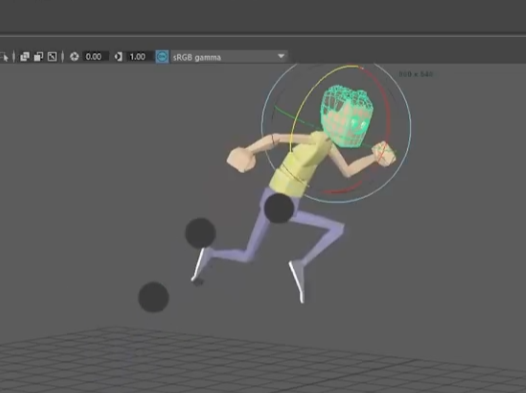
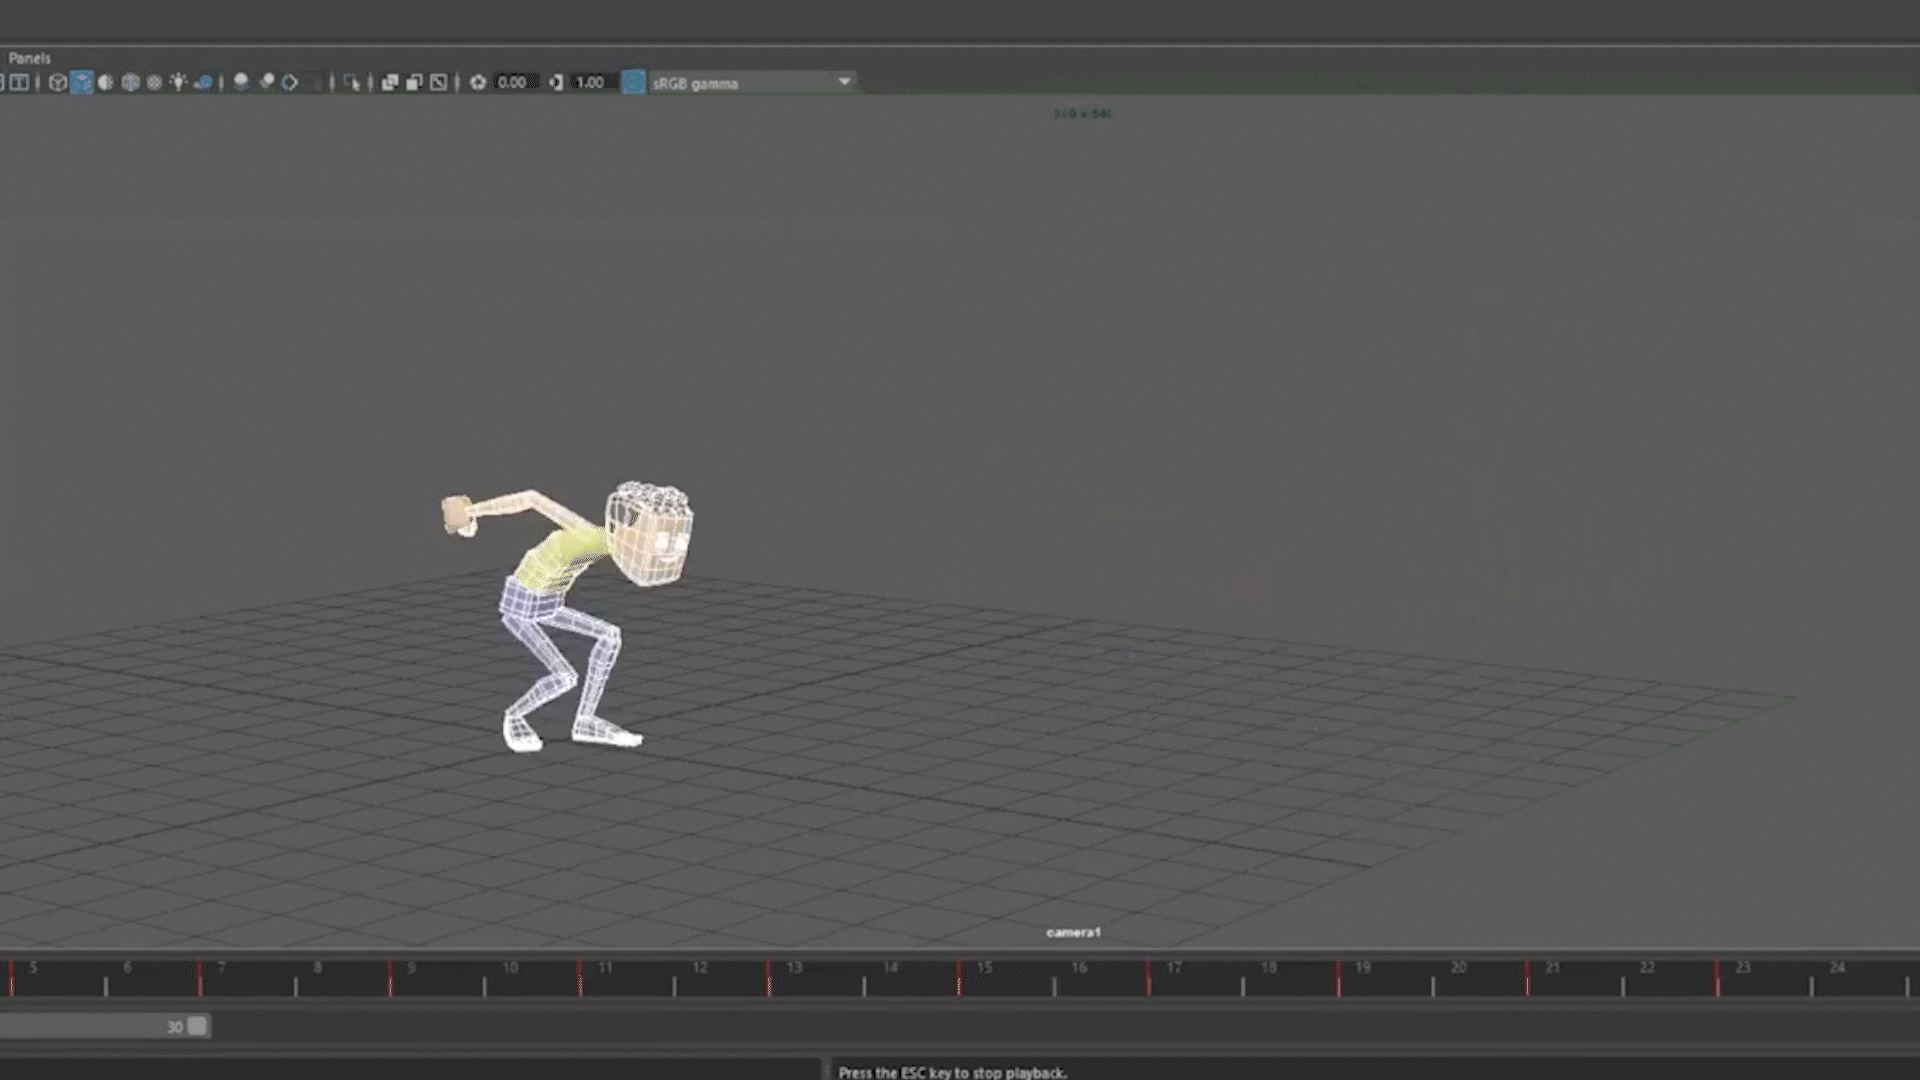
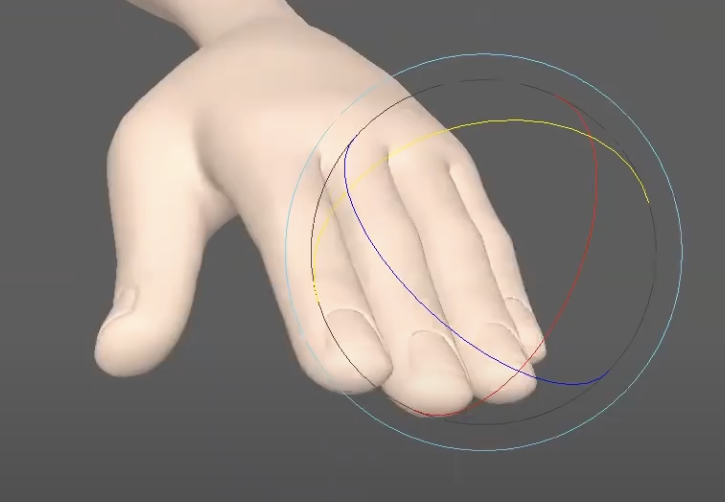
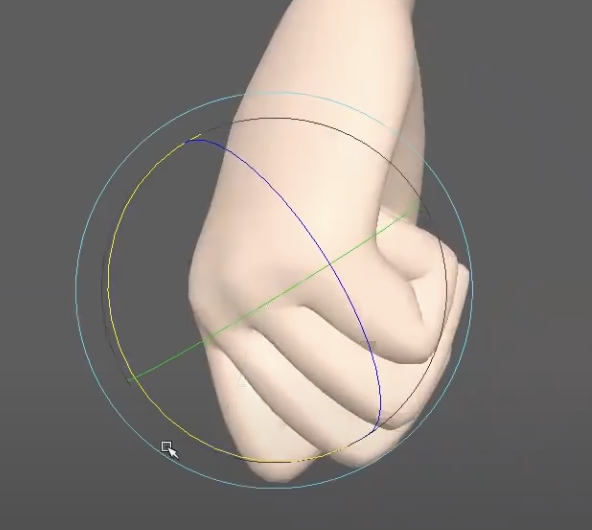
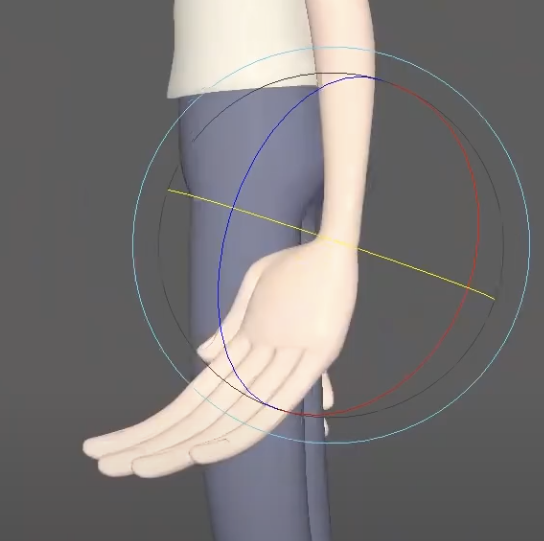
Making small changes, such as nudging the hips down and forward, and adding slight opposition in the spine and head, you begin to create that feeling of anticipation. Even subtle details like an arm shifting forward or the head lifting slightly can inject life into a still pose. It’s not about big moves—it’s about involving the whole body in the motion, giving the character a sense of internal momentum. As the motion develops, timing becomes a key focus. A transition between two strong poses might only need three frames, but those frames have to be very selective. As you set keys and adjust arcs, think about how the different body parts move together. Everything contributes to a feeling of weight and energy.
Every time a change is made, don’t forget to go back to check the relationship between poses. This level of care ensures continuity and clarity in motion. Tiny adjustments can dramatically improve the flow and believability of a shot, eventually bringing it all together. At this point, you might finally feel like you have enough information to transition into spline.
This process might seem slow or overly meticulous, but that’s the magic of animation. By the time the shot hits spline, the hard decisions have already been made, and the shot is already working.
Watch the full clip from an AnimSchool lecture here:
At AnimSchool, we teach students who want to make 3D characters move and act. Our instructors are professionals at film and game animation studios like Dreamworks, Pixar, Sony Pictures, Blizzard & Disney. Get LIVE feedback on your Animation from the pros. Learn more at https://animschool.edu/