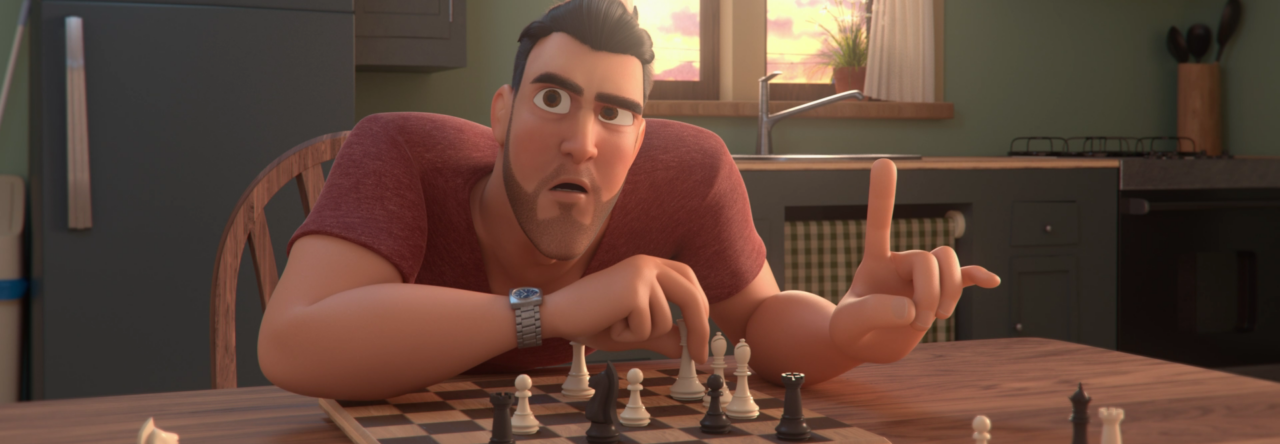

Animating eyebrows plays a crucial role in conveying facial emotions and enhancing the overall appeal of animated characters. Though often overlooked, brows are essential in portraying mood and personality. In this clip from a live AnimSchool lecture, instructor Justin Weg explains the importance of eyebrow animation.
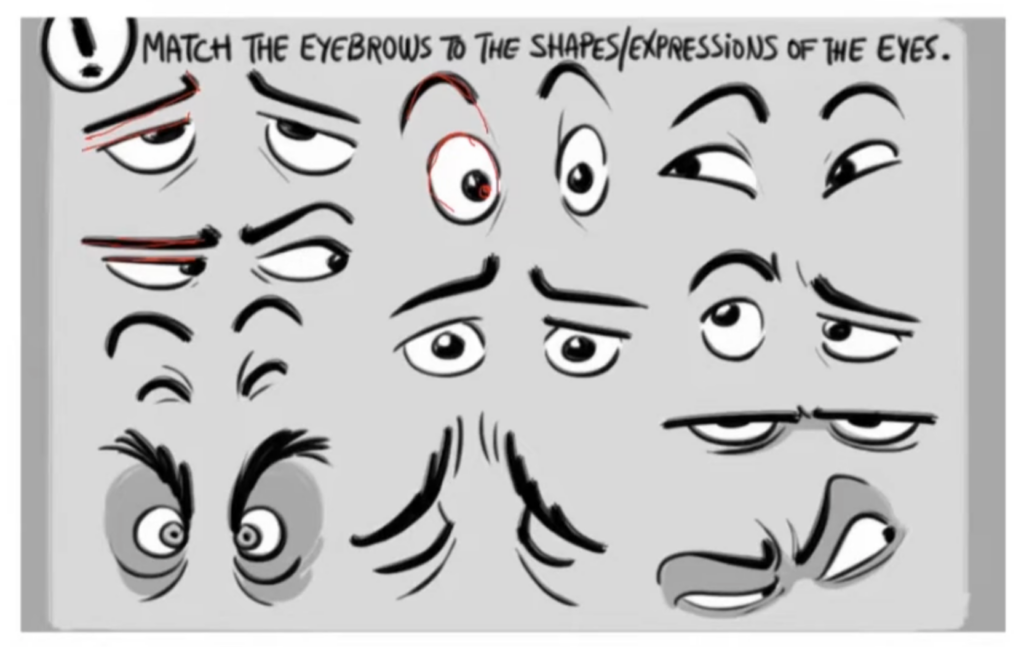
When animating eyebrows, think of them as a single unit – try to connect them with a line flowing into one another, while matching the shape/expression of the eyes. This will create a smooth and cohesive look, which is key in creating a natural, expressive character. The brows tend to react to the inner emotional state of the character, so connecting them helps maintain this unity.

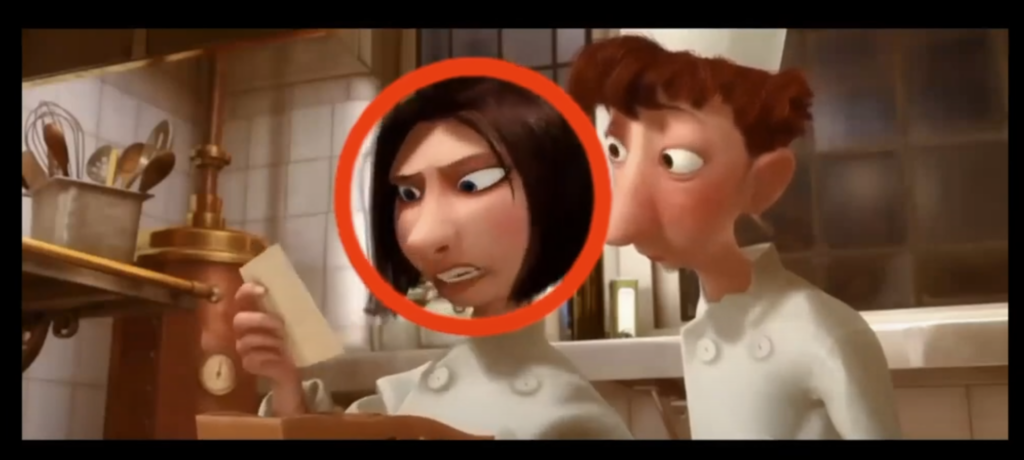
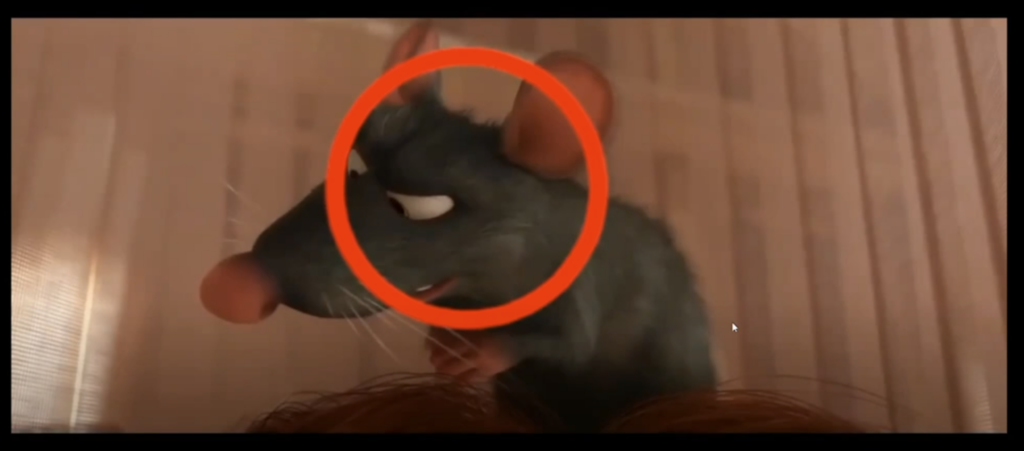
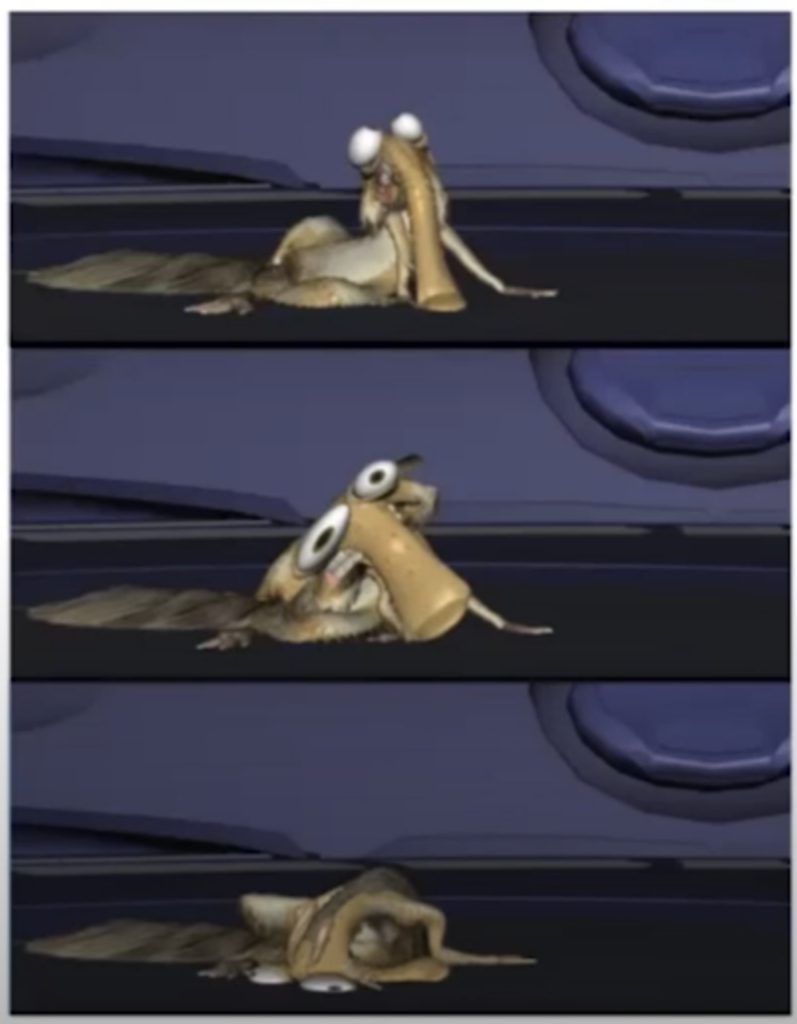
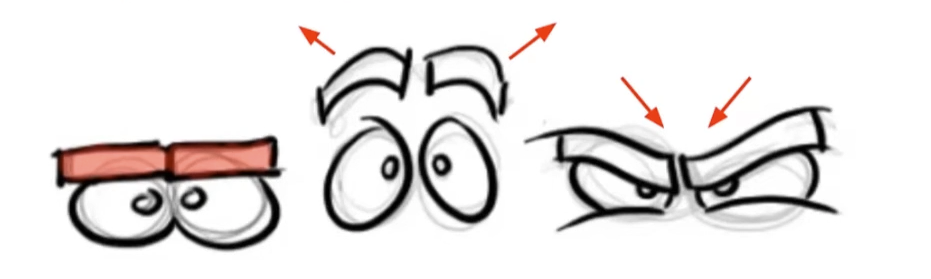
Additionally, keep in mind that brows are very dynamic shapes, with the inner sections being more active and expressive than the outer. When the brows go down, the inner brows tend to crunch in. When the brows go up, they will pull out.
One key technique in animating brows is having them lead the head/body movement. When a character is about to speak or make a dramatic gesture, the brows often move ahead of the rest of the face. This can help with timing, allowing the character’s expression to build up before the full action, such as opening the mouth. For example, a character about to speak might raise their brows before they open their mouth, signaling anticipation.
Facial expressions can be either voluntary or involuntary. Involuntary reactions, like surprise or fear, tend to make the brows more symmetrical. Voluntary emotions such as curiosity, suspicion, or contempt tend to create asymmetry in the brow movements. A character questioning something, for example, will raise both brows evenly, while a character expressing doubt or confusion might raise one brow more than the other, creating an asymmetrical look.
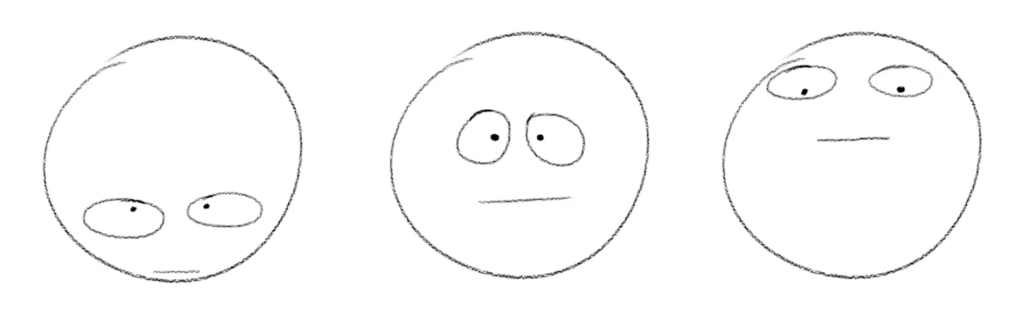
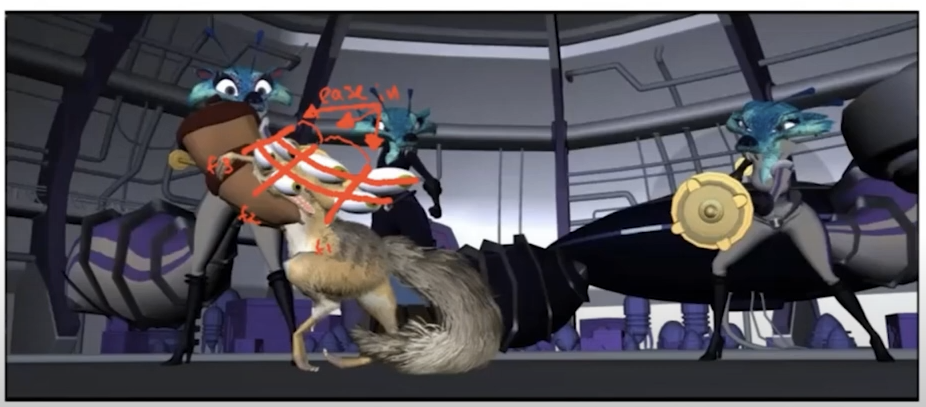
When animating brows, arcs are important for creating more natural movement. Instead of linear motion, which feels stiff, adding arcs to the brow movements introduces fluidity to the animation. For instance, when lowering the brows, the outer brow usually leads, and the inner brow follows in a smooth arc. The same principle applies when raising the brows—start with the outer brow, and let the inner brow follow, creating a wave-like effect.
To enhance the realism of the movement, it can be helpful to offset the X and Y positions of the brows. This offsetting technique creates a more dynamic motion, especially when working with diagonal movements. By including slight delays between the movements of the inner and outer brows, you can achieve a more organic feel.
By focusing on the unity, expression, and subtlety of brow movements, animators can bring a new level of depth to their character animation. Refining the movement of the brows is an essential skill for any animator looking to create more relatable and emotionally engaging characters.
Watch the full clip from an AnimSchool lecture here:
At AnimSchool, we teach students who want to make 3D characters move and act. Our instructors are professionals at film and game animation studios like Dreamworks, Pixar, Sony Pictures, Blizzard & Disney. Get LIVE feedback on your Animation from the pros. Learn more at https://animschool.edu/