When animating a character’s head, think of the head like a stage and the face as the actors. The two must work together in order to convey a believable performance the audience can understand and connect with. In this clip from a live lecture, AnimSchool instructor Ricky Renna discusses some tips on how to animate the head in order to allow the audience to follow the character’s facial changes and emotions.
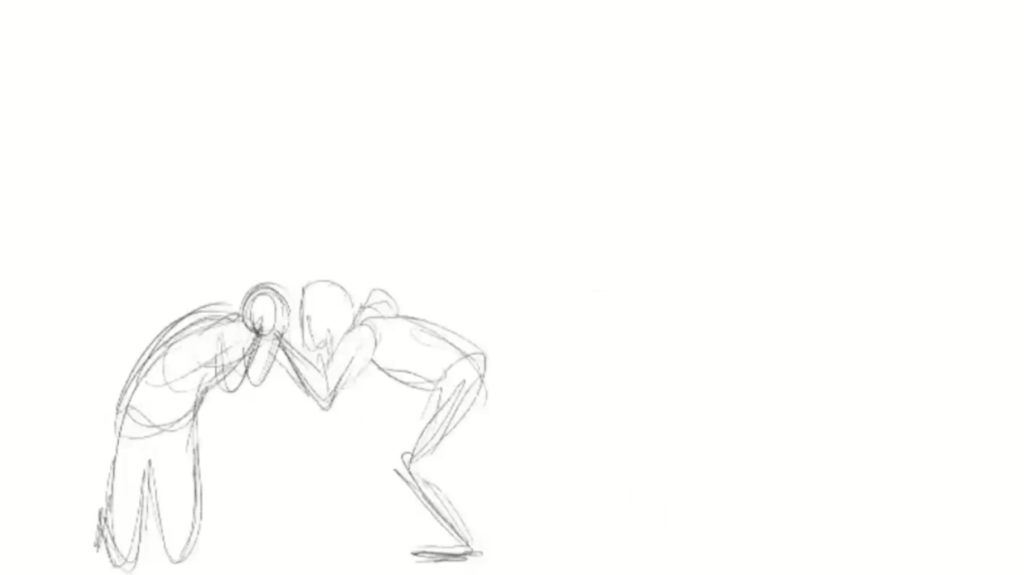
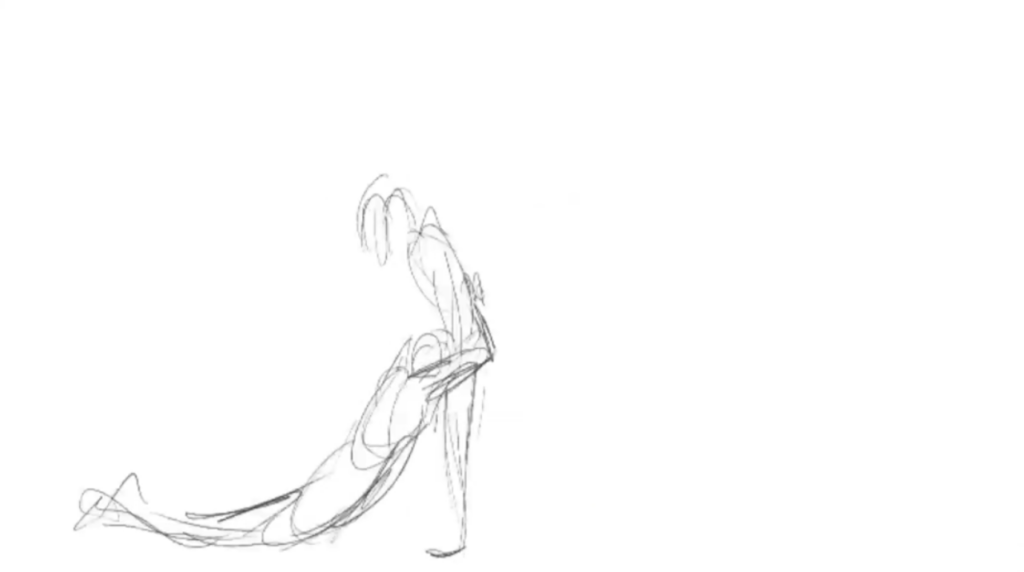
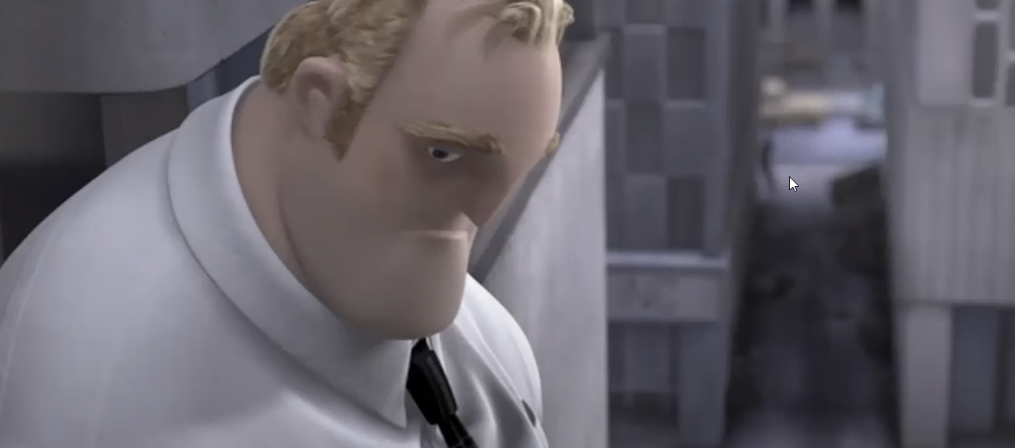
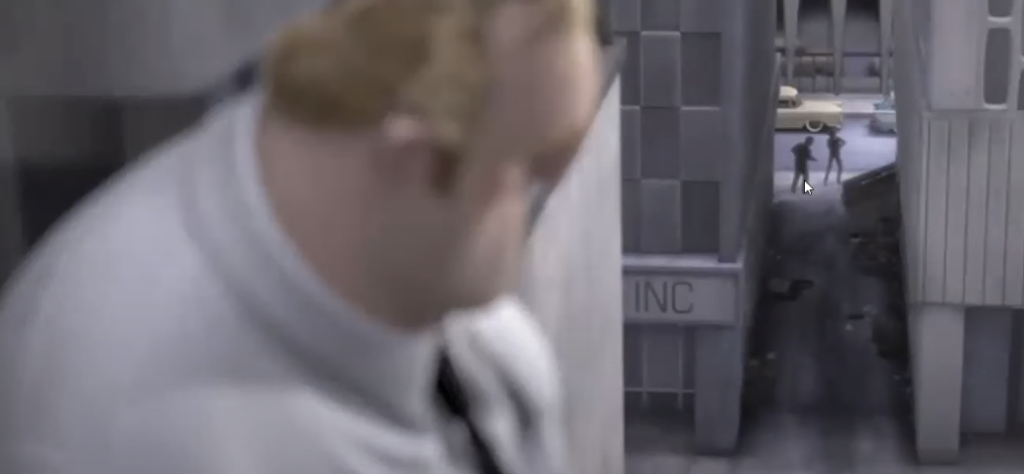
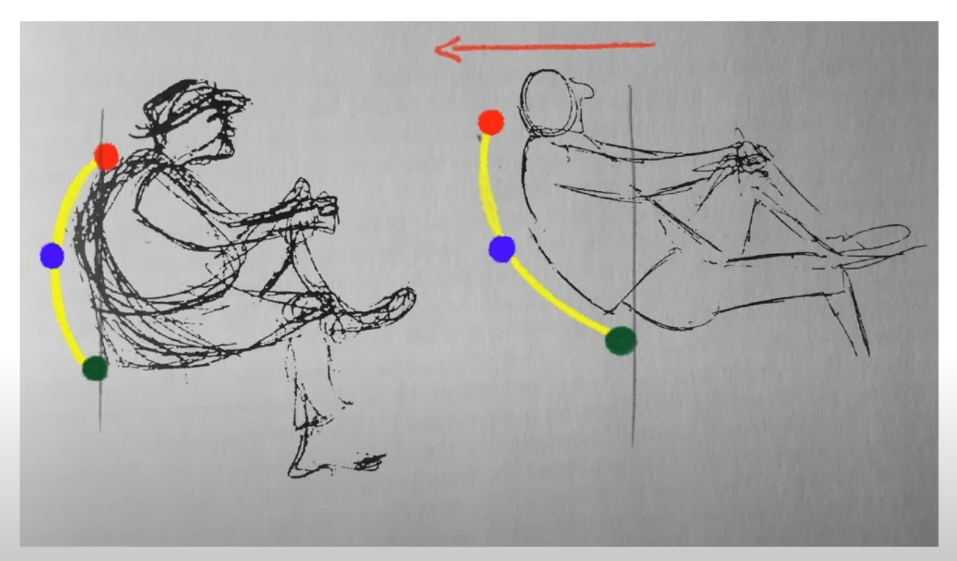
Small adjustments to head positioning can completely alter the mood or message of a shot. A subtle head tilt, for instance, can express a range of emotions. A slight tilt downwards may indicate humility or insecurity, while a slight tilt upward can convey confidence or even superiority. By controlling the head’s direction, animators can manipulate how a character is perceived, whether they’re viewed as an equal, an antagonist, or someone who feels subservient. For instance, in scenes where a character looks straight ahead, the tone might come across as neutral or straightforward. However, when the same line is delivered with the head tilted slightly, it can introduce an entirely new layer of meaning. It’s all about the small changes—animators don’t need to overdo it with exaggerated head movements. A little goes a long way in shaping the audience’s emotional response.
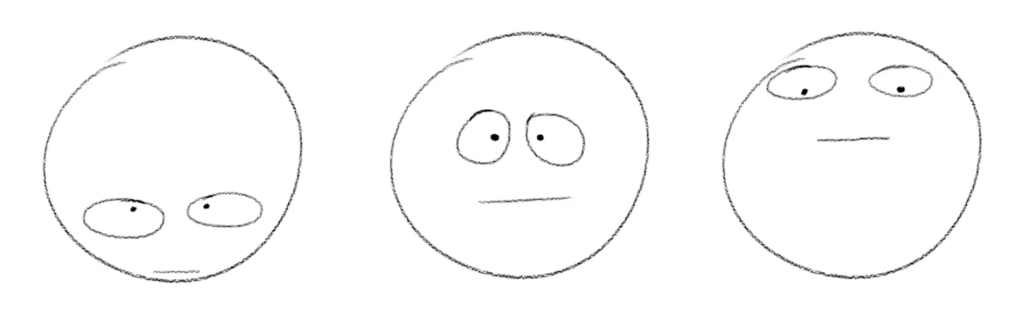
In the above example, though the head is very simplistic and quickly drawn, audiences can quickly recognize the difference in emotion and intention from something so basic as the tilt of the head.
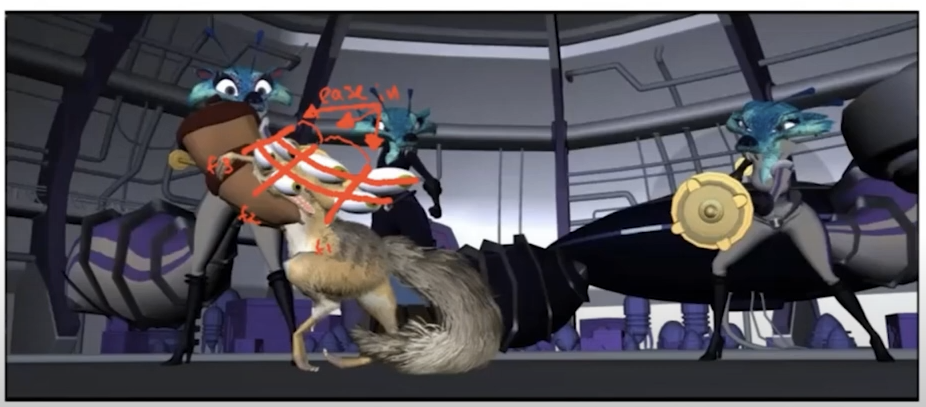
Another critical aspect to pay attention to in animation is head stabilization. Birds, for example, have acute control over their heads, allowing them to stay focused on their prey while in flight. Animators strive to replicate this level of stability to maintain focus on a character’s face. In scenes where the head moves too dramatically, it can pull the viewer’s attention away from the character’s facial expressions or dialogue, making the scene harder to follow.
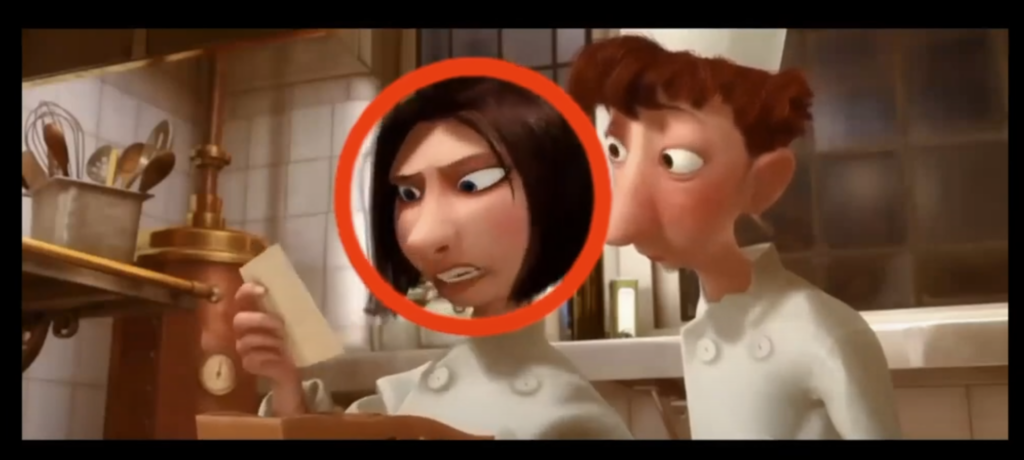
A prime example of controlled head movement in animation can be seen in the character Colette from Ratatouille. While delivering her lines, Colette’s head remains steady, keeping the audience’s attention on her eyes and the expression she’s conveying. Even as her emotions shift—from apathetic to more animated—her head stays focused, allowing her subtle facial expressions to communicate her changing feelings without overwhelming the viewer with unnecessary movement.
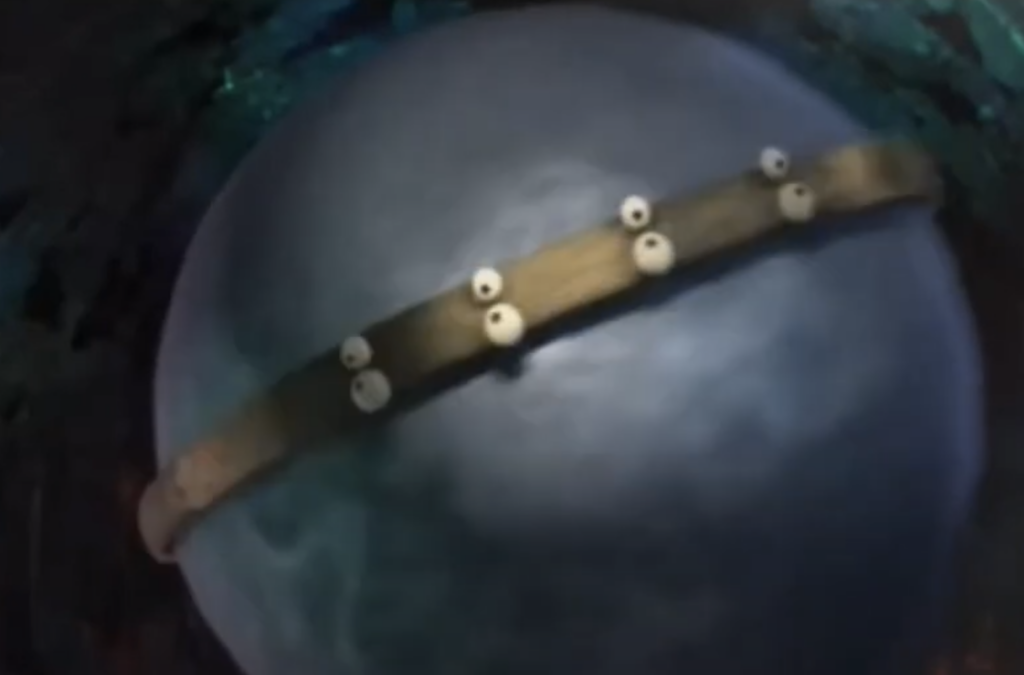
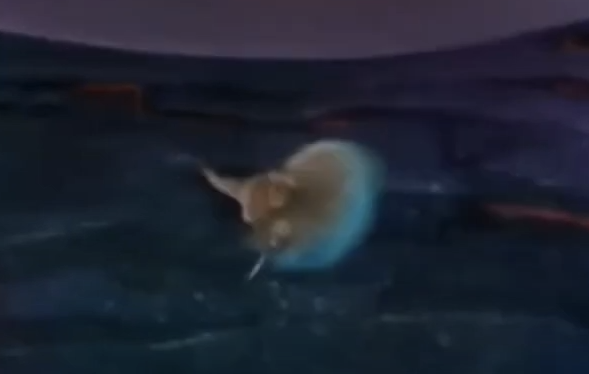
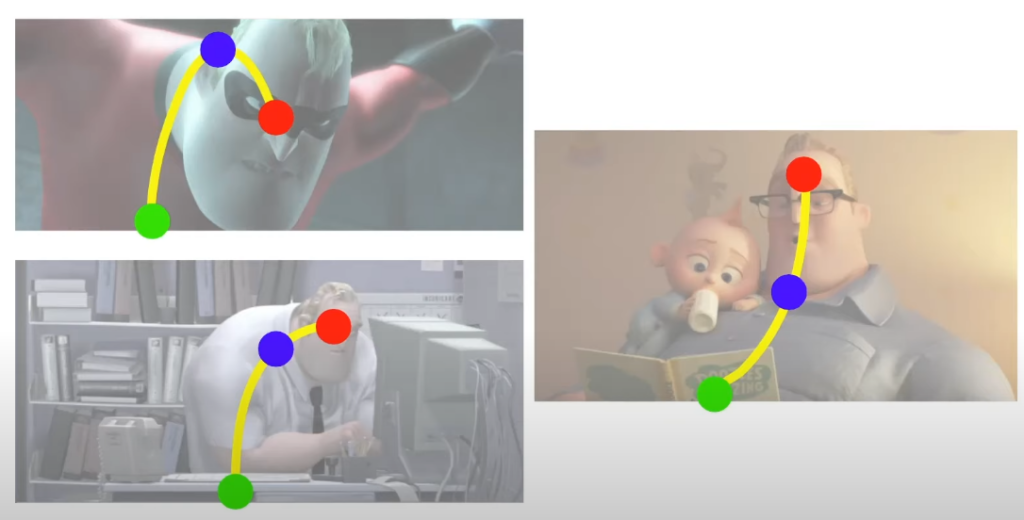
In the world of animation, there’s a technique known as eye trace, where the director ensures that the focus remains on the same point of interest across different shots. This technique helps prevent the audience from losing focus when the scene changes. For instance, when the camera shifts to Remy inside Linguini’s hat, the focus remains on the same point of interest, making the transition seamless and keeping the viewer engaged.
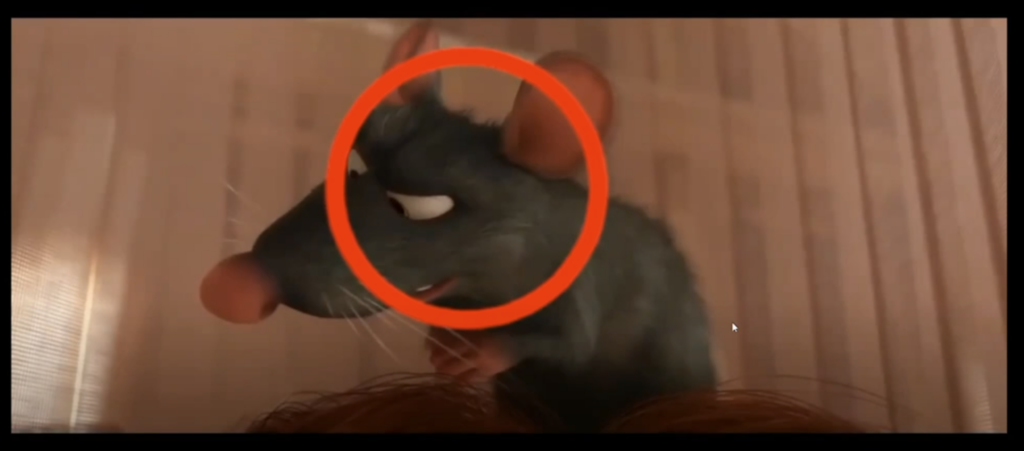
Note that, in the previous shot, Colette’s face is in the red circle; as it cuts to Remy, his face remains in the red circle – this technique is called eye trace.
Ultimately, the key to effective head movement in animation is balance. A steady head allows for clear, expressive communication while preventing distraction. Whether you’re animating a confident antagonist or a shy protagonist, controlling head movement is an essential tool for bringing your characters to life.
Watch the full clip from an AnimSchool lecture here:
At AnimSchool, we teach students who want to make 3D characters move and act. Our instructors are professionals at film and game animation studios like Dreamworks, Pixar, Sony Pictures, Blizzard & Disney. Get LIVE feedback on your Animation from the pros. Learn more at https://animschool.edu/