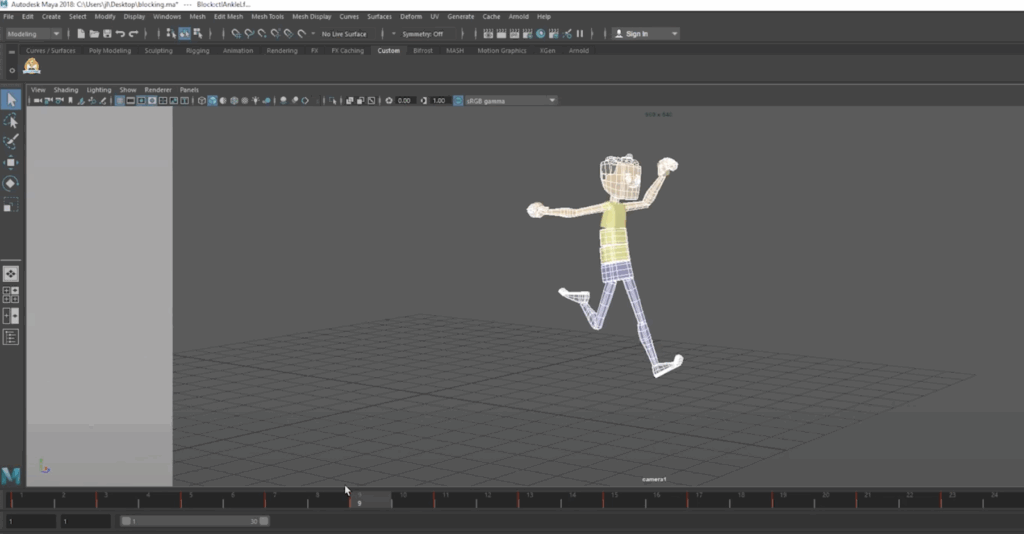
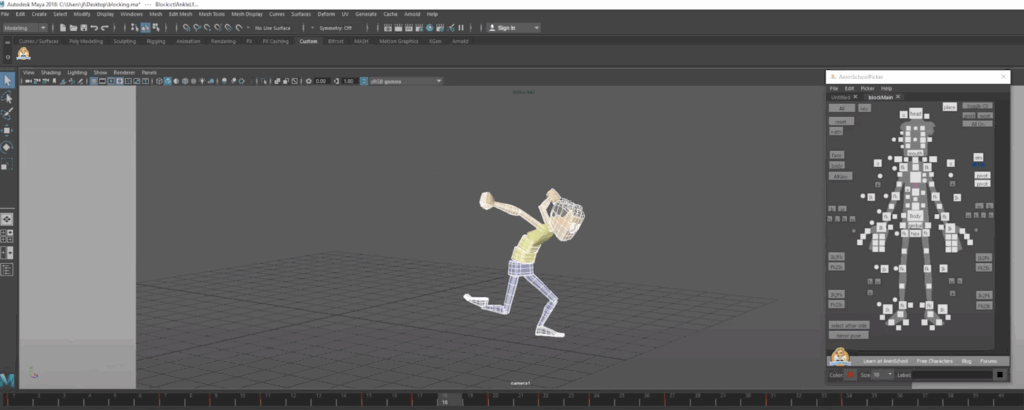
In animation, one of the first major steps in developing a believable performance is blocking—laying down the key poses that define how a character moves and reacts. Refining this workflow, especially in the blocking stage, can be crucial in laying the proper foundation for a smooth animation. In this clip from a live AnimSchool lecture, instructor Jean-Luc Delhougne discusses his workflow for blocking, with emphasis on timing.
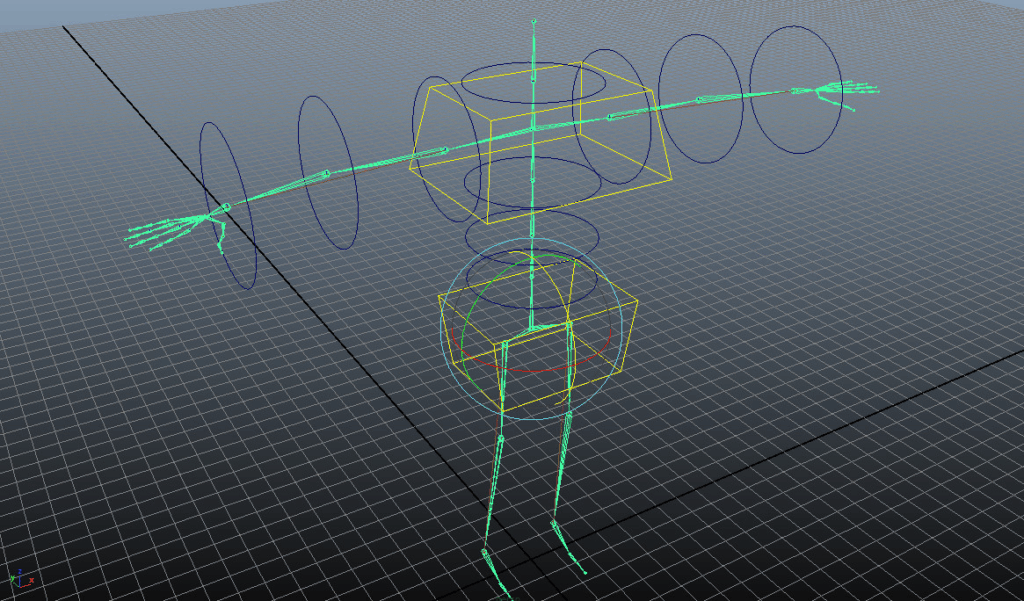
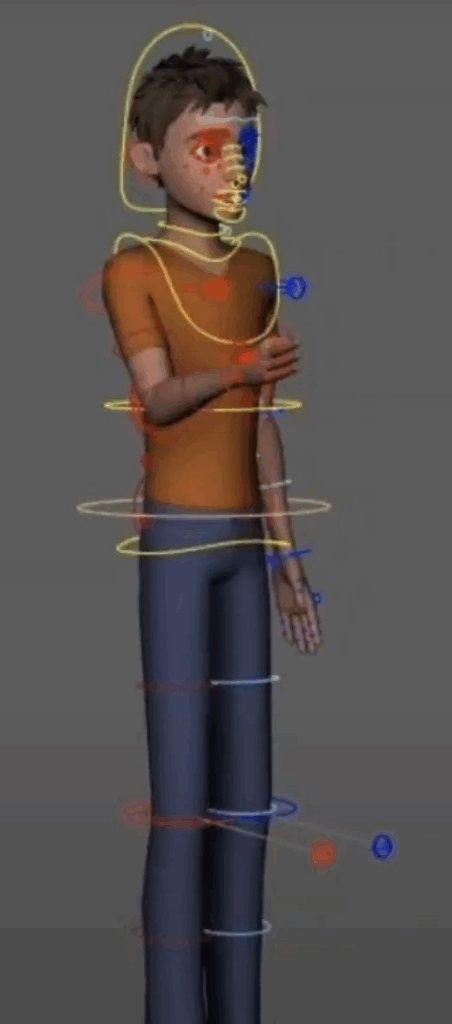
During blocking, the goal is to understand the character’s physicality and intent. Whether it’s a jump, a step, or a weight shift, it’s important to capture the essential actions and emotional beats through clear, well-designed poses, with focus on the spacing, or the relationship between the poses. These poses form the skeleton of the animation. At this point, the animation might not necessarily feel right when played, but don’t worry—timing comes later.
Once the poses are working, the next step is to introduce timing, which transforms the static poses into a convincing and dynamic performance. Good timing isn’t just about counting frames; it’s about feeling how the character moves. For example, anticipation before a jump needs to be strong and readable—often holding for more frames than the jump itself—so the audience can register the build-up of energy. Similarly, the peak of a jump might benefit from a bit of hang time to convey weight, before quickly snapping back down into the landing.
Timing is rarely perfect on the first try. Animators often go through rounds of experimentation, pushing keyframes forward or backward, adjusting spacing, or adding breakdowns to smooth transitions. A common pitfall is trying to stop motion too quickly—after a jump, for instance, it can be tempting to have the character land and immediately hold. But real motion doesn’t stop on a dime. Adding extra steps, weight shifts, or slight bounces after a landing helps absorb momentum and makes the action feel grounded.
As the timing gets refined, an important detail to look for is variation. Evenly spaced keyframes tend to create robotic, lifeless motion. A well-timed animation should have a mix of fast and slow moments—sharp transitions, longer holds, staggered steps. This contrast gives the performance rhythm and energy. Looking at the timeline and seeing irregular gaps between keyframes can be a good visual sign that the timing has a natural, organic flow.
Ultimately, strong animation comes from the balance of thoughtful posing and refined timing. Blocking lays the structural foundation, while timing injects life and rhythm.
Watch the full clip from an AnimSchool lecture here:
At AnimSchool, we teach students who want to make 3D characters move and act. Our instructors are professionals at film and game animation studios like Dreamworks, Pixar, Sony Pictures, Blizzard & Disney. Get LIVE feedback on your Animation from the pros. Learn more at https://animschool.edu/