Do you ever wonder how an animator can capture such realistic and convincing movements? For most animators, it all starts with good reference. Being able to act authentically and realistically can elevate a scene from unexceptional to awe-inspiring. AnimSchool instructor and professional animator Scott McWhinne breaks down some reference from his friend and mentor, Jeff Gabor, and gives tips on how to capture convincing reference quickly, effectively, and economically.
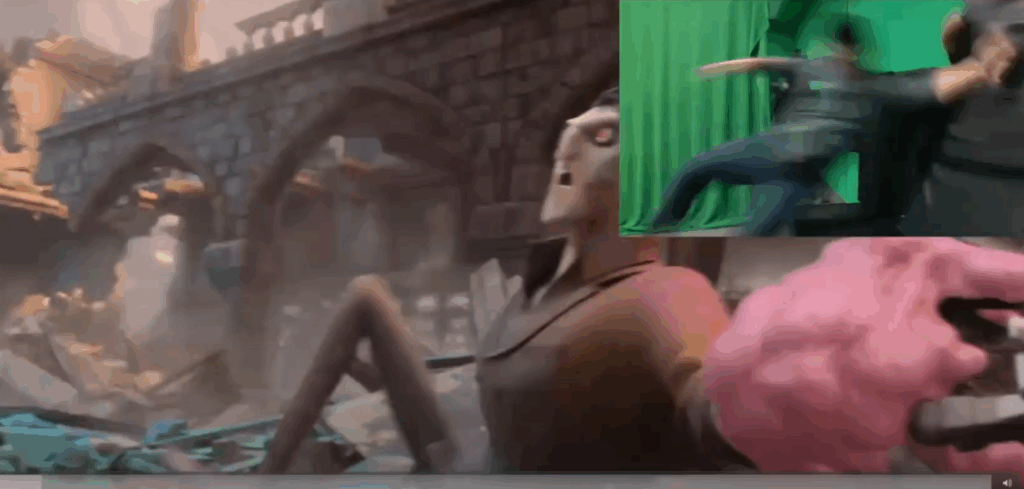
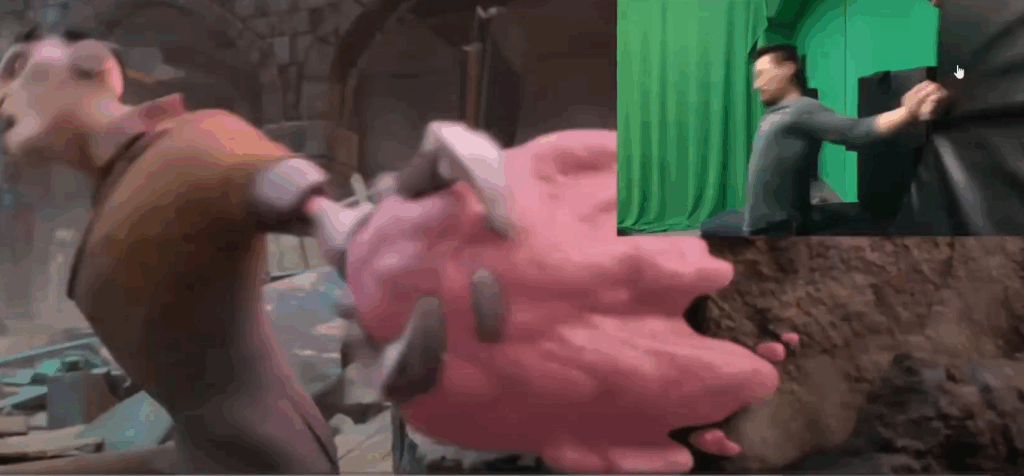
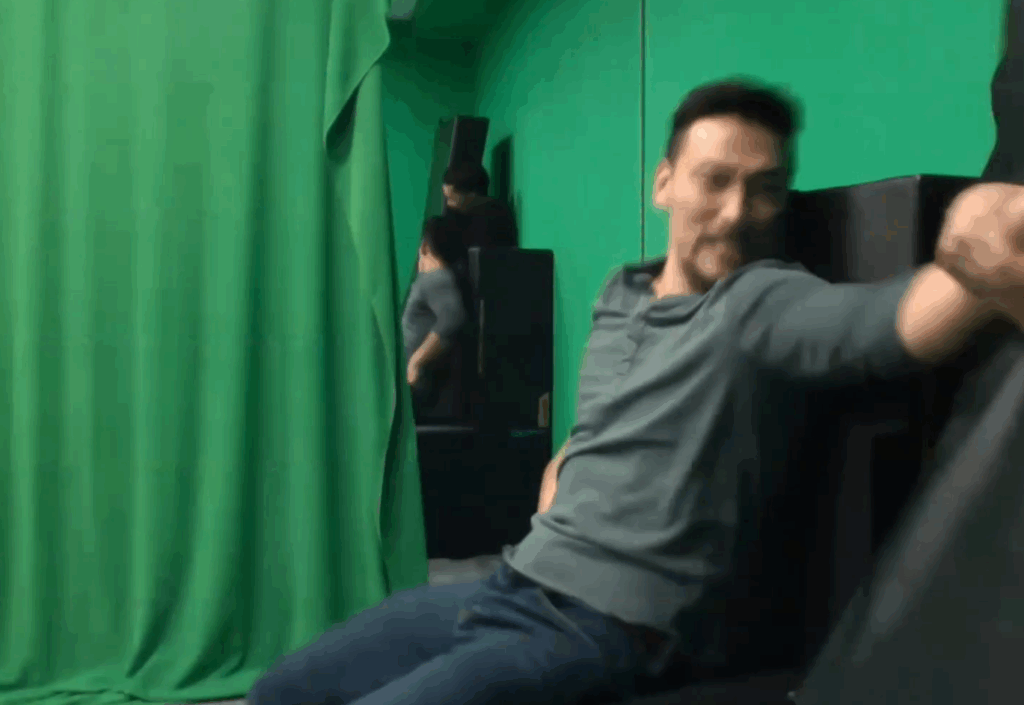
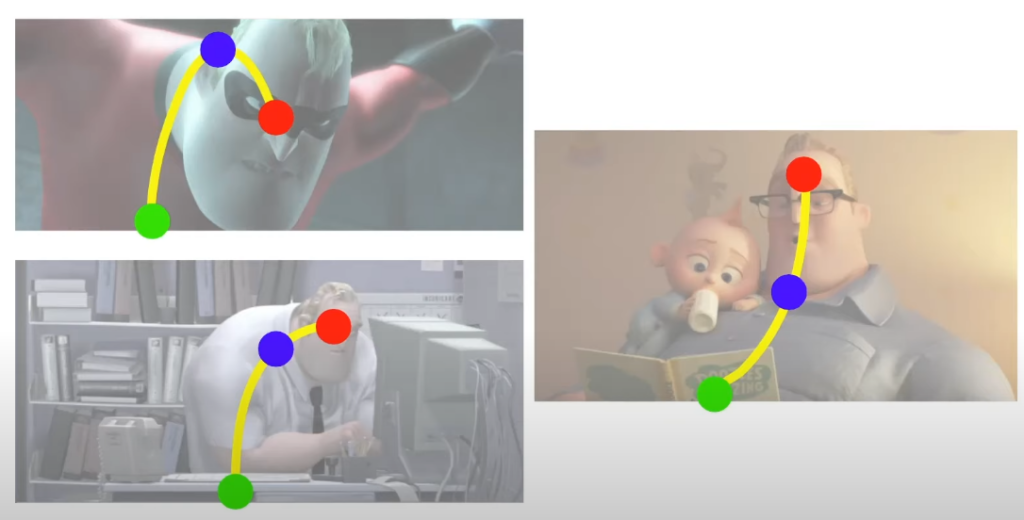
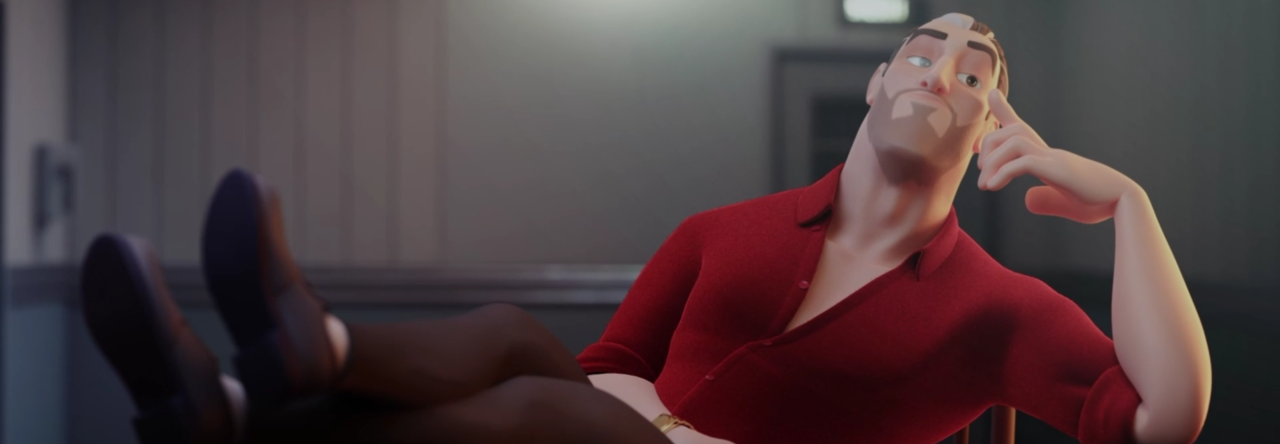
One strength of a good animator is to extract the essence of the reference footage—keeping what’s useful and discarding what isn’t. Rather than simply copying the reference, push it further to serve the animation, emphasizing clarity, caricature, and believability. A key part of his process is camera alignment. In the example below, he ensures that the framing of his reference matches the intended shot as closely as possible. If it’s a close-up in the animation, he shoots a close-up. This minimizes the gap between reference and final output, making it easier to translate movements and poses accurately.
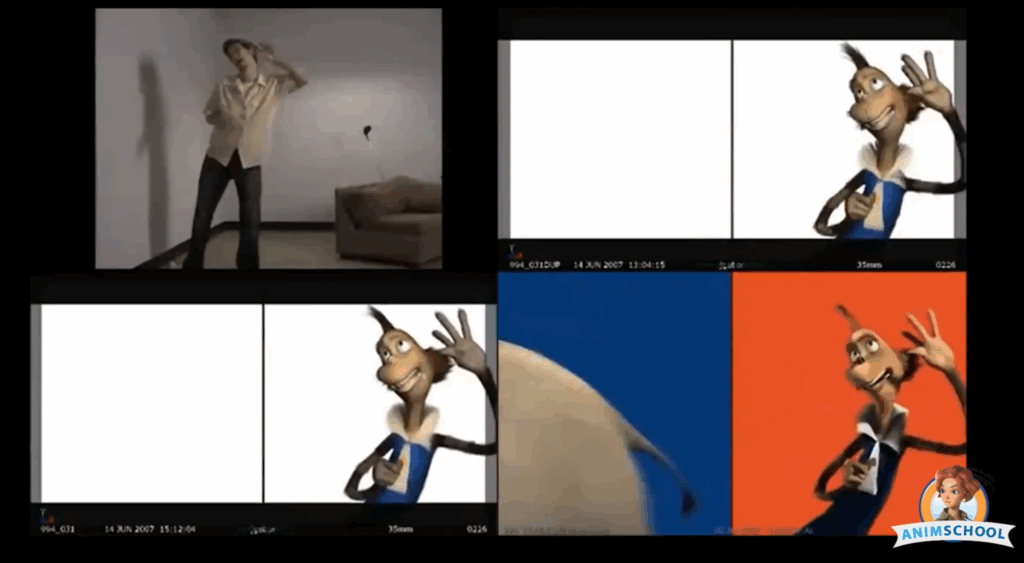
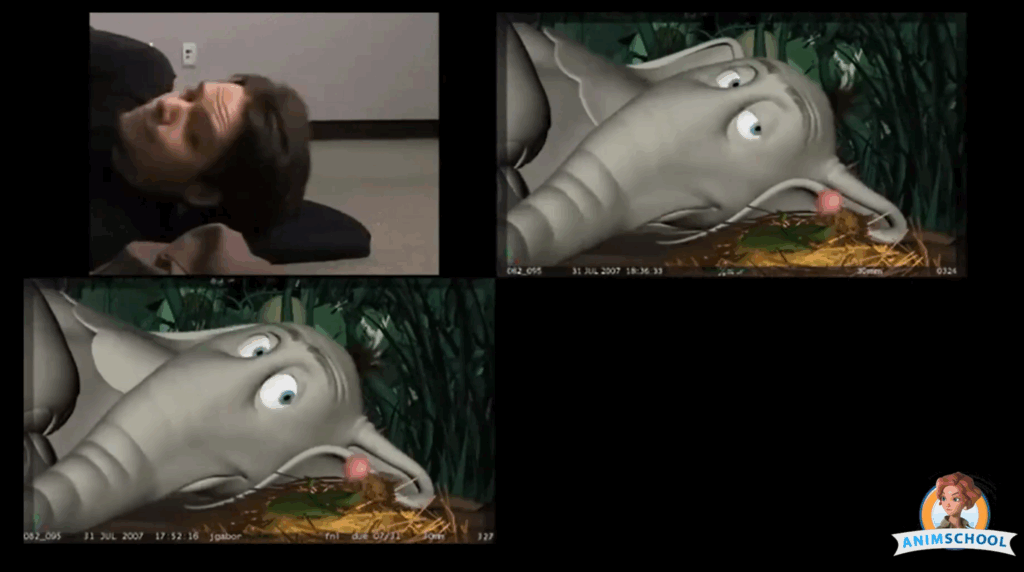
Jeff also keeps his shooting environment clean and clear. He avoids clutter, wears clothing that highlights body movement, and ensures the lighting is strong enough to clearly see facial expressions and physical shifts. Props are another essential part of his method—if the scene involves a hat, he uses a real hat. If the character is lying down, he lies down too—authentic interaction matters.
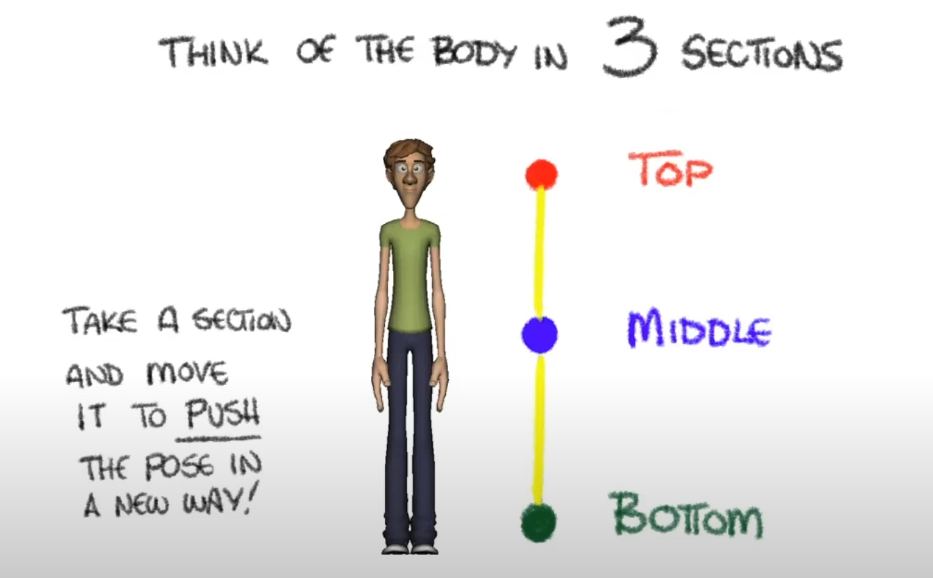
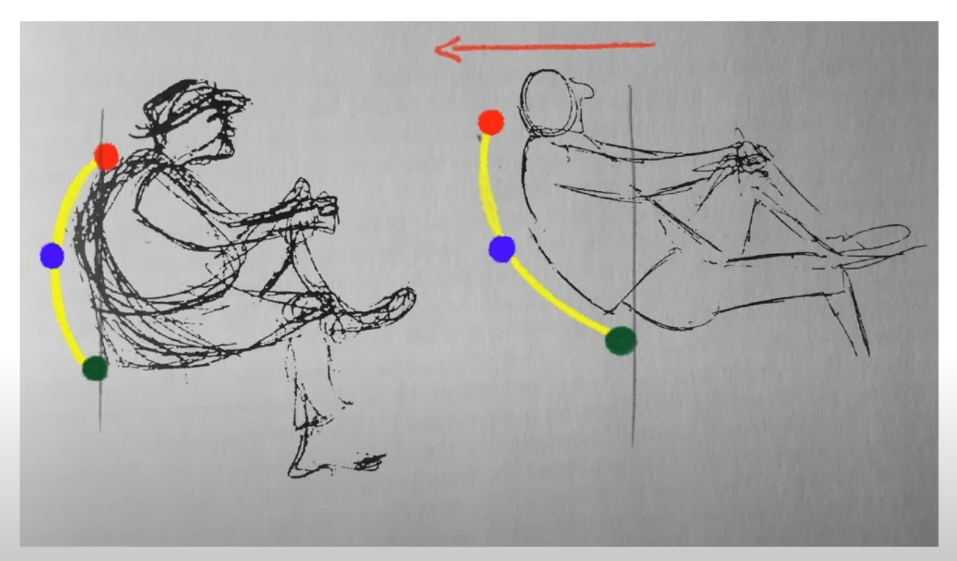
What sets apart a good animator during the reference process is taking a deliberate and analytical approach. In Jeff’s case, rather than recording dozens of takes in a row, he records one take at a time, reviews it, critiques it, and then makes purposeful adjustments before shooting again. This iterative method allows for real progress with each attempt. Additionally, he experiments. He’ll do takes where he restricts head movement, or emphasizes a different physical choice, pushing himself to explore a broader acting range and ensuring each take is different. This helps break creative habits and leads to unexpected, sometimes better, performances.
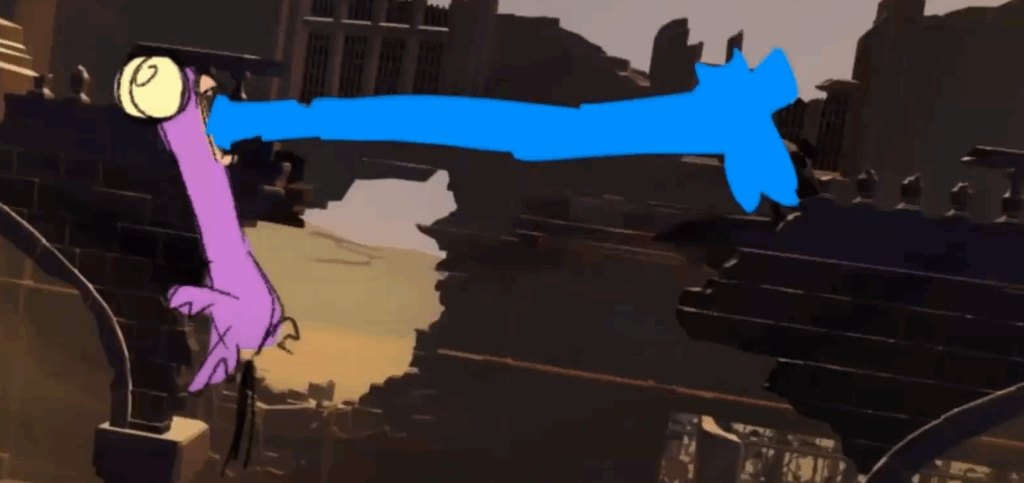
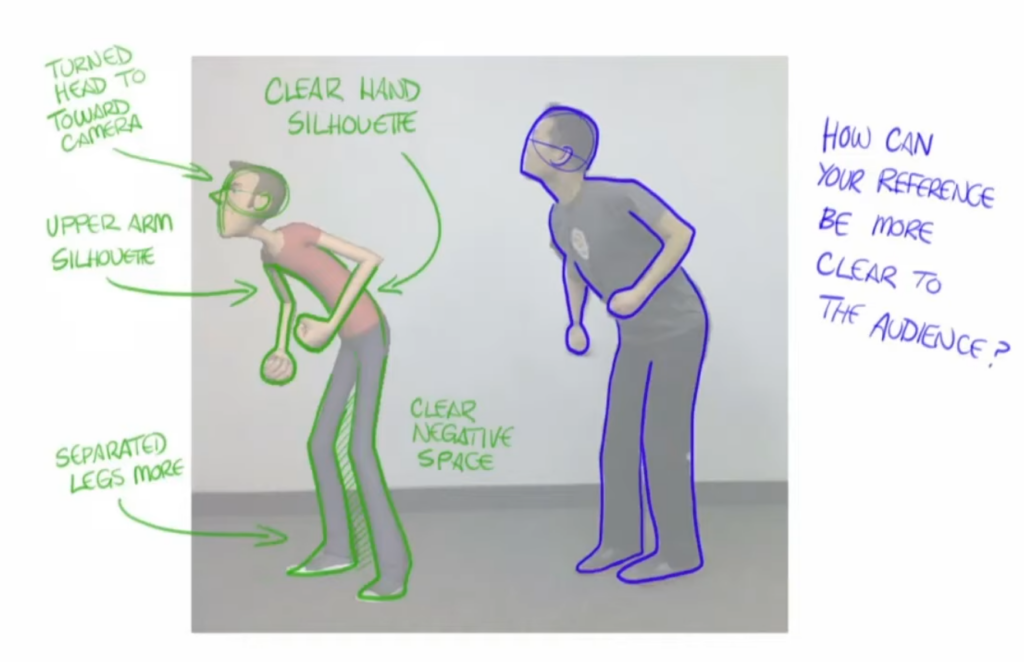
In the end, the goal isn’t just to imitate reality, but to enhance it through animation principles—improving silhouettes, exaggerating weight, and making sure every choice supports the emotion and storytelling of the shot. Don’t just copy the action—focus, analyze, and create something new.
Watch the full clip from an AnimSchool lecture here:
At AnimSchool, we teach students who want to make 3D characters move and act. Our instructors are professionals at film and game animation studios like Dreamworks, Pixar, Sony Pictures, Blizzard & Disney. Get LIVE feedback on your Animation from the pros. Learn more at https://animschool.edu/