Tag: animation principles

Hand Posing Basics

When it comes to character animation, hand posing can make or break the believability of the overall performance. In this clip from an AnimSchool Facial Performance class, instructor Thom Roberts demonstrates some tips for posing hands with more appeal.

Starting with a Natural Pose

The default hand is typically flat and rigid, with no natural form to it. Instead, consider forming a more neutral and relaxed pose. In this state, fingers naturally arc across the palm rather than lying straight. Rotating the fingers slightly in the Y-axis introduces this natural curvature and immediately makes the hand feel more lifelike.

Notice how the left pose feels stiff, while the right feels relaxed.

Breaking the symmetry is also an important step in creating a natural feel. By default, fingers are perfectly aligned and parallel. Introducing subtle rotation helps avoid that uniformity. For example, as soon as you rotate the fingers in Y, it allows for natural overlaps when rotating in X. This technique helps simulate how fingers rest and move in real life — with the pinky slightly overlapping the ring finger, and so on. A common mistake in hand posing is overusing the third finger joint (the one closest to the fingertip). In a relaxed hand, most of the curvature comes from the first and second joints. The final joint is usually reserved for poses that require tension, like clenching or grasping.

When transitioning into more specific poses like a fist, the trick is to maintain visual interest and avoid robotic symmetry. For instance, keeping the index finger slightly elevated or angled differently can add personality and interest to the pose. Avoid even spacing between knuckles — subtle variations help sell the realism.

In quick animation or stylized movement, you can exaggerate hand poses to emphasize motion. This might include scaling fingers or grouping them for a simplified, dynamic silhouette. The goal is to support the direction of the movement and reduce distracting negative space between fingers.

Crafting great hand poses in Maya takes more than just rotating joints; it requires an understanding of anatomy, asymmetry, and the visual language of movement. Focusing on these small but meaningful adjustments will elevate the overall animation and bring the characters to life.


Watch the full clip from an AnimSchool lecture here: 

At AnimSchool, we teach students who want to make 3D characters move and act. Our instructors are professionals at film and game animation studios like Dreamworks, Pixar, Sony Pictures, Blizzard & Disney. ⁠Get LIVE feedback on your Animation from the pros. Learn more at https://animschool.edu/

Animating Weight

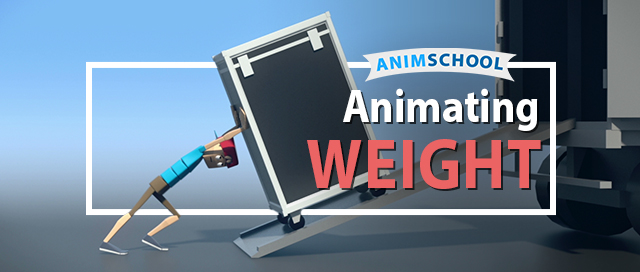
When animating any sort of physical action, understanding and being able to effectively convey force is crucial. It’s about using motion to communicate struggle, weight, and intention. In this clip from a live AnimSchool lecture, instructor Anthea Kerou discusses the basic principles of animating weight. Through the classic “lift a heavy object” animation assignment, Anthea demonstrates what key features your animation should have in order to create a feeling of believable weight and force.

Force and weight becomes visible through the pose. A character pushing a heavy object won’t stand straight—they’ll lean, brace, and shift their center of gravity. This imbalance, with feet pushing backward and the torso leaning forward, is how animators signal effort. If a character’s center of gravity stays balanced, it won’t convincingly show that the object is heavy. Another useful way to assess how heavy an object is is the relationship between effort and effect. If a character puts in little effort but causes a big movement, the object appears light. But if there’s a lot of effort and little effect—like a character straining to lift something that barely moves—it signals weight and struggle, and force being applied.

An example of a character lifting a heavy bowling ball – the action of lifting the ball upwards and back creates momentum in that same direction, causing the character to step backwards to compensate for the change in center of gravity.

Note the difference in poses. In the upper example, the character stands straight—if they tried to push a box, it wouldn’t appear heavy/work properly because the center of gravity is straight with the body. In the lower example, the character’s pose allows for more force to be applied towards the box, indicating that it is heavy and requires more effort to be moved.

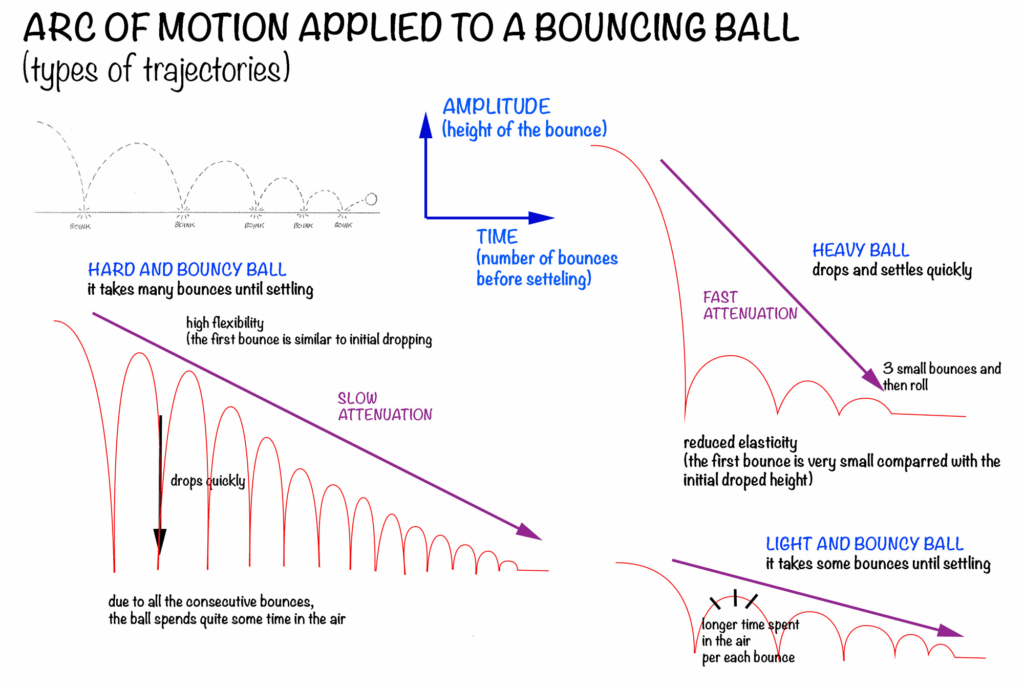
Gravity also plays a major role in how we perceive weight. Heavy objects fall faster and take longer to change direction. This principle can be applied through proper spacing—using arcs that accelerate as objects fall and decelerate as they rise or shift direction. Even spacing takes away from believability and realism, feeling robotic and stiff; instead, variation in timing and arcs gives the impression of mass and momentum.

From cristinateachingart.com

Storytelling in animation goes beyond motion—it’s about intent and response. If a character tries something that doesn’t work, they should visibly readjust and try harder. This adds realism and emotional depth, creating a much more compelling shot. Whether it’s a simple lift or a complex push, mastering these principles of force and weight is essential to creating realistic animations that resonate with audiences.


Watch the full clip from an AnimSchool lecture here: 

At AnimSchool, we teach students who want to make 3D characters move and act. Our instructors are professionals at film and game animation studios like Dreamworks, Pixar, Sony Pictures, Blizzard & Disney. ⁠Get LIVE feedback on your Animation from the pros. Learn more at https://animschool.edu/
Animating the Head

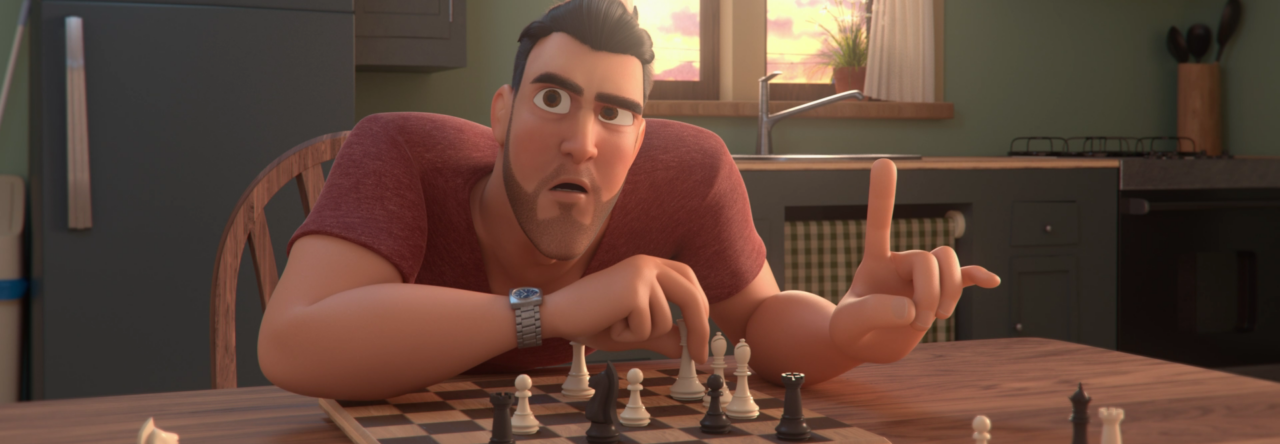
When animating a character’s head, think of the head like a stage and the face as the actors. The two must work together in order to convey a believable performance the audience can understand and connect with. In this clip from a live lecture, AnimSchool instructor Ricky Renna discusses some tips on how to animate the head in order to allow the audience to follow the character’s facial changes and emotions.

Small adjustments to head positioning can completely alter the mood or message of a shot. A subtle head tilt, for instance, can express a range of emotions. A slight tilt downwards may indicate humility or insecurity, while a slight tilt upward can convey confidence or even superiority. By controlling the head’s direction, animators can manipulate how a character is perceived, whether they’re viewed as an equal, an antagonist, or someone who feels subservient. For instance, in scenes where a character looks straight ahead, the tone might come across as neutral or straightforward. However, when the same line is delivered with the head tilted slightly, it can introduce an entirely new layer of meaning. It’s all about the small changes—animators don’t need to overdo it with exaggerated head movements. A little goes a long way in shaping the audience’s emotional response.

In the above example, though the head is very simplistic and quickly drawn, audiences can quickly recognize the difference in emotion and intention from something so basic as the tilt of the head.

Another critical aspect to pay attention to in animation is head stabilization. Birds, for example, have acute control over their heads, allowing them to stay focused on their prey while in flight. Animators strive to replicate this level of stability to maintain focus on a character’s face. In scenes where the head moves too dramatically, it can pull the viewer’s attention away from the character’s facial expressions or dialogue, making the scene harder to follow.

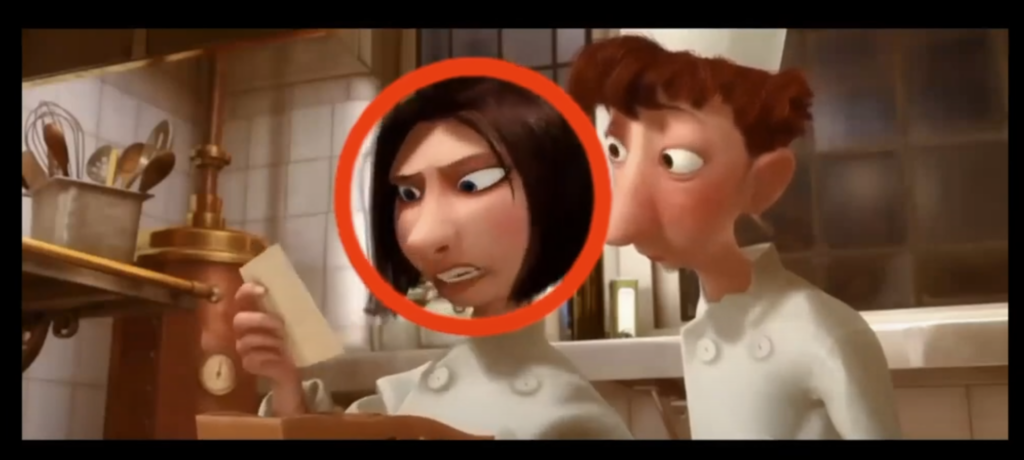
A prime example of controlled head movement in animation can be seen in the character Colette from Ratatouille. While delivering her lines, Colette’s head remains steady, keeping the audience’s attention on her eyes and the expression she’s conveying. Even as her emotions shift—from apathetic to more animated—her head stays focused, allowing her subtle facial expressions to communicate her changing feelings without overwhelming the viewer with unnecessary movement.

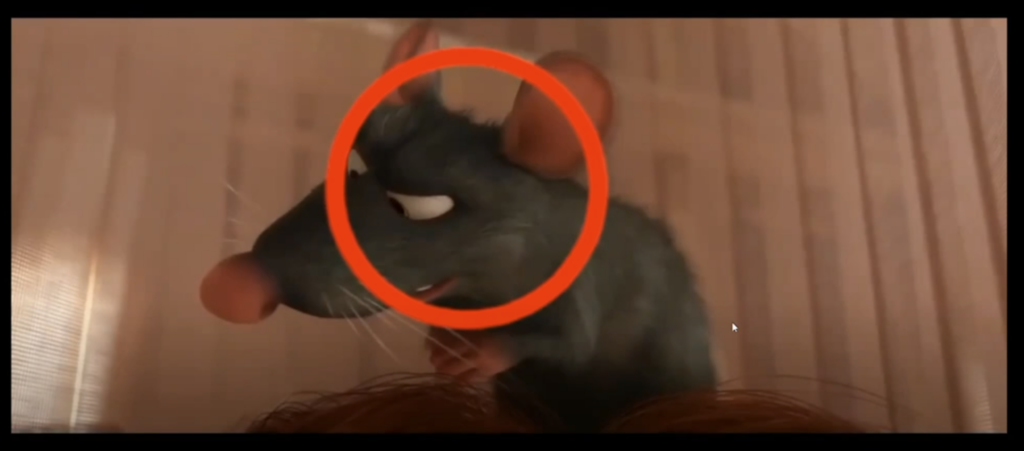
In the world of animation, there’s a technique known as eye trace, where the director ensures that the focus remains on the same point of interest across different shots. This technique helps prevent the audience from losing focus when the scene changes. For instance, when the camera shifts to Remy inside Linguini’s hat, the focus remains on the same point of interest, making the transition seamless and keeping the viewer engaged.

Note that, in the previous shot, Colette’s face is in the red circle; as it cuts to Remy, his face remains in the red circle – this technique is called eye trace.

Ultimately, the key to effective head movement in animation is balance. A steady head allows for clear, expressive communication while preventing distraction. Whether you’re animating a confident antagonist or a shy protagonist, controlling head movement is an essential tool for bringing your characters to life.


Watch the full clip from an AnimSchool lecture here: 

At AnimSchool, we teach students who want to make 3D characters move and act. Our instructors are professionals at film and game animation studios like Dreamworks, Pixar, Sony Pictures, Blizzard & Disney. ⁠Get LIVE feedback on your Animation from the pros. Learn more at https://animschool.edu/
Cartoony 3D Animation – Tips & Tricks

Animation is a unique medium; not only does it allow the artist to breathe life and feeling into a character, it also enables the artist to accomplish anything no matter how farfetched the idea. An animated character can break every bone in their body without issue, run across the map in two seconds flat, fly without wings, or even eat a sandwich the size of their body and immediately snap back into shape. Typically, this type of out-of-this-world animation is referred to as “cartoony” style animation, but how is it created? The hardest thing to tackle when it comes to creating something so wild is losing a realistic point of reference. Instead, new ideas are being introduced to the audience on the spot. The role of the animator lies in finding the balance between aiding the audience to follow the action while simultaneously creating an entertaining piece of storytelling. In this clip from an AnimSchool lecutre, instructor Justin Weg gives discusses some key tips to animate in a “cartoony” style.

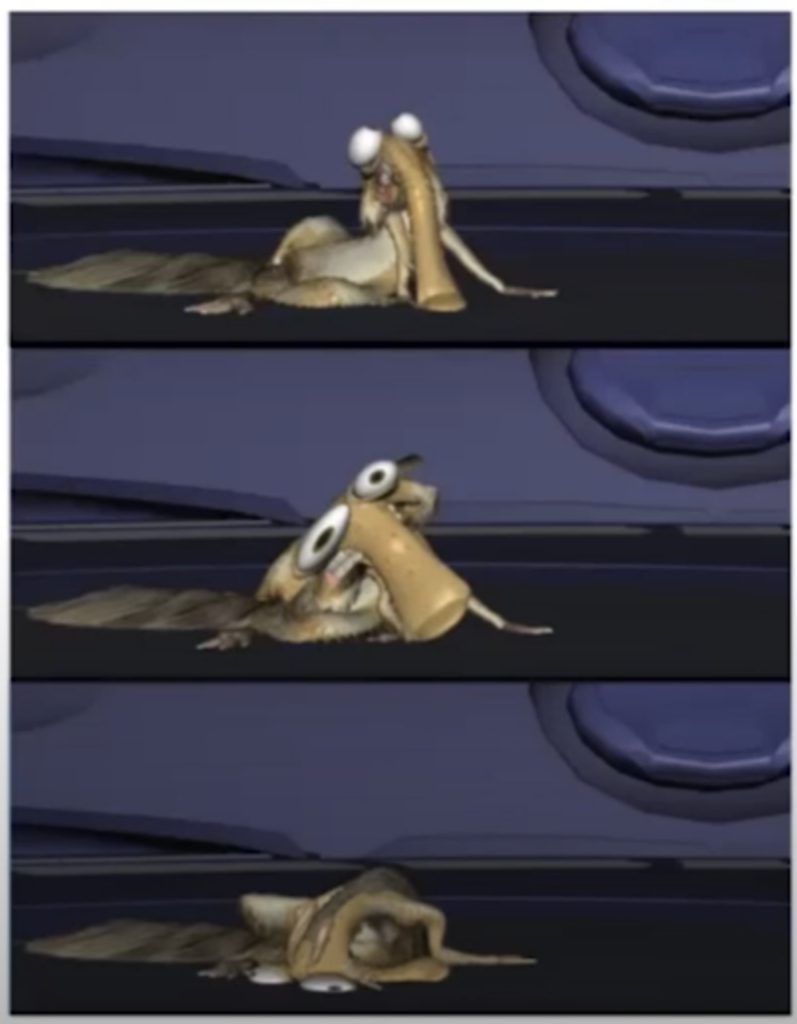
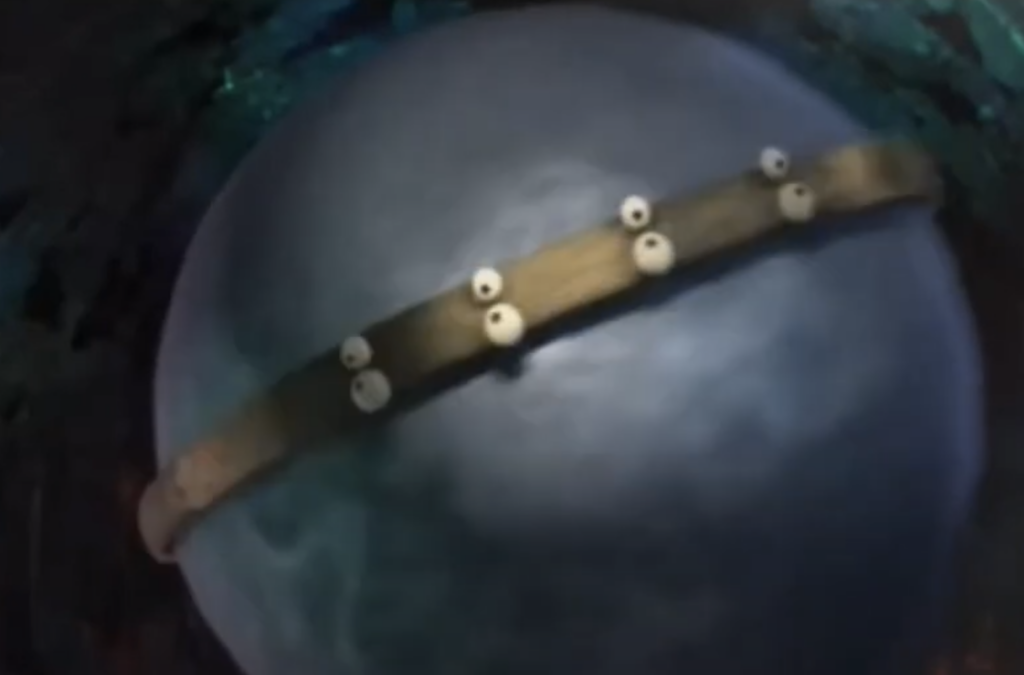
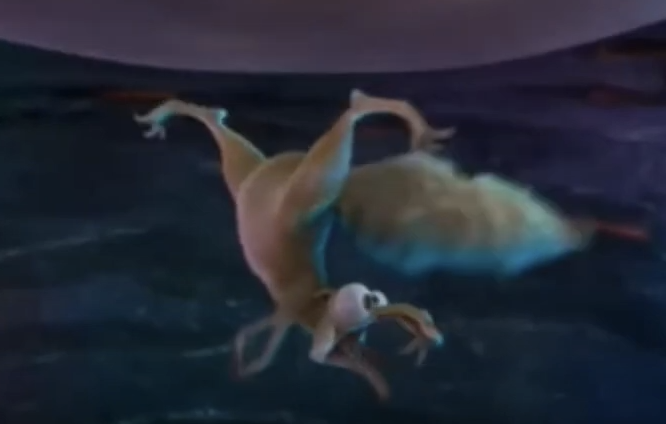
When considering cartoony movements, two main techniques should be utilized: squash and stretch and multiples. These techniques enhance the animation’s dynamism, allowing characters to exhibit extreme emotions or actions, such as Scrat from Ice Age. His animation demonstrates how exaggerated stretching and quick movements can bring a character’s energy to the forefront. For instance, by tracking the eyes as a focal point, animators can help the viewer follow fast, chaotic movements without getting lost in the transition. The eyes serve as a reference for the viewer’s attention, anchoring the action as the character moves through space.

Another essential technique in cartoon animation is the use of multiples, especially when depicting fast motion. This method is designed to convey the speed of a character’s movement. When deciding to use multiples, treat them as if combining two or three frames into one. Typically, arcs are also utilized in the placement of the multiples, easing into the final position. Through this approach, animators can create fast, fluid actions that capture the viewer’s attention, like when a character’s limbs or eyes stretch out at high speed.

Moreover, squash and stretch is a technique that involves the physical distortion of characters, emphasizing their elasticity. This is evident when a character is compressed into a small form (squash) and then dramatically stretched (stretch) to indicate force or impact. This technique, along with well-timed follow-throughs and ease-ins/outs, makes the animation feel weighty and believable, even in the most exaggerated scenes.

By carefully combining these techniques, animators create a sense of exaggerated motion, while maintaining visual coherence. The focus on tracking key elements like the eyes ensures that viewers can follow the action, even in the midst of chaotic or comical movements. Ultimately, these principles help to keep animation lively, engaging, and full of character, providing the foundation for the expressive world of cartoon animation.


Watch the full clip from an AnimSchool lecture here: 

At AnimSchool, we teach students who want to make 3D characters move and act. Our instructors are professionals at film and game animation studios like Dreamworks, Pixar, Sony Pictures, Blizzard & Disney. ⁠Get LIVE feedback on your Animation from the pros. Learn more at https://animschool.edu/

Storytelling in Animation

What is the role of an animator? Is it to have the best spline pass? Is it to have a masterful lip sync? At its heart, the role of an animator is to be a storyteller. As animators, we have to bring characters to life – but it’s our choices, how a character jumps, how a character sits, even how a character breathes – that tell the story underneath. 

From a walk cycle to a dramatic all-out fight, every decision made by an animator can tell a different story. Similar to a painting, posing in animation is an integral part of storytelling, every frame gets sculpted, every pose is thought out and together the sequence can become a masterpiece. 

In a snippet from a live AnimSchool class, Brendan Fagan takes viewers through the main role of an animator as a storyteller by explaining how the fundamentals of storytelling can be combined with the principles of animation to produce unparalleled animators.

The Role of an Animator

  • To help tell the story
  • To entertain the audience
  • To bring characters to life
  • Use acting skills to communicate ideas
  • Creating a variety of animation styles
  • To make adjustments according to feedback of directors or supervisors
  • Work to a deadline

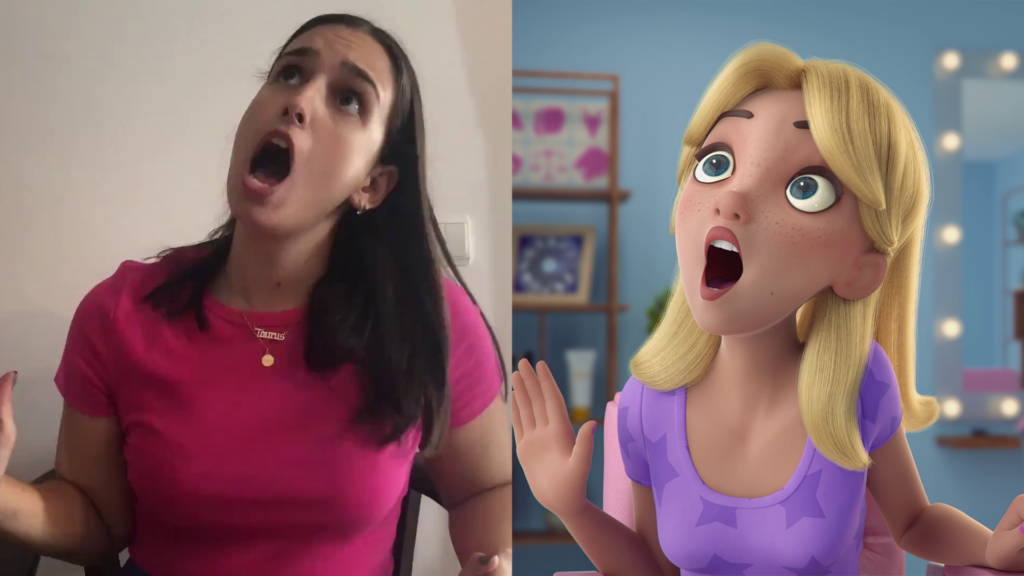
Animators are actors! Understanding how to create appealing and entertaining poses to help communicate the story to the audience is a crucial part of an animator’s job.
(Animation by AnimSchool graduate Catarina Rodrigues)

Telling the Story

  • You are writing a story with pictures; goal is to entertain the audience
  • A picture is worth a thousand words – an idea can be conveyed with a single image/single pose
  • Any good story has a beginning, middle and end – your animation should, too!
  • Know where your scene fits within the wider story; know where your character is coming from and going to so you can apply the overarching theme to your process
  • Each animator, if given a story, can come up with a different visual representation to best convey it
  • Avoid cliche ideas – make things unexpected!
  • Keep it simple!

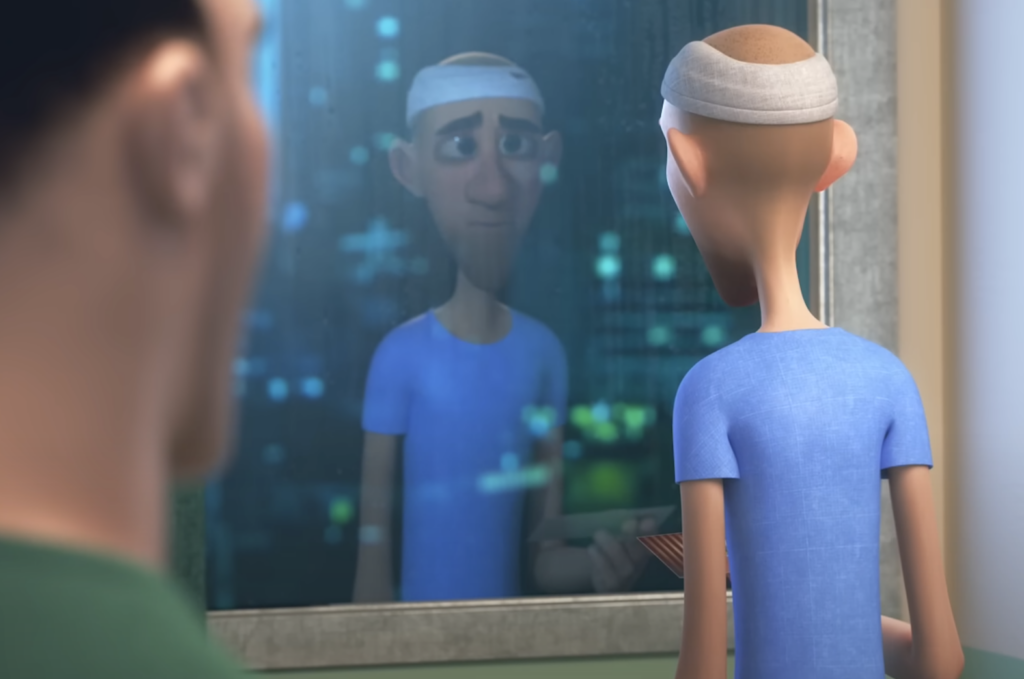
What is the main character feeling here? What might the story be? What hints from his body language, facial expressions, etc., help to convey that?
(Animation by AnimSchool graduate Piotr Jalowiecki)

Storytelling Factors

Stories generally have a three-act structure: setup, conflict/obstacle, and resolution. Even in short scenes, the three acts are still present, but may not be as noticeable or traditional with how they appear.

Reflect on some questions about the story you are trying to tell: 

  • What is the situation?
  • Who is the character?
  • What is the character trying to accomplish?
  • What is the outcome?

(Animation by AnimSchool graduate Marcus de Andrade)

Considering this information and familiarizing yourself with the overarching story can help you become a better visual storyteller through your animation. 

Watch the full snippet from an AnimSchool class lecture here:

At AnimSchool, we teach students who want to make 3D characters move and act. Our instructors are professionals at film and game animation studios like Dreamworks, Pixar, Sony Pictures, Blizzard & Disney. ⁠Get LIVE feedback on your Animation from the pros. 
Learn more at https://animschool.edu/