Tag: 3D modeling tips

Introduction to XGen

Character model by AnimSchool student Chip Richman

Whether it’s to make grass or hair, XGen is a powerful tool within Maya that can help take your models to the next level. In this snippet from a live AnimSchool class, instructor Koji Tsukamoto demonstrates how to get started in XGen. With Koji’s guidance, we can get a better grasp of the daunting task that is XGen, breaking down his method step by step.

XGen is Autodesk Maya’s powerful tool for generating hair, fur, and complex geometry. It has become an industry standard for 3D character design, allowing artists to fine-tune every aspect of their hair simulation—from the description and guide placement to the final sculpting.

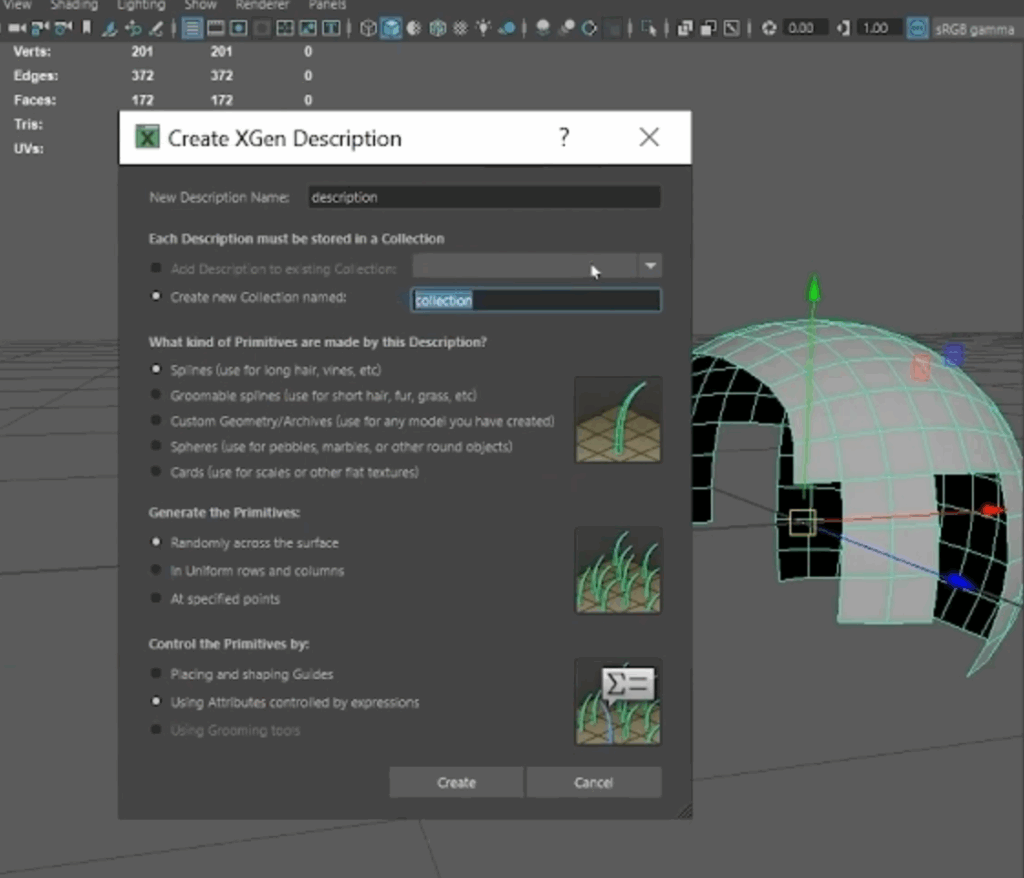
Hair creation begins by setting up “descriptions”—the building blocks for different parts of a hairstyle. You might create separate descriptions for areas like the sideburns, top of the head, or eyebrows, each with its own parameters. These can be grouped into collections to stay organized, especially when working with multiple styles or variations.
The next step is adding guide curves. These guides are essentially the blueprints for your hair, dictating its direction, flow, and overall volume. You can either scatter the guides automatically or place them manually. Manual placement is typically preferred when shaping hairlines or specific contours. The number and placement of guides determine the overall flow and density of the hair, so striking the right balance is key—too many can slow down performance, while too few can limit detail.
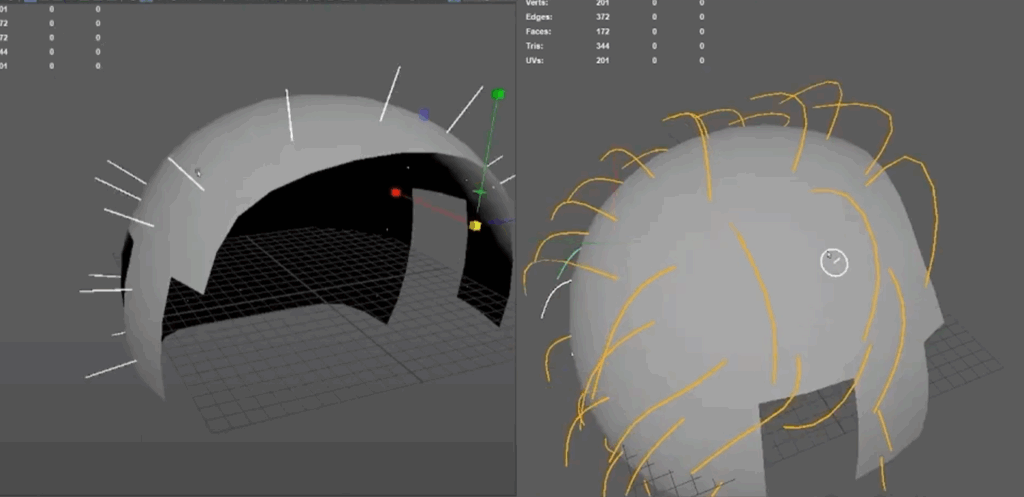
Once guides are in place, you can manually sculpt each guide to adjust curve shape, flow, and length.

In addition to sculpting, XGen provides control over the density of the hair. While it’s tempting to max out the hair density for a more detailed look, doing so can slow down the system and make the scene harder to work with. It’s often best to start with a lower density and gradually increase it as you refine the hair’s shape and styling.

Toggle the visibility to help temporarily focus on other elements of the character.

For more complex hairstyles, XGen allows you to use multiple hair descriptions for different sections of the hair. Switching between these descriptions allows you to adjust each section independently, giving you a holistic view of the character’s hairstyle. This modular approach also makes it easier to make global changes across different hair sections without disrupting the entire design. By managing descriptions, carefully placing guides, and using the sculpting and visibility tools effectively, you can achieve natural and believable hair simulations.


Watch the full clip from an AnimSchool lecture here: 

At AnimSchool, we teach students who want to make 3D characters move and act. Our instructors are professionals at film and game animation studios like Dreamworks, Pixar, Sony Pictures, Blizzard & Disney. ⁠Get LIVE feedback on your Animation from the pros. Learn more at https://animschool.edu/

Modeling the Ear

When approaching a big modeling task, the big picture may become so overwhelming that it becomes difficult to remember how to break down a model into smaller parts. By slowing down and approaching a character model as the sum of its parts, as opposed to an all-encompassing project, we are able to set ourselves up to succeed. In this lecture taught by AnimSchool instructor Emilie Austin, we approach a small feature in a character model, the ear. Modeling an ear in 3D can be one of the trickiest aspects of character design. The ear’s unique shape, curves, and intricate details can pose challenges for even experienced artists. Emilie demonstrates how with careful planning, great reference, and patience we are able to break down this complicated shape into a manageable and approachable task, focusing on key techniques for creating a realistic and functional ear. Such a technique is applicable not only to the ear, but any modeling task at hand.

Start with the Basics: The Plane

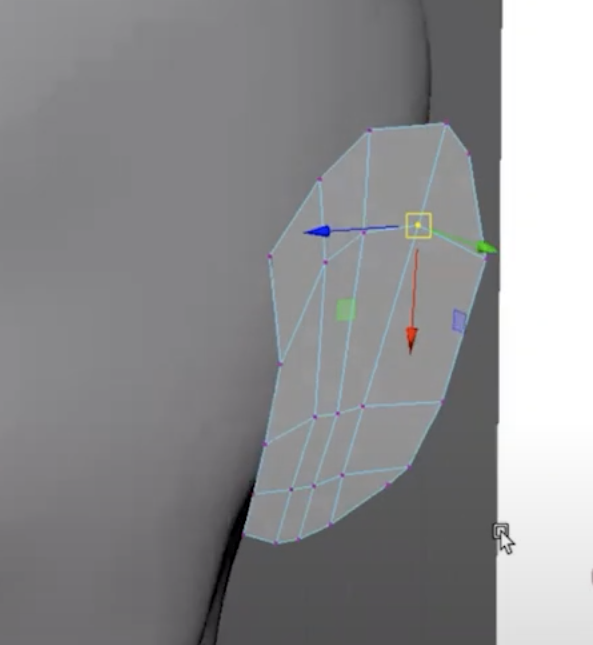
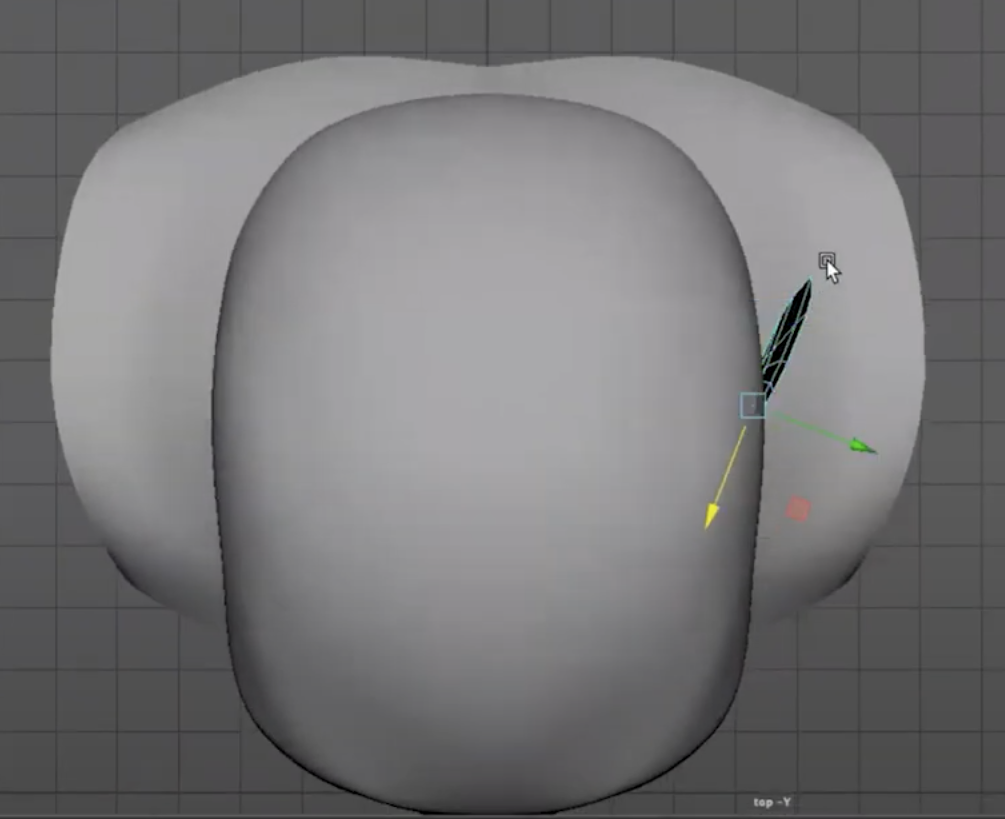
Begin by creating a simple plane to use as your starting geometry. This is the foundation for shaping the ear. Instead of extruding the geometry from the head, which can create messy topology, it’s better to model the ear separately and merge it into the head later. This method avoids disrupting the face geometry and ensures that both the head and ear can be worked on individually for precision. Block out the basic shape of the ear from the side view, then move the plane into the desired position and adjust the orientation as needed.

Extruding the Ear’s Structure

With the base shape established, start extruding parts of the ear to give it depth. The back of the ear is crucial to define early on, so pay attention to its curvature and the way it wraps around the head. As you extrude, focus on the ear’s thickness and how it gradually tapers at different points. Add edge loops as necessary to preserve the ear’s form and detail.

Shaping and Refining Details

As you continue to extrude and adjust the topology, take time to refine the ear’s unique features, like its folds and curves. Ears have many subtle shapes that contribute to their realistic appearance, such as the helix and the concha. In many 3D programs, you can slide edges and vertices to manipulate these areas more efficiently. Don’t forget to constantly check your reference images to ensure accuracy.

Final Adjustments and Optimization

Once you’ve blocked out the main structure of the ear, continue refining it by adding details like the inner ear folds and adjusting areas where the geometry is too thin or too thick. Afterward, check the ear’s alignment with the head and adjust the angles as needed.

It’s perfectly fine if your model initially contains some triangles. These will be hidden in areas where they aren’t visible, such as the interior of the ear, which doesn’t need to be highly detailed. Finally, add a few holding edges to reinforce curves and make sure the ear transitions smoothly with the rest of the character’s face.

Modeling an ear in 3D may seem daunting, but breaking it down into steps—blocking out the shape, extruding to form depth, and refining details—makes the process manageable. With practice, you’ll be able to model ears quickly and efficiently, whether you’re designing realistic characters or stylized ones for animation and games.


Watch the full clip from an AnimSchool lecture here: 

At AnimSchool, we teach students who want to make 3D characters move and act. Our instructors are professionals at film and game animation studios like Dreamworks, Pixar, Sony Pictures, Blizzard & Disney. ⁠Get LIVE feedback on your Animation from the pros. Learn more at https://animschool.edu/