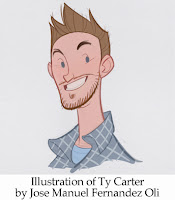
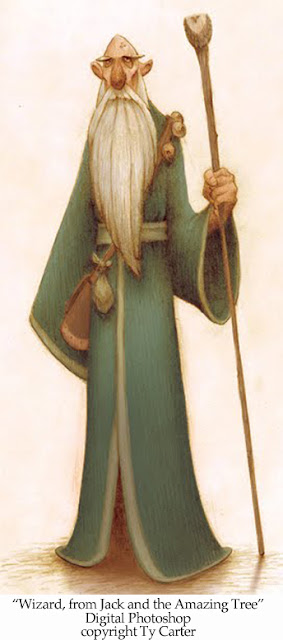
AnimSchool would like to welcome Ty Carter. Can you tell us a little about your background and how you became a visual development artist for Blue Sky Studios?
I suppose, since I can remember, I always loved to draw. Through grade school I’d literally fill the borders of my homework with dinosaurs and machinery sketches until there was no space left. My teachers didn’t seem to mind and sometimes even asked for personalized drawings! It really pumped me up when people wanted my art. If not for the positive attention it garnered, I’m not sure where I’d be today…Maybe peanut butter and jelly salesman. Looking back, I am really lucky my parents and family always encouraged me to pursue art. Dad consistently opened doors for me to look into artistic careers. Mom put my work on the fridge! I used my first oil paints at age 7 with my grandpa. I’m certain at least half his paint was wasted that day! By the time I was in high school, I had narrowed down my “career options” to architecture, industrial design, and advertising although I had always wanted to work for Disney from a very young age. It was just difficult to envision a realistic pathway into the industry. Art schools were over-priced. My closest connection to the Walt Disney Company was a VHS tape. The competition was unfathomable. And above all, I didn’t know if I was good enough. Animation was something you dreamt about; how many people can say they go to work and get paid to draw pretty pictures? Luckily for me, my perspective was about to change.
Just before high school graduation, I heard about the animation program at Brigham Young University. It was a new, successful experiment and tuition was cheap. So, my dad set up a few meetings for us to visit the campus. I still wasn’t sure which direction to go so we met with the heads of 3 departments: Industrial design, Advertising, and Computer Animation. Industrial design sounded so cool! Designing practical transportation, tools, and machinery sounded amazing! The creative track of advertising looked like a blast. I could totally see myself brainstorming and executing appealing campaigns to brand a product. Then we met with animation. It was like somebody took the best parts of industrial design, architecture, and advertising, and combined them into one! Before our conversation was even finished, I made up my mind.
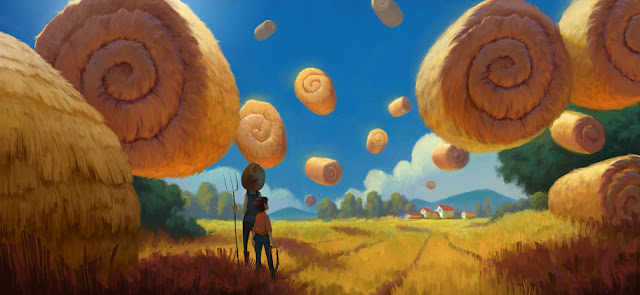 |
| “Grandpa’s Farm” Digital Photoshop copyright Ty Carter |
When I turned 19, I served a two year Spanish-speaking mission in Texas. It was a time of service, friendship, and introspection. I learned more about myself in 24 months than I ever realized before. I learned about setting long term goals and accomplishing them. I learned to manage time and large teams of people. I learned to work with those I didn’t get along with. It was a very rewarding time which prepared me for things to come.
When I returned home, I was accepted into the animation program at BYU. I worked extremely hard on all my assignments and especially focusing on one discipline. After my first year, I was invited to intern at Walt Disney Feature Animation. The internship was eye-opening! It gave me confidence that I could one day have a full-time job doing what I loved. The next year I was invited to intern at Pixar Animation Studios. There I had the opportunity to work on Toy Story 3. I never imagined being a part of Toy Story and it meant the world to me. It was so special to experience two historical studios; It was a memorable time.
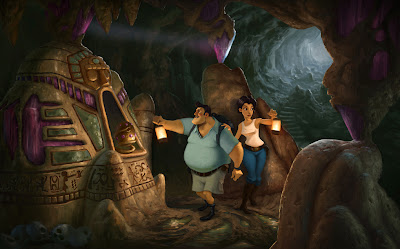 |
| “Cave Dwellers” Digital Photoshop copyright Ty Carter |
When I returned home from Pixar, I resumed a short film I had started 9 months earlier. For the next year I worked solely on completing the project. DreamGiver went on to receive awards and honors at The Academy of Television Arts and Sciences, Anima Mundi, Cannes, Comic-Con, SIGGRAPH, and many more.
When I graduated from BYU, I was invited to intern at Blue Sky Studios. I began on Ice Age 4 and then Epic. After a few months, I transitioned into a full-time job as a visual development artist. Blue Sky is an incredible place to work. The talented artists I work with make the job so rewarding.
While at BYU, you developed the story and directed the short film “DreamGiver.” When did you start thinking of the DreamGiver character?
The DreamGiver idea actually came from my own odd experiences with sleep walking when I was a boy. I slept walked almost every night. This is not an exaggeration. Sometimes I’d go to sleep in my bed and wake up on the front porch. In the morning, I’d be completely confused. Once, I woke up on the wrong side of a loft banister, 20 feet above the next floor. It’s baffling I didn’t fall! My mom almost started handcuffing my wrists to the bed posts because she was worried I’d get hurt. What was so odd about my sleepwalking was not the frequency, (many kids have similar experiences) but the dreams. Each time I slept walked I was dreaming. I was moving around an imagined dream environment and a real environment simultaneously!
I explored this sleepwalking idea further with the DreamGiver character and the boy. We jump from a real and imagined world where even a dream seems life threatening. The DreamGiver is this fantastical creature who tells us where dreams and nightmares come from. The little boy is almost my clone. He’s unintentionally causing trouble as he sleeps.
DreamGiver from Tyler Carter on Vimeo.
How long did it take you to fully develop the story, and how long did it take to create the film from development to rendering?
The film production, including story and visual development, went from September 2008 until December 2010. That time period is slightly deceiving because production truly lasted only a year and 4 months. I started developing the film in Fall of 2008, right after my internship at Disney. I enrolled in a digital painting class to do the visual development for 4 months and at the same time tied down major ideas of the story. In January of 2009, I approached five students to begin modeling, rigging, and texturing. We planned to work through the summer but production went on hold when we all got internships! You could say we had the first university cloud studio! After interning at Pixar by day, I’d take to revising DreamGiver storyboards by night. When I returned to BYU in the fall, I ramped up production with new texture artists, lighters, and animators. Production management was always up and down with artists coming and going on internships, jobs, honeymoons and school; this is the nature of making a student film. You are dealing with countless interruptions and performing a balancing act with each artist. It prepares you well for a studio!
On top of production, students at BYU are dealing with more diverse work loads than many art schools. The average DreamGiver artist took 14.75 credit hours per semester which included general education courses. This really forced us to organize our schedules and manage time effectively. We really put our whole hearts into this thing, but it wasn’t for a class. It was for ourselves. We worked through holidays, seasons, and whatever it took.
Can you talk a little about the process of gathering all the talent, including the composer?
Absolutely. To answer the question, let me explain how the Center for Animation is structured at BYU. It is housed under three colleges: The College of Fine Arts and Communications, The College of Computer Science, and the College of Mathematics. These three colleges allow animation students to fluidly move in and out of their courses, enabling students to explore all aspects of the medium as they please. For instance, if I was interested in production engineering, I might take courses to learn computer science as well as advanced calculus coupled with figure drawing. Normally, this would be impossible, but BYU Animation creates an environment where artists can choose their own path, they can “cross-pollinate” into other disciplines. I believe for this reason students come out of the program being well rounded; they’ve explored most of their interests to be able to pinpoint their passion. Of course, if you are a lazy student, this type of infrastructure can work against you.
Each year, hundreds of students apply with the hopes of being accepted into the program. 25 will be accepted and make up the new sophomore class. During their junior year, the group will have the opportunity to pitch stories and vote on one to become their senior film. They will choose a director, producer, and work together for the next year and a half to complete their project. So essentially, the Center produces one film each year.
At the beginning of my sophomore year, I began exploring this story idea which later became DreamGiver. I was more and more excited as it developed. Visually it could be groundbreaking and the story could be a fresh take on an old idea. I feared throwing it into the democracy of our senior film pitch. When you pitched your film to the group, it became property of the group. Instead of just one voice, you’d have 25 artists tugging and pulling in different directions. Of course, the film could still be good but very different from the original vision. I didn’t want to risk losing something so close to me. So, I decided to act. I pitched DreamGiver to the professors. One teacher said the project would never be finished. Another thought it was too ambitious for a side project. Then to my astonishment, they gave me the green light!
Directing, Producing and writing the film put me in a very unique position. I had all creative and administrative control, and I liked it. I began to carefully choose artists from all different levels within the program. Age didn’t matter. I was after the most talented students. I wanted the artists out to prove something, the most driven people I could find. If I wanted to create my vision, I needed the best team possible. It was also tricky because DreamGiver came second to official senior films. Sometimes we had to give up our workspaces for other artists or give up artists entirely.
I organized a fundraiser to raise money for the film. I rented a clubhouse and held an “animation open house” where people could come and learn about the process of computer animation. There were animation stations throughout the building giving hands-on demonstrations explaining what we did.
I hand picked and managed a team of 46 artists. They ranged from freshmen to seniors. Some were computer science majors and others were pre-animation, having not yet been accepted into the program. Some were married with kids and others were single. It was all about selecting the right people to cultivate harmonious dynamics within the team.
Sometimes I was wrong about people. A few times, I bent over backwards to get a student on the team who ironically turned out difficult to work with and failed to meet deadlines. When artists working on my film missed deadlines, I couldn’t afford to keep them around. The risk was too great to allow anything less than professionalism. So, if your production deadlines were not met, you didn’t stay on the team.
Everybody knew they could rely on the artist next to them. We were a sort of family. We spent long hours each day working, ate meals together, and attended classes with one another. Each one of us wanted this project to be the best it could be.
As we approached the final months of production, I began looking for student composers on campus. I interviewed seven before finding Lance Montgomery. Once I met him, I was certain he was the one. He had experience, awards, and vision. When he began scoring sections of the film, I knew we had something special. The process was a lot of back and forth until just the right feelings came through. The only hiccup was that the music was all being created through his computer. It was synthesized. It was a small thing but it drove me crazy. One morning I approached the conductor of the BYU Philharmonic. I explained to him how we’d been working on this film for a year and how I wanted every aspect to be top notch. We wanted the recording done live not synthesized. After a little persuading and some academia politics, he agreed to lead the BYU Philharmonic and record Lance’s score using their facilities. It was one of the most memorable moments in my life to see this orchestra play our score.
What advice would you give to students who want to get a small group together for a student film?
The best advice I can give a student wanting to make a film is to really see it through. If you’re going to spend all this time working on a single project, make it worthwhile. Make it something you are proud of. Invest in it. Build a team around it. Look for ways to make it unique. Be proactive as you go about all aspects of production. It might seem daunting but it’s well worth the stress when the product is high quality. It is one of the most difficult things you’ll ever face but the payload completely makes it worth every minute.
You integrated the 2D animation beautifully with the 3D animation. Did you have the idea of using both mediums as a way to separate the worlds from the very beginning or was this idea something that evolved with the story?
Yes, from the beginning I wanted to separate the dream world with 2D animation. It was the most effective way to keep them different but also allow creative freedom for storytelling. As we ran our first pencil tests and pieced it all together, I realized the traditional process would be too lengthy. The time it took to do rough animation, clean up, ink & paint, and compositing was more than we had. We needed to eliminate one of these steps but still have the flexibility of dynamic 2D animation.
Jason Keyser pioneered a test with Adobe Flash. He created rough animation with the pen tool, cleaned up by blocking each silhouette in color, and dropped the finished animation cleanly over a rendered scene. The only step remaining was some subtle After Effects integration already scheduled into the production.
Jason’s 2D breakthrough saved us hours upon hours of time. Flash is vector based so we could easily enlarge the assets without worrying about pixelation. This allowed for easy zoom in zoom out manipulation. Flash’s cannon of transform tools made it possible for limited animation on a number of shots. This doubled our efficiency. Because Flash is digital we were able to composite almost simultaneously.
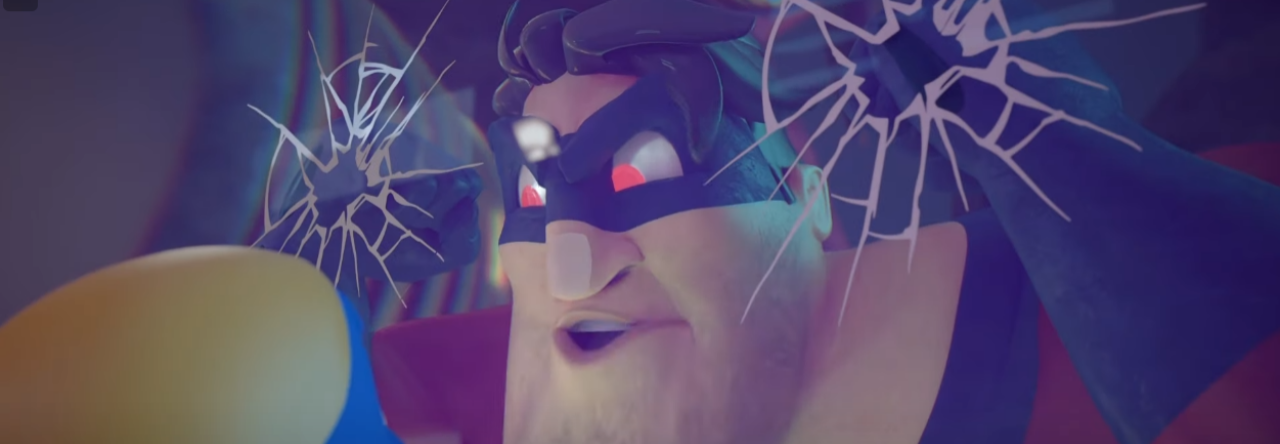
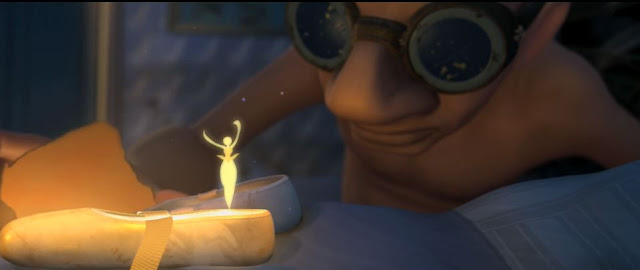 |
| “DreamGiver” |
Was there a part of directing your own short that was harder or more complicated than you expected? What were the challenges you had to work through?
One difficulty of directing a student film is keeping the production moving forward. By moving forward, I mean hitting deadlines to finish on time. In school, everyone is working for free so their motivations are somewhat out of your control. Sometimes momentum slows down and affects team morale. This was a difficult thing to control. When deadlines were being missed, the production wasn’t moving forward and that meant the movie wasn’t getting finished. It was a thought that scared me to death! To counterweight negative momentum, I started putting together crew nights. I organized social time for us to hang out as a team. It was a lot of fun. Artists brought their girlfriends, wives, and/or kids to the events. I’d take the crew to a midnight screening or throw a pizza party. These unifying activities really helped. We weren’t getting anything done on the film but we were investing in our friendship. When we returned to the lab the energy always teemed positive. Having fun together always builds team morale.
School projects are tricky because the team is constantly changing. As I mentioned earlier, students were coming and going due to internships, classes, vacations, graduations, honeymoons, and study abroad. There are also other factors slowing down a school production. Sometimes the render farm goes down or the computers stop functioning. There aren’t millions of dollars tied to student films so it might take time to be fixed.
DreamGiver was unique because I directed, produced, art directed and wrote the film. Those four jobs were extremely tough to balance at times. The daily communication from one artist to the next was always challenging. Keeping the vision consistent with so many people was ongoing. As the team grew bigger, especially during the final months of production, communication became really demanding. I was scheduling meetings, creating artistic notes, promoting the film, balancing the academia politics, creating my own art, organizing artists, and working to keep my academic scholarship at the same time.
How do you feel the internships at Disney, Pixar and Blue Sky helped you as an artist and making a film?
The internships were extremely insightful. They gave me realistic perspective on my goals and inspired me to reach higher. I made lots of great friends too! One way in which they helped my film was professional mentoring. I couldn’t offer the students working on my film money for their work but I could offer them networking opportunities. I tried to keep in touch with everyone I met at the studios. When a new student would join the DreamGiver team, I would connect them with an industry professional. It directly benefited the film and the student.
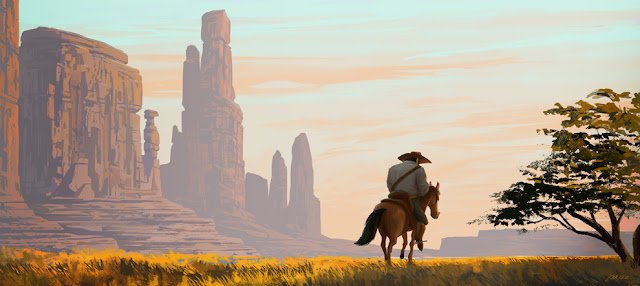 |
| “Gunshot” Digital Photoshop copyright Ty Carter |
Looking back at your adventure making a film with your peers, do you have a favorite memory or moment that happened during production?
For me, the most exciting moments were when teammates got job offers. We all worked so hard and took huge risks. It’s almost miraculous to see where everyone is now. The results are the best part.
My favorite memories are the ones late, late at night when people start to say funny things. There was one artist in particular who would begin a sentence and never actually complete it. He was so tired that he would trail off and then stop mid-word. Moments like these are too funny!
One of the most rewarding aspects of the film was working with so many talented artists. It was energizing to sit down together solving problems and making things work. You can build so much more working together than you can alone.
How has developing a student film influenced your creative process at Blue Sky?
There are so many reasons to make a film! It really helped me understand the production pipeline on a deeper level. When you’re moving a project phase by phase you learn and appreciate each department’s role. The experience provides perspective which is absolutely relative preparation for a professional environment. You discover ways to make production more efficient, respective to your discipline. Everything you learn from a personal film can be directly applied to a studio. The experience helps me everyday.
On your website you frequently show painting studies. How do these studies support your role as a Visual Development Artist?
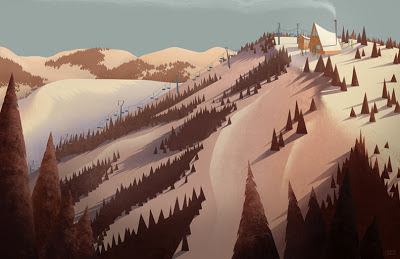 |
| “Park City” Digital Photoshop copyright Ty Carter |
|
|
|
Studies are a great way to practice. They relax me when I’m stressed and allow me to try unconventional, bold ideas I otherwise might not try. As a Vis Dev artist, it’s important to conceptualize ideas very quickly but with accurate subtlety. When you plein air paint or draw the human figure from life, you are interpreting images into lines, forms, values, and shapes. Studies allow you to explore these elements of design, understanding the subtleties in life’s design. You literally store information in your brain and then release it on paper. What’s so beautiful about the human mind is that we’re able to recall this information and reinterpret it however we please. We are told to “draw what we see not what we think we see” for good reason. When we break our universe into smaller pieces, suddenly we understand it; we’re enabled to manipulate its beauty as we come to know it better. Good design is taking something from real life and emphasizing, exaggerating, and/or manipulating its characteristics to a new level of appeal. You must first observe life before attempting to capture life in a drawing.
A behind the scenes look at the making of DreamGiver
DreamGiver BTS from Wyatt Strain on Vimeo.
Thank you Ty, for sharing your experiences and process of making an award winning student film.