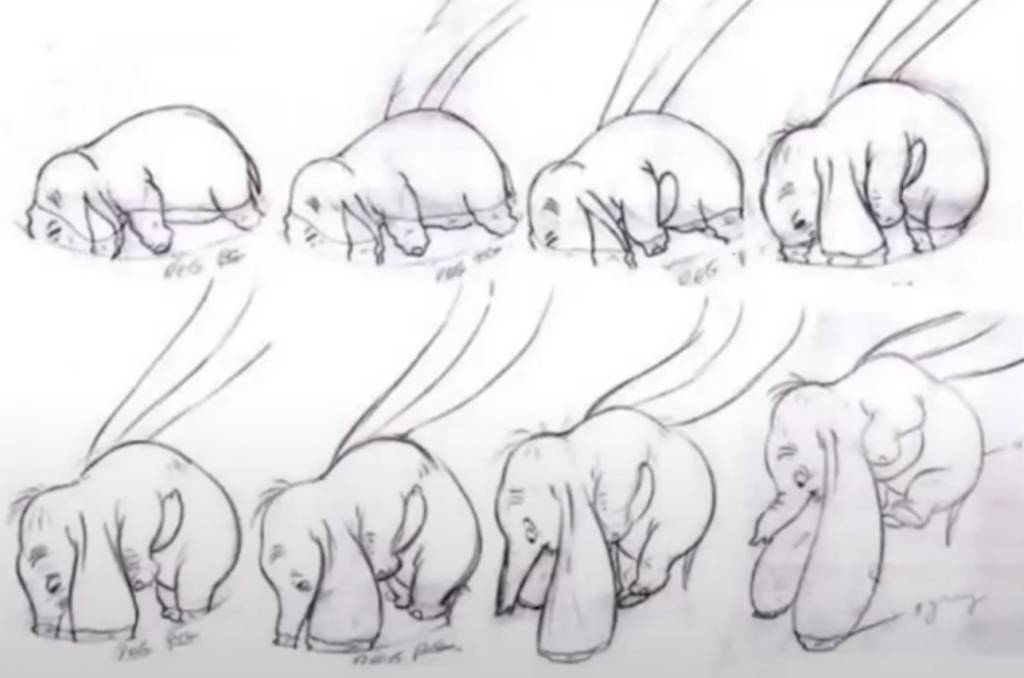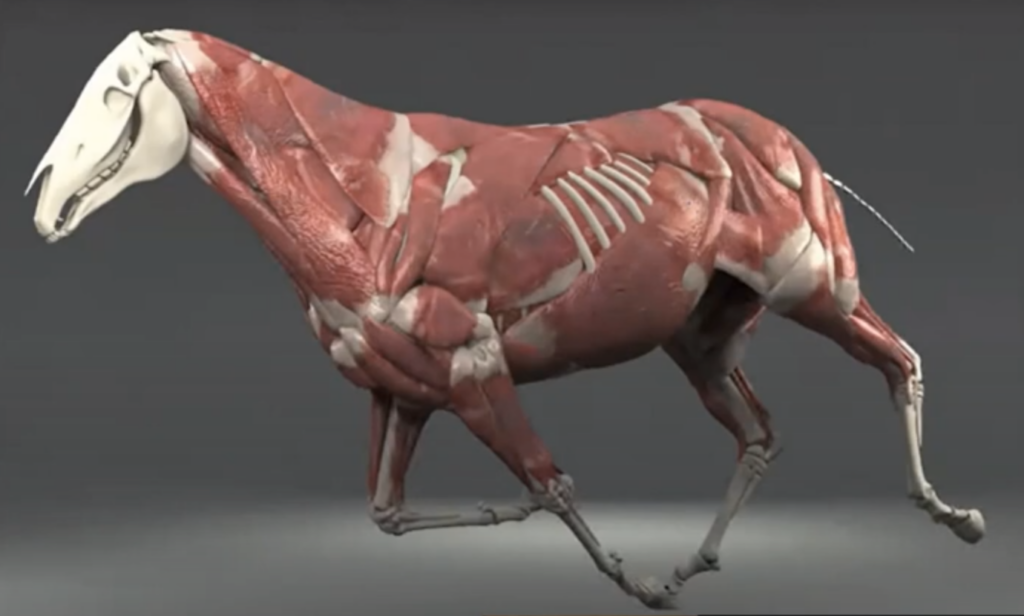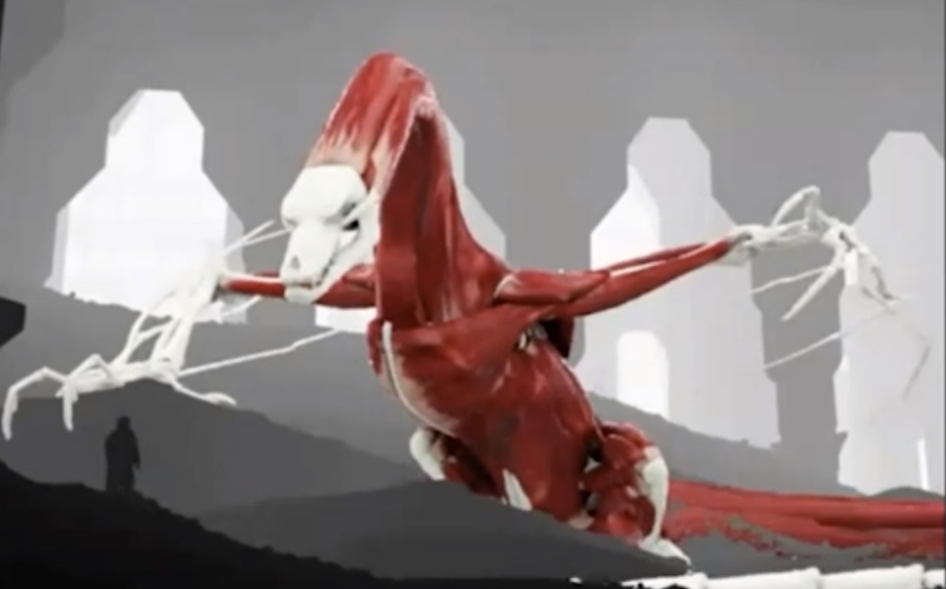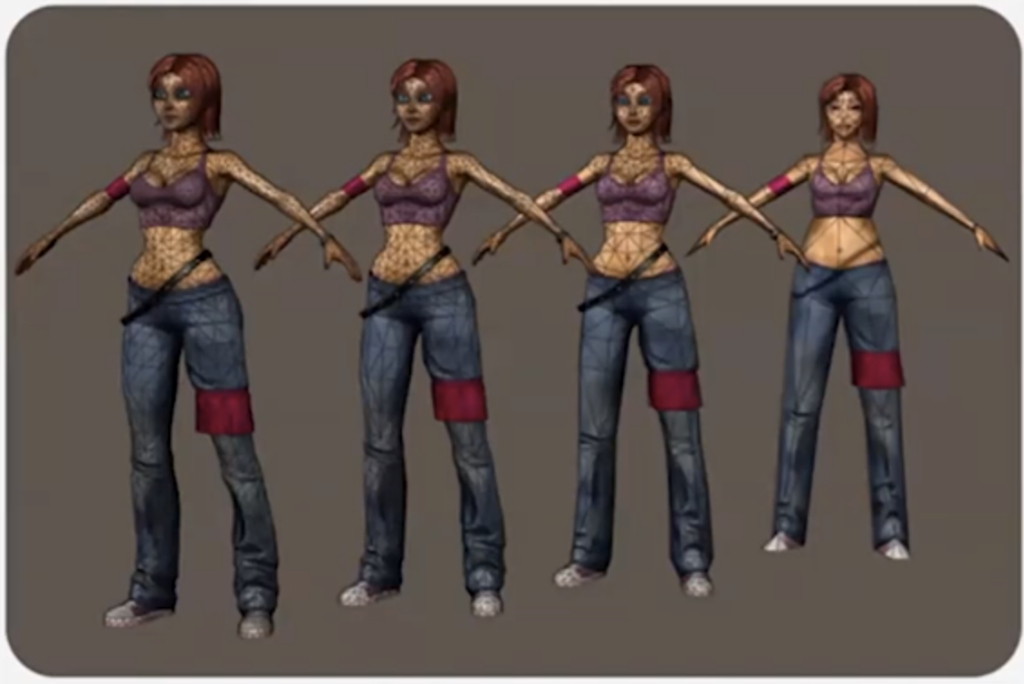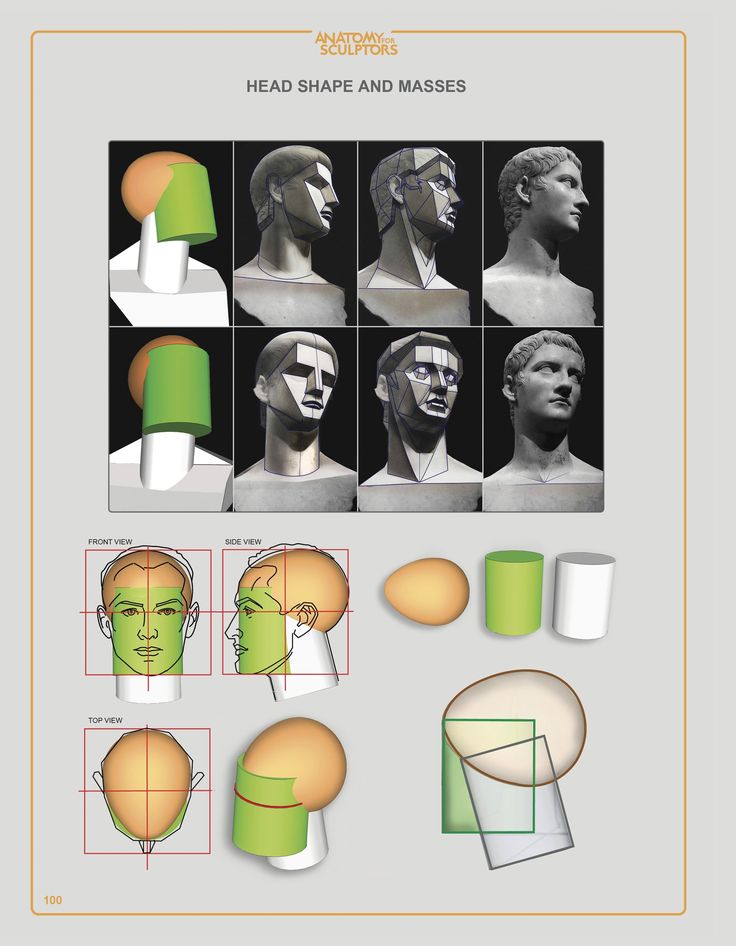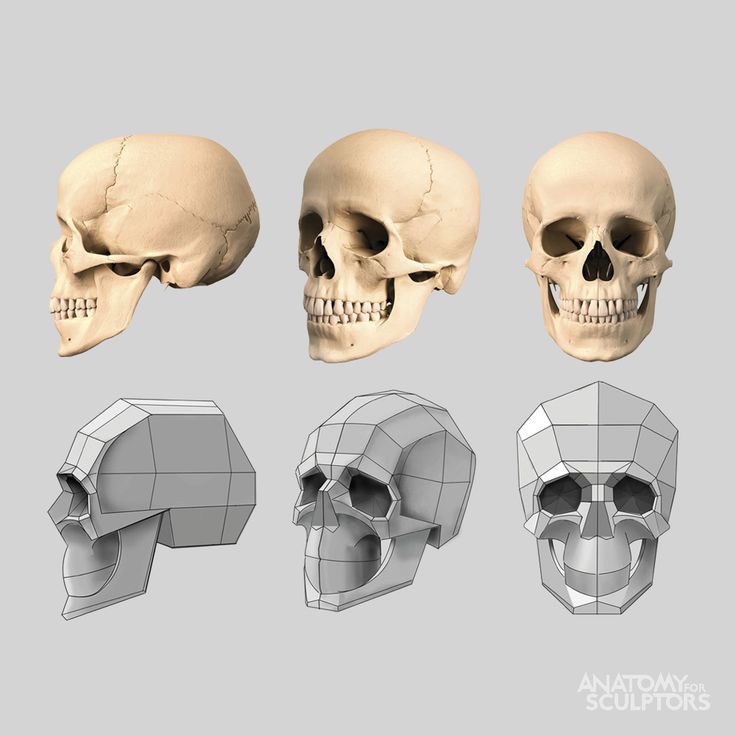
Charles emphasizes the importance of having good reference at hand before starting your model.
Many times during his lectures, Charles references the book “Anatomy for Sculptors” by Uldis Zarins. Many sections of the book can be found in their sample online.
But if all else fails, you can always use your own hands to help guide you in this process.
Just like the human finger print, every hand is unique and has individual characteristics. But fundamental forms and shapes persist.
Notice the way your hand forms a wedge where it meets the fingers. Notice the “V” shape present within the 3 sections that form your finger. Notice how the ring finger and the ring finger are relatively the same size. All these details and more are fundamental to recreating a human hand in 3D space.
Charles shows us the importance of starting simple, getting the shapes and forms correct and adding more definition as you go. This method allows beginners to successfully sculpt a hand from scratch.
As part of the class, Intermediate Modeling/ZBrush, Charles shows students how to create a hand in Zbrush from scratch. Starting from a simple palm and ending to all 5 fingers, please enjoy this condensed clip of his lecture on hands.
At AnimSchool, we teach students who want to make 3D characters move and act. Our instructors are professionals at film and game animation studios like Dreamworks, Pixar, Sony Pictures, Blizzard & Disney.
Our alumni currently enjoy a 92% placement in the industry within 6 months of graduating.
Start your animation journey in our accredited online animation program at animschool.edu (ACCSC)
Whether it’s to make grass or hair, XGen is a powerful tool within Maya that can help take your models to the next level. In the tutorial below, AnimSchool Instructor Koji Tsukamoto shows us how to get started in XGen.
XGen can be an intimating tool. A tool that is well known for crashing and not playing nicely with artists.
Getting started with such a tool is a daunting task. With Koji’s guidance, we can get a better grasp of XGen, breaking down his method step by step. Before we pick up with Koji, take a look at the instructions below!
First thing to make sure of, set your Maya project.
Without your Maya project being set, you will have many issues and glitches down the line.
Now you would head on to the XGen Shelf. Where we will then click on the XGen Menu Icon, this will start up XGen within Maya.
Make sure to have your Mesh selected & click on Create New Description.
The description name will be the portion of the head (or other object) that you will be covering with XGen material.
The Collection Name on the other hand is the group of hair types on one object.
For example, a description would be “Back of Head” but the collection would be “Main Hair Style”.
For this tutorial, Koji elects to choose “Splines” for the primitives options in order to have more control over placement.
Go ahead and click Create to get going.
Use the “Add or Move Guides” tool found in the middle of the menu icons.
Start by outlining the object with guides.
Once you’ve done this, now you can move on to using the “Sculpting Guides” Tool in order to have more control over the guides’ flow and positioning
He then goes back to the “Add or Move Guides” tool and places more guides.
As you give XGen more information with the more guides you place and sculpt, XGen will approximate each new guide by averaging out the guides around it. This happens as you place more and more guides on the object.
Right clicking, copying and pasting guides also helps expedite the process.
Watch Koji’s video below for an in-depth look at his technique for XGen.
Lorin Z. Pillai is an experienced and accomplished artist who has worked in a variety of roles in the animation and VFX industry. With a background that includes work on big-budget VFX features, commercials, gaming, and animation, Lorin has a diverse set of skills that have helped her succeed in the industry.
Lorin learned VFX, texturing and modeling at Gnomon School of Visual Effects. After graduating, she worked in VFX feature, then quickly transitioned to gaming where she shipped three titles. She then moved on to Nickelodeon for almost four years and then worked at DreamWorks for nearly seven years! Currently, Lorin works at FuseFX as an Asset Lead. She serves as a mentor and committee board member for the organization, Women in Animation.
We recently had the opportunity to speak with Lorin about her experience and journey in various industries she’s been a part of.
Hi Lorin! Tell us about yourself and your journey into the Animation/VFX industry.
I’ve jumped around a lot! My first job was working on a big-budget VFX feature, then I did some short contracts in commercials, onto gaming as an environment artist–which was my intended area of the industry. After a few years and three game titles shipped, I was ready for a new experience. I moved over to animation, between Nickelodeon and then Dreamworks, I had the opportunity to work on hundreds of animated episodes and fourteen shows. I was tremendously fortunate to have a direct hand in creating many of the main characters and sets for some of these shows, as well as leading the look and feel. After ten years in animation, I felt the need for a new experience, I wanted the opportunity to stretch and learn more. I switched over to live-action VFX episodic, and I’ve had the distinct pleasure of working on many shows for Hulu, Disney+, Marvel, and others.
As someone who went to in-person art colleges, can you talk about the pros and cons of doing an online program like AnimSchool compared to traditional universities?
Personally, I lost a lot of time (and gas money) driving to school. And I still had a home system to work on as I couldn’t always be at school. Sometimes teachers could only meet with me when I wasn’t scheduled to be at school, meaning extra unplanned trips. When completing
projects for a reel and finishing classes, time counts. The ability to stay connected while seamlessly switching over from class time to project time (and also not transferring files between my home machine and the school lab also makes a big difference) The main con would be lab access, if a lab at school was empty I could commandeer multiple machines to render out my finished frames.
Who/what are some of your biggest inspirations that influence your work?
Mary Blair is a huge inspiration for me. She was one of the first female artists in animation to really be recognized. Though she was more of a concept artist, she worked in several areas in animation and was one of the first women to be given creative freedom in our industry.
Can you tell a little bit about your experience as a woman in the Animation/VFX industry?
I’ve seen it evolve to be less about my gender over the years. It felt prevalent when it was early in my career, but has seemingly balanced out a lot more.
Lorin discusses more of her experience as a women in the animation industry with ABC 10 News.
Have you seen and/ or experienced a culture shift over the last 10 years with the rise of communities such as “Women in Animation” and “Rise Up Animation”?
I’ve definitely seen and personally experienced it. I was a bit disheartened to see when I first started in the industry that though there were women employed, mainly they filled out the lower ranks. Very few women were in decision-making positions. And it was not evenly balanced either, it was still mainly men. Now there are more opportunities for women, and choices for who moves up in the ranks feels more merit-based overall.
You’re also an award-winning fantasy writer! Tell us a little about this passion as well as why it’s important for working artists to have passion projects.
I always start my term by explaining how I love the art of visual storytelling because that’s
partly what lookdev is. And I love transitioning that to the page! Storytelling in its various forms is a lot of what many of us do in animation. If you’re nearing completion in school, getting that job, or joining that team … may be the biggest, most consuming goal for many of us. After a few years though, it starts to become apparent that we are working on someone else’s ideas many times, which is great! I learn from other visual storytellers, and I’m excited and motivated for the various projects I work on. There are so many talented people I’ve collaborated with. But I also need something that is all mine, my ideas made real, the things I’m interested in exploring. Personal ventures are a great way to keep these skills evolving and growing.
What are some of the most important concepts you try to emphasize in your class that you feel like you didn’t learn in school?
I don’t remember it really being discussed how critical the note process is in production when I was in school. Learning how to receive notes, and how to listen objectively, it’s not easy by any stretch but I like to encourage learning how to navigate it early on. It’s a production mindset that is applicable regardless of the exact spot you fall in asset development.
What was the most unexpected thing you encountered when going from being a student to working professionally at a studio?
How much I thought I knew, versus how much I did know. For instance, I didn’t understand how important pipeline was, I couldn’t completely wrap my head around that until I was actually thrown into it. The importance of file formats, version continuity, save locations, etc. The understanding of what it took to work in a production took some time to learn once I started working.
How do you think working in the industry will be in the future, post-COVID, especially now that companies are being encouraged to go back to business as usual?
Since WFH has proven successful, it is opening the door for more remote work, so though studios are opening back up, a hybrid situation is currently going on. People are contracting to
remain remote for the duration of their project, which is great if moving is not an option. It does seem like even for the studios that are opening, most employees only work 2 or 3 days in the office, the rest are from home.
What are some of your favorite activities to do when you need a break from animating and looking at screens?
Going for a walk or run. Fresh air and letting my eyes get assaulted by the sun (just kidding, definitely wear sunglasses and protect those peepers!) But really, getting outside and getting some exercise.
What is your favorite asset you’ve worked on that’s in your portfolio today?
The Jurassic World Raptors. They represent what is to me the epitome of being a production artist, back and forth with ingesting notes from executives, trying out different iterations for months to land on an approved look. In the end, the final look was sent to Steven Spielberg for his approval. That was a pretty big win in my book, and I was so proud of how they turned out!
You start your lectures with brief professional advice, so by the end of the course, your students have heard about 10 pieces of important advice. If you could pick your favorite piece of advice, which would it be?
I talk a lot about notes, I have 3 different related Business Advice segments about notes, and
pretty much they all culminate in taking notes from your supervisor. It’s probably the best advice I can give artists on how they can continue to be successful in production. Taking notes openly, not arguing them or fighting them, and seeing the “needs of the show” rather than their own feelings about an asset is probably what will do the most for their longevity on a team.
What’s next for you? Are there any other facets of Animation/VFX you want to try out?
I think to stay inspired and fresh, I’ll always bounce around. It’s been exciting to transition from animation to VFX episodic, I’ve worked on a ton of high-budget shows because of it! I don’t know exactly what I’ll do next, because opportunities are always changing and different sectors flourish at different times, keeping my options open will probably mean I’ll potentially do something interesting and different. Maybe I’ll combine my knowledge of games and Unreal with animation, and venture down a real-time or virtual production opportunity. Time will tell!
Sign up today to learn from industry-leading CG Artists like Lorin in our online accredited courses (ACCSC). Apply today at animschool.edu . She is currently teaching Materials and Texturing.
When first sculpting a character in Zbrush, it’s important to start with blocking! Beginners can get intimidated by sculpting when they see professionals start their sculpts using highpoly shapes. The blocking method allows beginners to start with low resolution shapes and work their way up, adding more and more definition as you go. It’s important to spend time getting things right during this beginning phase of building a character. Having an accurate foundation when you are in low resolution blocking mode will ensure that the character continues to be accurate as you add more definition..
In this lecture below taught by AnimSchool Instructor Christopher Wright, you’ll notice he mainly uses the Move brush tool. Christopher keeps things simple but very precise, ensuring he’s referencing the concept art along the way. Referencing the concept art as you go, ensures that you have the correct proportions for the unique character you’re building. As Christopher discusses, because the geo is low resolution, moving verts is easy and fast.
While in the blocking phase, it’s also vital to rotate and look at the objects from different angles, making sure that it resembles a human torso from all sides.
In this lecture taught by AnimSchool Instructor Christopher Wright, we learn about blocking the torso in a character model. Using mostly the Move brush, Christopher shows us the importance of starting simple, getting the proportions correct and adding more definition as you go.
For an in depth analysis on setting up hierarchies in maya be sure to watch Christopher Wright’s full lecture
Download AnimSchool’s Feature Level Rig for Free and start animating today!
Start your 3D Animation Journey in our next 11-week term at animschool.edu
Why should you care about having good hierarchy and staying organized in 3D modeling?
Having good visuals can seem to be the most important part. If it looks good, why worry about what’s going on in the back end, right?
Trouble is, a 3D asset is touched by man hands (and computers) in its route through the animation pipeline.
The first place to start is in naming.
Naming
Naming can vary from modeler to modeler but has to follow some key rules.
1. Names need to define the object
2. Names need to be unique
If there’s 100 bolts on a robot, each bolt needs to have a unique name. This is where padding comes into play.
Padding
Autodesk provides a great definition: Padded numbers are frame numbers that have a specified number of digits, where 0s are used to fill the unused digits
For example: Four digit padding is something like bolt_0003 or leaf_0010
Making sure names are easily readable is also important. This is where Camel Casing comes in.
Camel Casing
When there is more than two words to describe an object, lowercase the first letter of the first word and capitalize the first letter of the words proceeding the first.
Example: pinkyFinger or largeRedBall
Once naming is complete, it’s time for group.
Select Edit > Group or press Ctrl + G
Groups can be made when thinking what objects need to move together like the neck and the head or the arm and the hands.
Pivot Placement
Next task in setting up a good hierarchy is pivot placement.
One must consider where objects rotate from. The feet rotate from the ankle area.
Luis illustrates further why it’s important to place the pivot in the right spot.
For an in depth analysis on setting up hierarchies in maya be sure to watch Luis Labrador’s full lecture
Download AnimSchool’s Feature Level Rig for Free and start animating today!
Start your 3D Animation Journey in our next 11-week term at animschool.edu
There is an old famous proverb “the eyes are the window into the soul” which simply means that a person’s eyes can betray what they are truly feeling at any given moment.
Our eyes, more than other parts of our body, make us feel “human”. As artists, they are the key to convincing the viewer that what we have created is real, emotional, and true. Eye animation is what takes an animated character from looking great to feeling real. Emotion and action begin in the eyes. When you turn your head, it is your eyes that lead the action. When you are disgusted and have to look away, it is your eyes that close first. Thought and feeling start with the eyes and then descend to the rest of the body. But how? How can you convey feelings and emotions through two small orbs of geometry? By understanding that eyes are not just seeing the world, but processing it. Take a moment and look at your eyes in the mirror. Do you see that? That small quick motion where your pupils travel across your eye and then darts to a new position. In animation, we call that an eye dart and it allows animators to quickly and simply convey that a character is truly alive.
Animschool instructor Ricky Renna in his class on Facial Performance makes it a priority to understand, analyze and execute a successful eye dart. An eye dart is not a one size fits all idea but rather the speed and frequency of an eye dart can actually determine how a character is thinking. Are they frantic? Are they scared? Are they exhausted? Maybe they are about to fall asleep and so their eyes slowly dart through the air, unfocused and hazy as their brain starts to prepare itself for oblivion. Maybe your character is searching for an answer under perilous circumstances and so their eyes are quickly darting around, searching for an answer just out of reach. If an eye dart expresses thought or action in a character, it can also be used to convey a lack of thought or control. Your character could be hypnotized, losing the ability for independent thought and so their eyes remain completely still and unblinking. An eye dart can be as complex as creating the illusion of a character attempting to perform rocket science but it can also be as simple as a technique to keep your character feeling “alive.”
But how can you animate an eye dart?
Eye darts are a series of small movements within the eye happening constantly. On a technical level these darts average between 2-3 frames and about 80 percent of the movement in an eye dart will happen in just one frame with some small settle on the rest. A two to three-frame eye dart creates a nice crisp movement to patch back into the rest of your animation. But an eye dart doesn’t just affect the geometry of the eyeball itself, it impacts and influences the flesh around it, or in this case the eyelids. To really give the impression of a character that is fleshy and real, after completing a full pass on eye darts, go back in and ever so subtly have the eyelid motion follow the eye. If your character’s eyes dart down, the eyelids should subtly follow that motion soon after. Keep in mind that animation is a tool to mimic real life and so since in real life your top lid would move more than your lower lid, use that in your animation. By taking the time to execute a thoughtful and intentional eye pass, your animation can transform from “student level” to industry professional level work.
For an in depth analysis of eye darts and eye animation on feature level scene be sure to watch Ricky’s full lecture
Every animator is different and every workflow is different – but there is something we can all agree on, hitting spline for the first time can be ROUGH.
It’s hard to see an animation that has been posed and blocked in so beautifully get destroyed by a computer. Suddenly your timing feels slow, your emotions flat and you fall into a “Spline Depression.”
Spline and Polish can be time-consuming and frustrating. Sometimes it can be hard to push through this ugly phase. For animators who work from stepped to spline, turning your curves into vectors for the first time rarely looks the way you planned in your head. But know that it will get better! Once you train yourself to see the small fixable details instead of the big floaty moments, you will be able to tackle your shot piece by piece and uncover the integrity of your work.
Simple tips for entering Spline:
When you start to spline, make sure to break your shot into manageable chunks. You can do this by breaking your shot into small amounts of frames, or by focusing on one small piece of the body at a time. No matter which method you choose, remember that all movement starts from the root, and by defining the movement of the root first you will avoid counter-animating down the line.
No matter where you are in your spline process, don’t forget the power of the arc tracker. Animation is all about creating fluid lines of movement, and by tracking your arcs throughout your animation, you will be able to quickly find and fix both timing and spacing. This can be done by using a built-in tool in Maya such as Animbot’s Motion Trail, but if that’s not for you, you can even track your arcs with an expo marker on your screen.
It’s easy when hitting spline to allow the computer to take over and to make choices for you as an artist. Don’t let that happen! Trust your eye as an artist and make sure that your character is moving the way YOU chose it to, and not the way the computer interpreted.
This might be the hardest tip of all, It’s okay to delete keys! Not only is it okay, but sometimes it can be necessary. If something doesn’t look right, and you cannot figure out why, delete your keys and see where things are going wrong. It may seem destructive at the moment but it will save you time and effort down the line.
Lastly, make sure to actually look at your graph editor after you hit spline. Sometimes the computer will take your keys and create curves that you never intended to create. By using your eyes and utilizing tools like auto and linear tangents, you can quickly find areas of concern and adjust your keys to create smooth motions.
For more animation tips, watch our video below where AnimSchool instructor Martin Scotto explains in depth the 6 tricks he uses to avoid losing momentum when entering the Spline phase.
It’s time to walk the dog…or at least the quadruped. Let’s be honest, learning how to animate a human on two legs walking is scary, much less a creature on four legs!
So how do you break a quadruped walk down so that it’s approachable? Well luckily, quadrupeds aren’t that different from bipedal or human characters. Essentially a simple dog walk cycle is just two bipedal characters walking slightly offset from each other. Sound confusing?
Animschool Instructor & Professional Animator, Daniel Paul, is here to “walk” us through the doggie steps.
It’s finally the day – you have worked hard for this. You cannot hold back your excitement. You. Are. Ready! It’s your first time working with an advanced feature-level 3D character rig, which can be both exciting and intimidating.
One mistake students and even professionals make when working with a new rig is to believe that an advanced rig will make anything you animate look feature film ready. But animation is not about the rig, it’s about the animator.
What is the biggest difference between a simple rig & an advanced rig?
An advanced rig functions much like a simple rig but with a few more detailed controllers. All the most important features and mechanics of an advanced rig can be found in a simple rig. If you look at the Animschool catalog ofcharacters and rigs, one of the most popular simple rigs is a little fellow we call “Blocky.” Blocky has been used in shots as simple as taking a step, to scenes as complicated as dentists extracting a tooth from a patient. He is emotive, flexible, appealing, and most importantly easy to use. So what is it about blocky that makes him so much more approachable to start with than our Marina rig? It really boils down to one word, overthinking.
Here is a screenshot of Blocky’s picker and next to it a screenshot of Marina’s picker:
At first glance, Marina’s picker looks way more complicated than Blocky’s, but when you look closer you can see that the foundations, they are not that different. Both radiate from a central body node, both have three major spine controllers, both have IK/FK arms and legs and both have one central head controller. When students see an advanced rig for the first time they often think that they need to use EVERY SINGLE CONTROL. In reality, nothing could be further from the truth. All the additional controls that are added from a simple rig to an advanced rig are mostly for finesse work and facial emotion. The basic mechanics are the same.
At Animschool you are placed in a curriculum that strategically prepares you to animate with more advanced rigs. By the time you interact with an advanced rig, it is because you have proven that you are able to demonstrate the 12 principles of animation with a simple rig. Only then will you be granted access to the advanced rigs. This isn’t because you are suddenly expected to use every new controller, but rather because you have proven that you know how to utilize the major controls. These major controls will be in almost every rig you interact with for the rest of your career, and if all else fails – remember the bouncing ball. If you can animate a fully thought out, entertaining scene with just a bouncing ball, how many controllers do you really need to animate a compelling scene with an advanced rig? The answer is not many, so start simple and don’t overthink.
Remember when interacting with a new rig, simple or advanced, to give yourself a break, and have some fun with it. Instead of jumping into your shot and believing it will be a masterpiece from the beginning, spend a day and play around. Set up a few pushed poses or do a facial study. Treat learning a new rig like an improv class. Put a few ideas in a bowl, pull one out and give yourself 15 minutes to set your new rig up according to whatever it says on the piece of paper. This is a great way for you to get to know your rig. It enables you to gain a certain level of familiarity and comfort between you and the computer. As you do this exercise, remember, this isn’t for a shot, and it isn’t for an assignment, it’s just for you. So take the opportunity and have fun!
If you and a friend are learning a new rig together you can challenge each other to create the most ridiculous scenarios and then compete. Only after you have spent some time getting to know your rig should you then jump into actually animating for real.
Character animation is a complex art form to master since it combines so many different skills. An animator needs to know body mechanics, the basic physics of motion, how to create visual appeal, be tech-savvy enough to learn Maya, and on top of all that, be able to act. They say that teaching a young animator how to create polished animation (aka clean arcs and spacing) is the easy part. The thing they’re really looking for when reviewing reels is good acting and unique, entertaining ideas. The primary skill that separates a good animator from a great animator is specificity. This is what your teacher or that recruiter is talking about when they say “be more specific!” after reviewing your reel. The ability to make specific, character-driven acting choices that feel believable comes from knowing your character inside and out. Legendary theater actress and acting teacher Uta Hagen outlines nine key questions an actor should ask themselves when developing a character in her book Respect for Acting. As an animator, answering these nine questions before you shoot reference will help solidify who your character is and inform the actions they take in your shot. Typically, an animator animating their own shot picks out pre-recorded dialogue and must come up with a situation and performance for the dialogue. Answering these questions should help narrow down what sort of situation you want to put your character in and what specific acting choices you can make for them to create a genuine performance that showcases their personality best.
1. Who Am I?
This first question covers all the basic details about who your character is: name, age, gender, physical traits, job, etc. Then you can go a little deeper and ask yourself who they are as a person: what are some things they like, what do they dislike, what do they fear, what are their goals, what are their beliefs, and what makes them unique. These questions simply serve to establish a baseline of who your character is.
2. What time is it?
You can take this literally to mean what the exact hour and minute are, or you can simply consider the season, the era, or whether it’s light or dark out. The important thing to think about is whether time has significance in how your character acts. A character would act and speak very differently in the 1500s compared to the 21st century. Likewise, someone who’s more of a night-owl may be more energetic in the evening and act more groggy in the morning.
3. Where am I?
What is the setting of your scene? Describe the country, town, building or even a specific room your scene takes place in. Consider how this specific setting makes your character feel and how this location affects how they act. Is the character cold or warm in this place? Does this place hold sentimental meaning to them, or are they just at their boring 9-5 job? The location can also play into what the character is doing while delivering the line and what props the character can interact with. The easiest way to make a shot more interesting is to simply give the character something to do. Put your character in a specific situation or place they can interact with and your acting options will automatically get more specific.
4. What surrounds me?
This fourth question continues a similar idea from the last question. It is referring to the people and things around the character. Ask yourself what is happening around the character and how your character reacts to this. If your character is making their way through a crowd of people, do they shove through others or try to squeeze past? If there is construction going on in front of them, do they plug their ears or simply ignore it? What are they doing while delivering their line and how do their surroundings affect their actions?
5. What are the circumstances?
For this question, you need to analyze your character’s past, present and future. You need to take into account past circumstances when crafting your character’s performance. For example, if your character just suffered the loss of a loved one, then they’ll probably be more solemn in your scene. They may not be hysterically breaking down like they did in the past, but they are still affected by this past experience. It is important to go into your scene with past circumstances in mind. Moreover, it’s also important to think about your character’s future and where they’re going. Continuing the previous example, your character is grieving now but if they’re working towards moving on, the character may convey bits of hopefulness in their performance.
6. What are my relationships?
What are your character’s relationships to people, objects, places, and events? How do these relationships make your character feel and, more importantly, act? Do they think of certain people or places fondly or is there tension and resentment for that specific person or place? By considering these questions, you can begin to think about how to best incorporate subtext into your performance. For instance, someone brings your character to a cafe that triggers a lot of negative memories. Your character then says, “this place is great” with a weak smile out of pure politeness when subtextually, you know she’s really saying that she would rather not be there. Knowing your character’s relationship to other characters and specific places and things is essential to building a believable performance. It will also give you the ability to create more specificity in your character’s acting once you know what they subtextually feel in that moment.
7. What do I want?
Consider your character’s goals and objectives. What is their immediate objective in the scene? What is their overall, long-term objective? Is this smaller, immediate goal working towards the bigger objects, or against it? Are these wants hidden or made obvious? Knowing your character’s motives will greatly affect their performance and will allow you to more genuinely explore the subtext of what your character is saying.
8. What is in my way?
In other words, what is preventing your character from getting what they want? These obstacles can be physical or mental. For example, if what your character wants is to be with this girl he loves, his obstacle could be that he lives too far away from her (physical) or he is too afraid to communicate his feelings to her (mental). When creating a situation for your character, consider obstacles that are authentic to the situation and relatable to the audience. Conflict is one of the most important pieces of any story, because it is the aspect that adds entertainment. A good story comes from establishing a situation and characters, then putting them into a situation that will showcase who they really are and in some cases, cause the character to change who they are. You need the conflict or disruption in the character’s everyday life in order for the audience to be interested in the story in the first place.
9. What do I do to get what I want?
This final question more or less is a culmination of all the previous questions you answered about your character. What actions (physical or verbal) does your character take in order to overcome the obstacle and achieve their goal. After analyzing who your character is, what they want, and what’s in their way, you can now make a very informed decision about how that character will act in your scene. You use what you know about your character, their situation, and their goals in order to make believable, specific acting decisions that will set your performance apart and bring it to the next level.
For more information about how to create top-notch acting in your animation, watch our video below where AnimSchool teacher Scott McWhinnie talks about what he considers “good” acting.
Join our next 11-week term at https://animschool.edu/