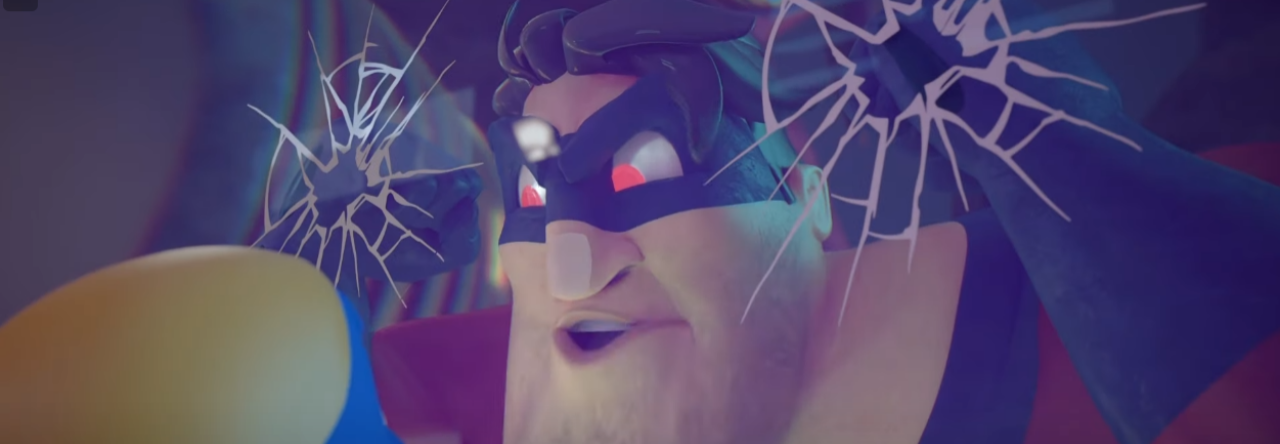
AnimSchool student Jonathan Gibney discusses his experience and walks through the process of animating his shot featured in the 2024 AnimSchool Student Showcase. Using audio of Willem Dafoe’s monologue from The Lighthouse (2019), Jonathan explains how he crafted a villainous pirate performance.
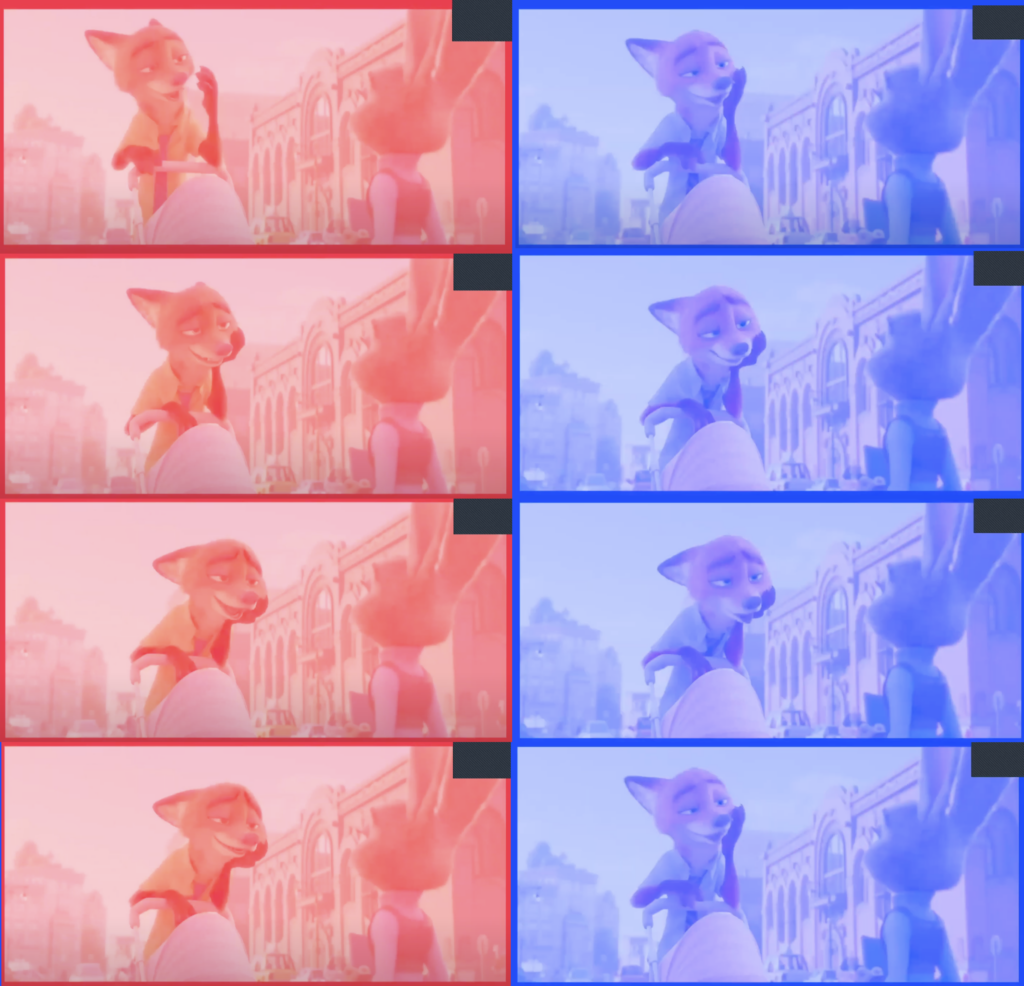
Jonathan explains that, while he filmed a reference video for his animated shot, much of what he actually used is not on video. Rather, if he needs to, he will simply stand up from his desk and act out the shot in order to understand first hand how certain body parts move in the scene.
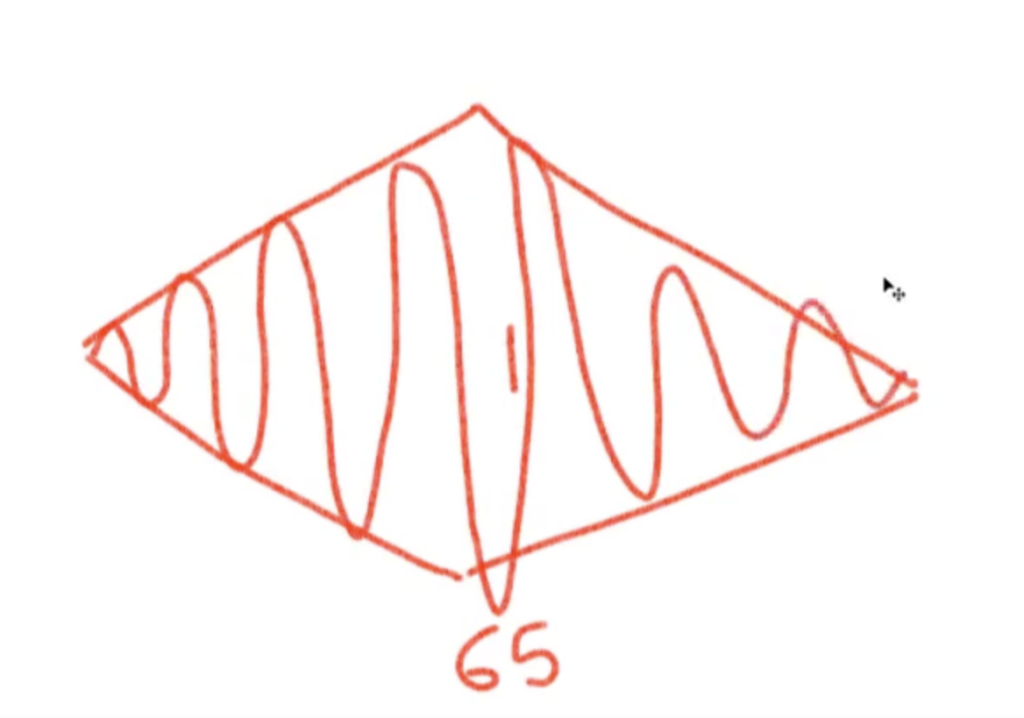
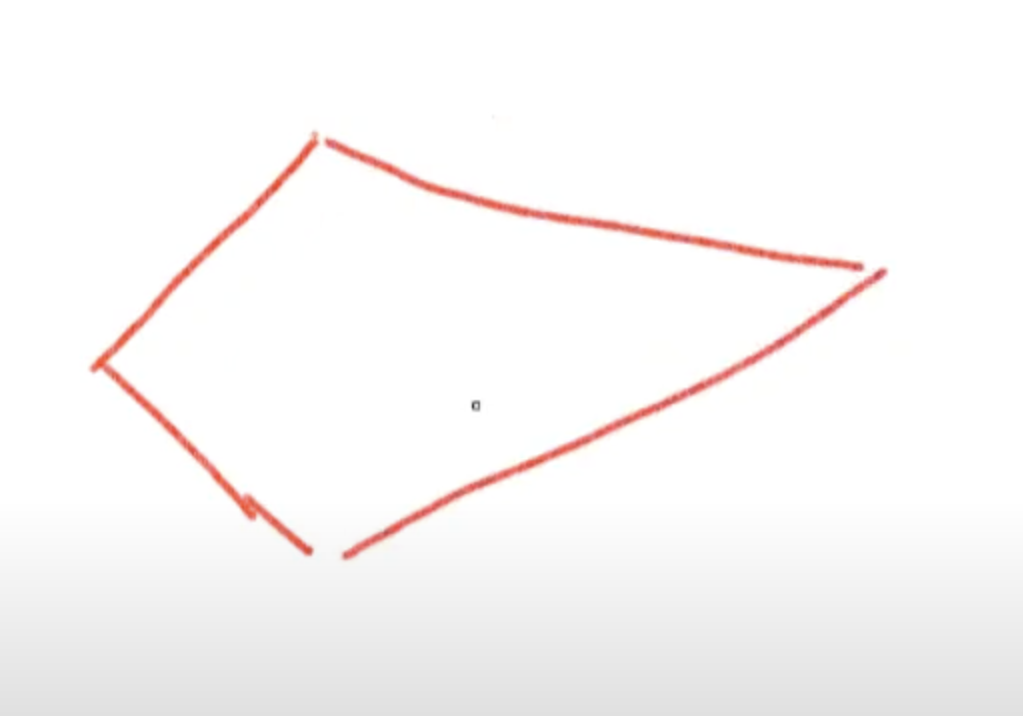
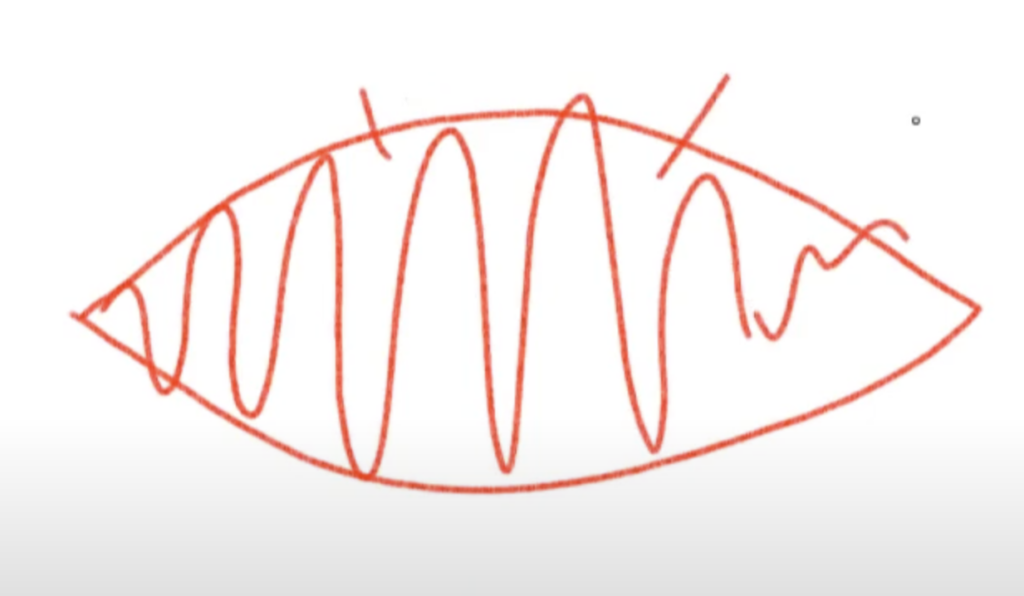
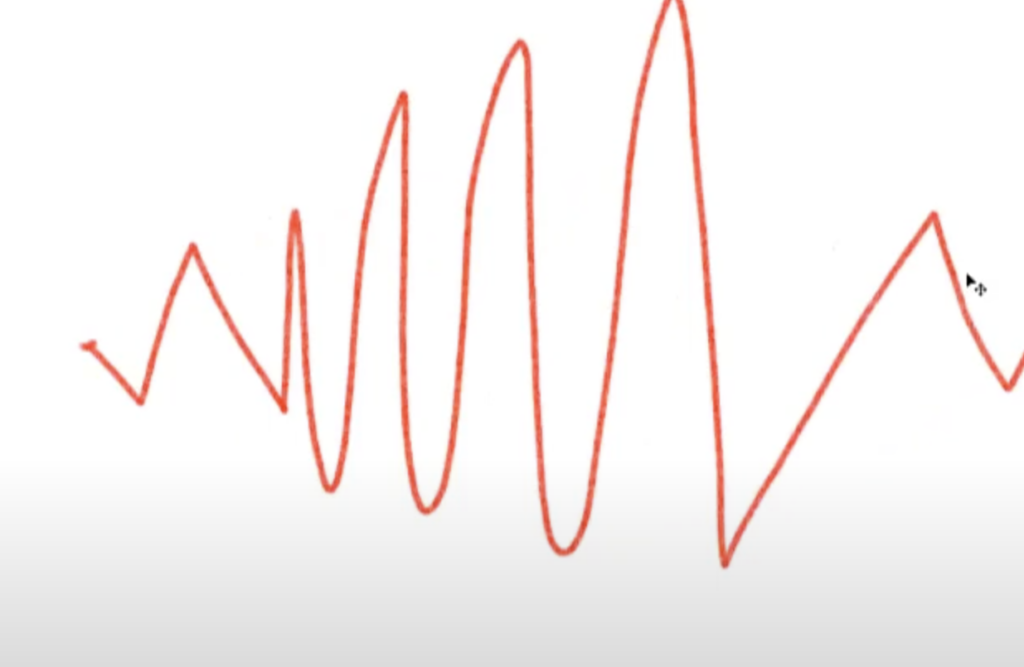
For Jonathan, the biggest challenge within the shot was grappling with the moving camera, as it affected animation arcs and screen space. In as early as his blocking phase, he had the camera movement planned out to allow for more freedom with the character.
To create an antagonistic character with villainous qualities, Jonathan and his instructor bounced various ideas off one another and adjusted the animation. Jonathan mentions that, in the beginning, the villain was simply going to cut the rope early on, immediately dropping the other character into the ocean. However, this was later changed to have the villain hold on to the rope after cutting it and deliberately releasing it later to maintain tension, play with shape language, and reflect how the choice—and life of the other character—is in his hands.
Watch his featured clip below:
Watch the full AnimSchool Student Showcase Livestream here:
At AnimSchool, we teach students who want to make 3D characters move and act. Our instructors are professionals at film and game animation studios like Dreamworks, Pixar, Sony Pictures, Blizzard & Disney. Get LIVE feedback on your Animation from the pros. Learn more at https://animschool.edu/