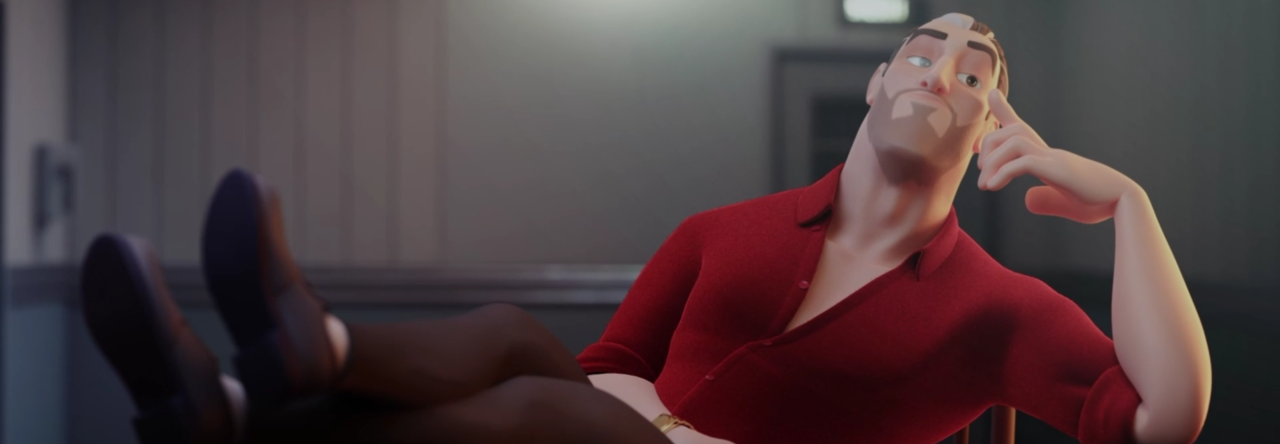
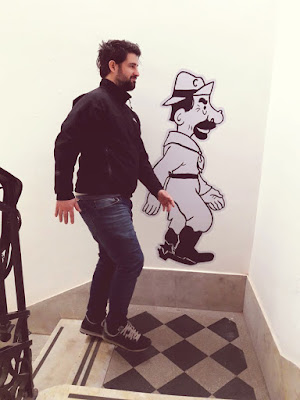
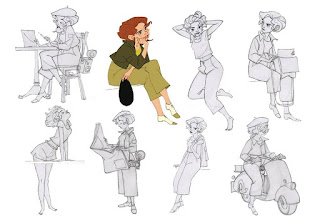
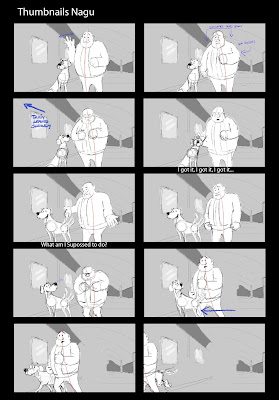
Today we have an interview with AnimSchool graduate, Harrison Smith. He has been involved with Feature Films like Hotel Transylvania 3, Spider-Man: Into the Spider-Verse, and is now currently at DreamWorks Animation working on Abominable.
Thanks for taking the time to sit down with us Harrison!
 My background in animation is really really limited. I went through middle school and high school a little home school, but I was more self-taught, while in high school and middle school – but then at the end of that I just jumped right into AnimSchool. But what got me into animation is I was super young and, you know whenever you watch a film it’s just really exciting, and I felt like I connected to the characters – and it’s like acting, but, you don’t have to be in front of the camera. Which I really like.
Do you have any favorite movies that or artists inspired you?
Yeah, a bunch of the 2D stuff is what really got me into it; All Dogs Go to Heaven is one of my all-time favorite animated movies – I don’t know why, but I love that movie… it was just awesome. Titan A.E. as well. I’m a sucker for Don Bluth films, even though they’re kind of over-animated. But I saw that stuff when I was younger and I’ve just been hooked ever since. And it feels like animation is what I was born to do. So I finished high school, and then right afterwards I joined AnimSchool, and I just went through and pounded through the courses; did a ton of animation, and right after that I got into the industry.
So what are some of the projects you’ve worked on?
The first project was Hotel Transylvania 3. I rolled onto marketing for that show after that, and then shortly after my contract was done I went to work on Spider-Man: Into the Spider-Verse and worked on that, and then I got a call from DreamWorks, and now I’m on Abominable.
So what were some of the favorite shots that you had in those projects – Or do you have a favorite character from those movies?
 |
| Property of Sony Animation |
The favorite character that I did for Hotel Transylvania was Harry 3 Eyes and all his tentacles. I had to animate his tentacles by hand, and there were 6 of them, and they were flapping crazily and it was very rig-intensive, even though it looks super simple. But I felt so excited completing Harry 3 Eyes. And on Into the Spider-Verse, it was Gwen Stacy, hands down. She was one of the most appealing Spider-Man rigs I’ve ever seen. Her character was awesome and more unique and kinda ‘punky’. I animated one shot with her “webbing” through and kicking a thug, and it was super dynamic and action-packed. I had such a fun time animating her, and making her feel super powerful. So I just really enjoyed working on her.
So what’s the part that you enjoy the most about your job?
I enjoy… Animation (Laugh)! It feels really good to be an artist. I know it’s cheesy, but it’s the people that I get to work with; everybody is into animation and film, but everybody also has different backgrounds, so it feels like an enriching, awesome social environment, where you get to make some really nice friends. But yeah, working in film, and basically being a digital actor, it’s one of my favorite things.
And what’s the toughest part of being an animator?
 |
| Property of Sony Animation |
So when you’re animating on a feature film, do you have a playbook for poses or speeds hit, or characteristics that you have to mimic to make sure that it stays consistent with all the other animators?
So it varies between studios. At DreamWorks they have a “Character Bible” which helps you know the character’s personality, faces, and they have libraries for set poses that help keep it all on model. And then they have character leads who come by and look at it, and check the shot before and after to make sure it looks good. Most of the time I just want to come up with a good performance with the character’s personality; And working with a character for a couple months helps you get into a rhythm of how the character is acting. And with movies like Hotel Transylvania 3 for example, there’s already 2 movies with Mavis in there, so you know her character already and you can already see what the she should act like.
What is your process, or workflow like? What is your process for taking a it from nothing all the way through to a finished product?
So it changes depending on the shot. If it’s an acting shot for instance, I look at the animatic, listen to the audio, and I look at if it has a rough layout or storyboard; just to see what the general idea is of what they want to be done in that shot and what the purpose of that shot is. Then I come up with my acting ideas. I don’t create much reference right now, but I should do more. Sometimes I do a 2D pass to get the timing for the story beats down. Then if I like where it’s at, I’ll do a blocking pass all the way through on the character. After that, I show the character lead and director to see if he likes the ideas and get approval. Once the rough blocking gets approved, I spline it out and polish it, and that’s pretty much it. Also, I normally do ‘straight ahead’ – going in order from A to B to C, because I feel like I can get a little bit more detail into it for when I spline it out.
But for something like an action shot, like in Spider-Man, it’s really hard to choreograph in a room if you don’t “web around” or explore the available space. So it’s something that’s a little more difficult. I just go straight ahead and with another 2D pass, just to get the timing of all the motions like a bouncing ball, and thinking to myself: “I want it to hit here at ‘this’ frame and then at ‘that’ frame”, and then from there I normally go straight ahead with body mechanics and auto-tangents. And then once the leads and directors pass it off, I just clean it all up and make sure everything’s fancy.
What do you do to continue learning, to stay sharp and up to date?
 |
| Personal Animation Project |
I always look around my surroundings, other people’s shots, and always studying if somebody I find does an amazing shot. I just thumb through it at work, and see what they did that I really like, so I can incorporate it into my next piece of work, and if it translates well. I also continue reading, I watch a lot of films, and studying acting, because once you get to a certain point in animation, what separates you from the next person is all acting choices, and making more complicated or unique choices, so I’m always studying films that have really good acting and trying to see what I could pull from that. And sometimes I occasionally do personal animation tests on the side at home, just for myself to keep my chops up, and continue learning that way too.
Do you have any advice for up and coming animators, who want to break into the industry?
I think if I have any advice for that, it is you just have to remember that when you’re competing for jobs like Sony, DreamWorks, and Disney, you’re not only competing with with classmates and peers, you’re also competing with people that have been in the industry for a while. So study animation as much as you can. Thumb through videos or film; anything that intrigues you or that catches your eye. Also, if you have any weaknesses or are having a hard time with a concept, just make a couple of animation tests at home and go through those to strengthen your weak points, then you can incorporate those principles and not have to ‘find’ it while you’re working on that shot.
What’s the one thing that you wish you would have known as you were first getting into studying animation?
Yeah, It’s work-intensive, but fun (laugh). If you’re super serious about animation, it’s going to be a long, interesting journey, but once you get in the industry, you find out it doesn’t matter where you’re at studio-wise, it just matters if you like the craft, and if you feel fulfilled there.
Thanks so much for taking the time to talk with us Harrison! We can’t wait to see Abominable, and all the other great films that you’ll be working on in the future.
Harrison Smith Demo Reel
Looking for the best 3D Animation schools? For more information about AnimSchool and our online animation programs, visit us at www.animschool.com

