When it comes to creating compelling animation, strong posing is everything. But crafting great poses isn’t just about technical skill—it starts with understanding character. Effective posing is a storytelling tool, and every pose should say something intentional, emotional, and clear. In this clip from a live AnimSchool lecture, instructor Tyler Kakac talks about how to create appealing, interesting poses that are genuine to who the character is using tilt, rhythm, and twist.
Before even touching a rig in Maya or any animation software, animators must ask the core questions: Who is this character? What are they doing? Why are they doing it? A pose is more than a static image; it’s a reflection of the character’s personality, mood, and intent. If you, as the animator, do not have a solid grasp of who the character is, you will not be able to translate that effectively to the audience—they will not understand the character anymore than you do.
Kakac draws from The Illusion of Life, explaining how three guiding principles can shape stronger poses:
- Emotional – A pose should carry feeling. But avoid overcomplicating it: “Too much action spoils acting.” Subtle, intentional movement often speaks louder than a flurry of motion.
- Intentional – Every pose must have purpose. Mushy actions lead to unclear storytelling. Clear poses stem from knowing exactly what the character is trying to convey.
- Simple – Clarity is king. If a character is doing too much, the pose loses impact. Keep it focused so the audience knows exactly what to feel.
To add dynamism and visual interest, three elements can elevate any pose:
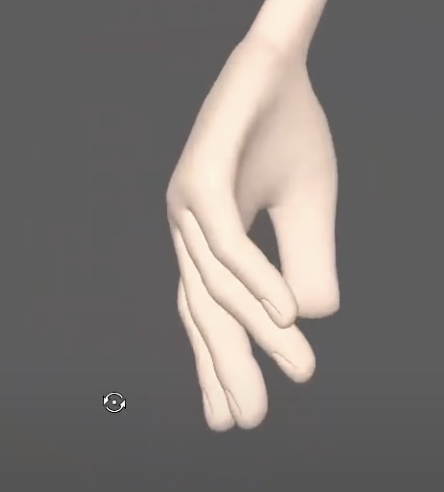
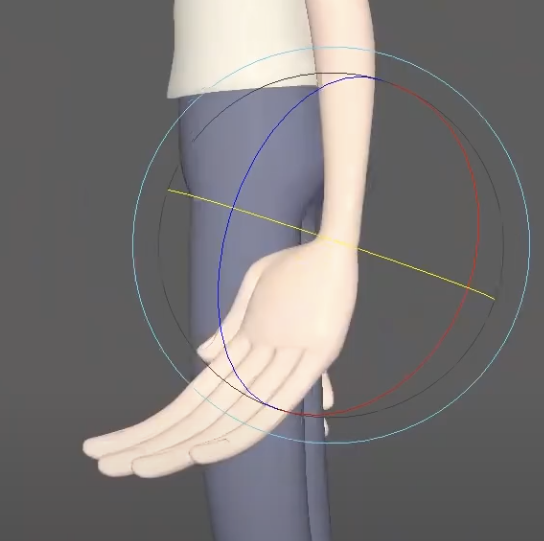
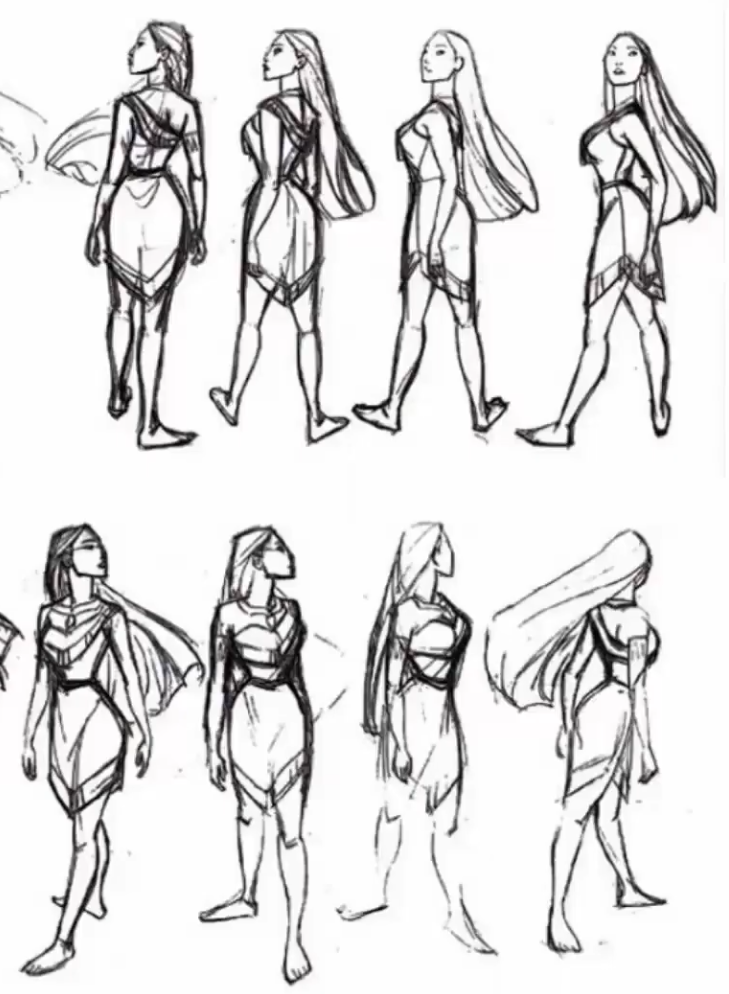
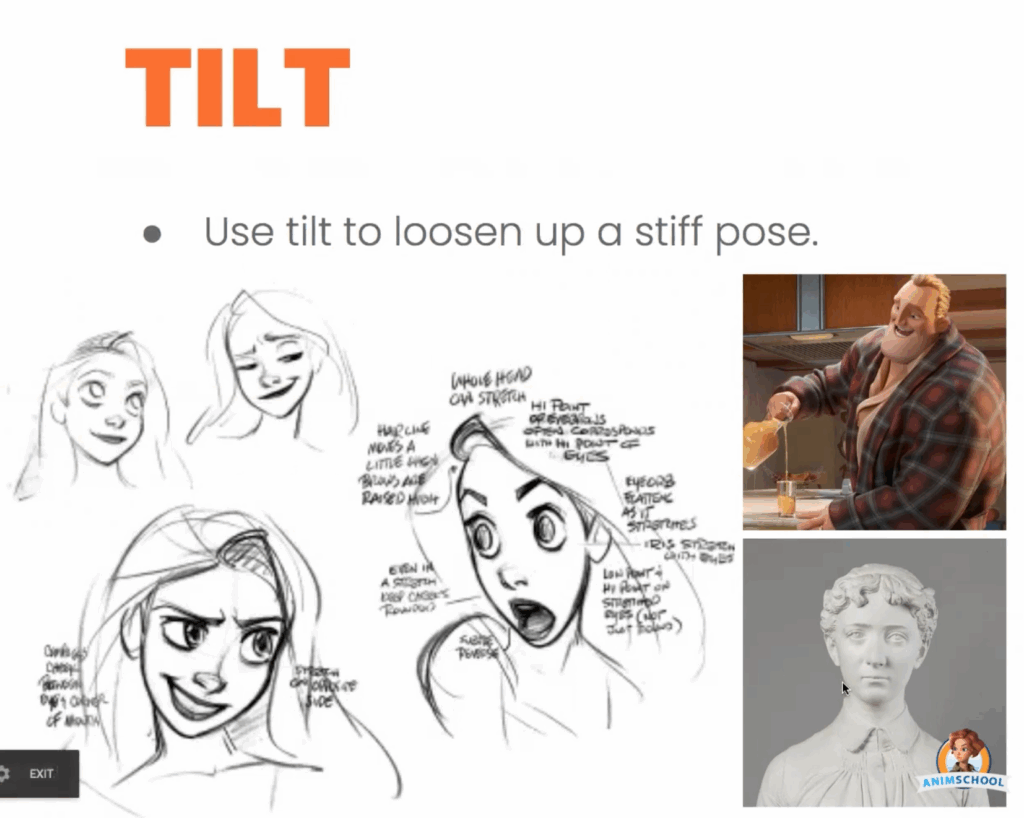
- Tilt – Breaking symmetry adds appeal. A simple tilt of the head or hips loosens a stiff pose and creates a more natural feel.
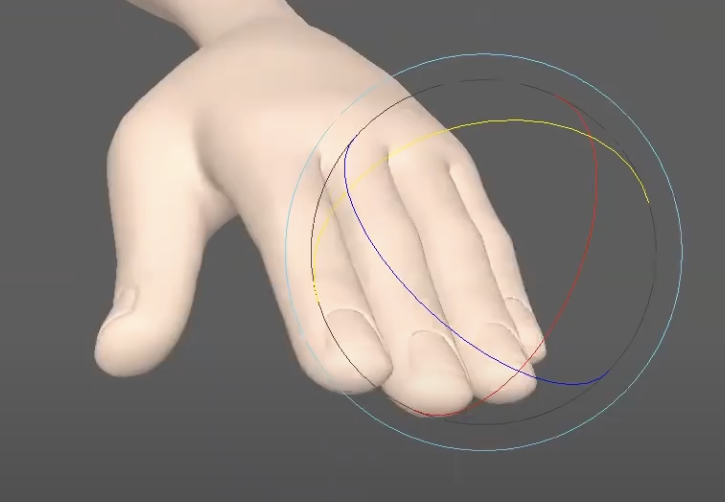
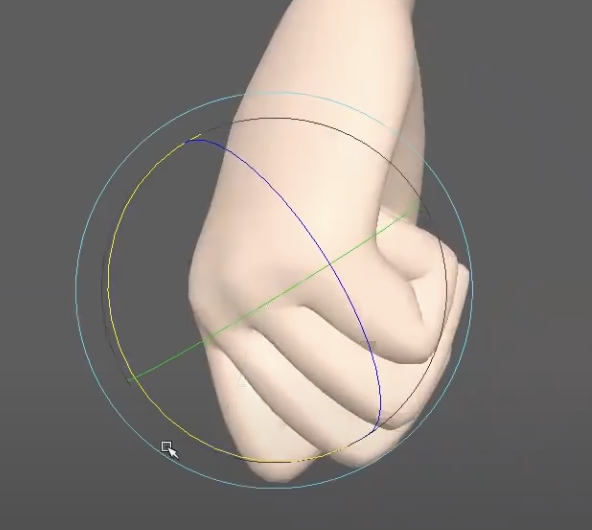
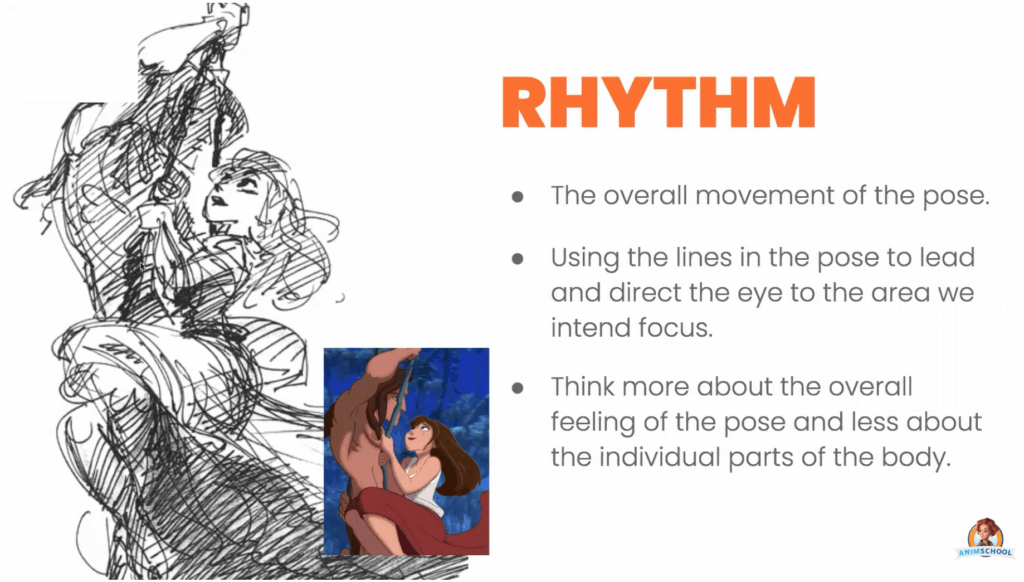
- Rhythm – Think of the body’s overall flow. Strong poses use curves and lines to lead the eye where it needs to go. It’s not about detailing fingers or facial expression right away—it’s about capturing the essence of the movement.
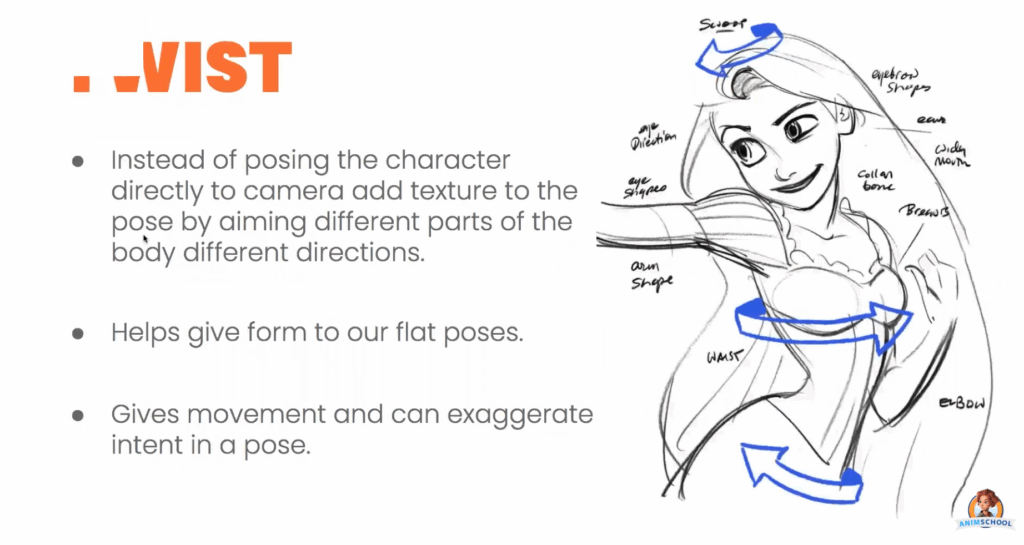
- Twist – Turning different parts of the body in varying directions adds form, movement, and dimensionality. Avoid flat, direct-to-camera poses unless there’s a good reason. Twist introduces energy and helps tell the story more clearly.
Strong posing is the animator’s first line of communication with the audience, bridging the gap between motion and meaning. When used with intention, tools—tilt, rhythm, and twist—power is added to the pose, and a single pose can not only tell a story, but elevate the entire story to another level.
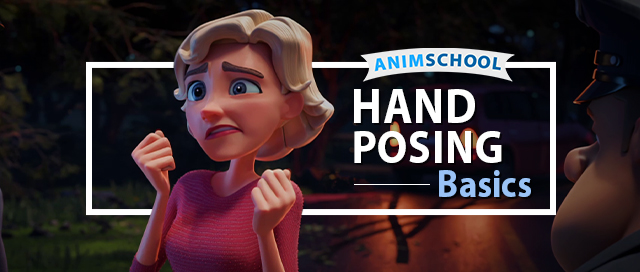
Watch the full clip from an AnimSchool lecture here:
At AnimSchool, we teach students who want to make 3D characters move and act. Our instructors are professionals at film and game animation studios like Dreamworks, Pixar, Sony Pictures, Blizzard & Disney. Get LIVE feedback on your Animation from the pros. Learn more at https://animschool.edu/