Month: August 2024

Breaking Down Breakdowns

In this lesson, AnimSchool instructor Scott McWhinnie takes us through his process of creating breakdowns that will best define a character’s motion. As Scott says in his lesson, “In CG animation, the computer is your inbetweener— and it’s the dumbest inbetweener — so it’s your job to give it all the information it needs.”

What is a Classic Breakdown Pose?

A classic breakdown is typically defined as the “middle transition pose,” giving the computer information to describe the arcs, what is leading, dragging, overlapping, etc. There can be more than one classic breakdown.


Analyzing a Scene

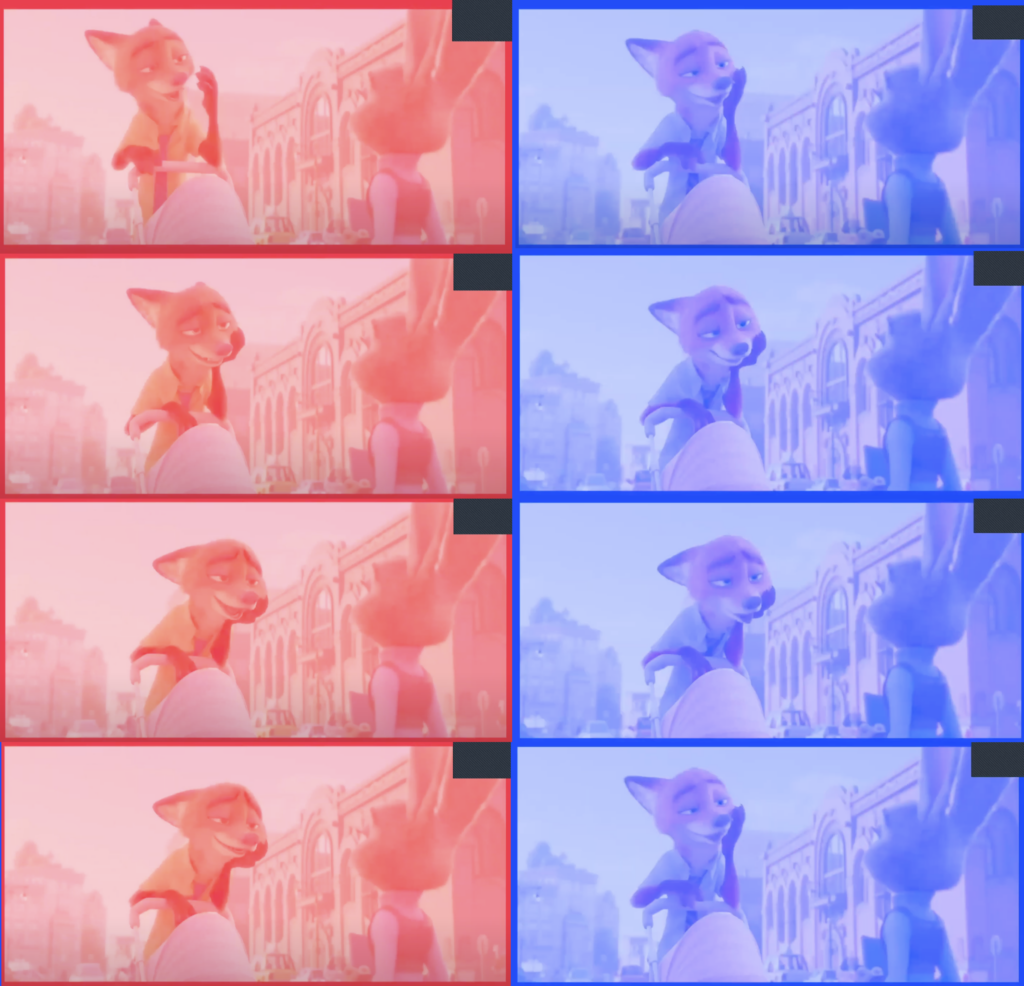
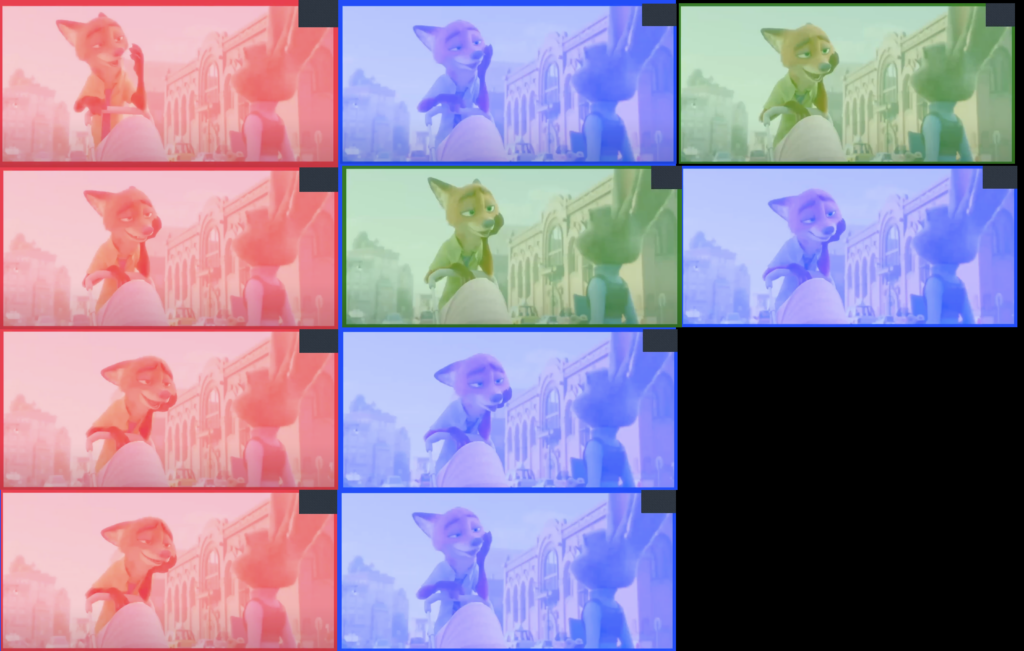
Scott offers an example scene from Zootopia (2016), in which Nick rests his head into his hand, leans forward, and speaks to Judy. The main key poses consist of Nick’s starting position, leaning in, leaning down, and leaning forward towards Judy.

To identify the classic breakdown poses, look for the poses that begin to describe arcs, what’s leading, and what’s being delayed or dragging behind.

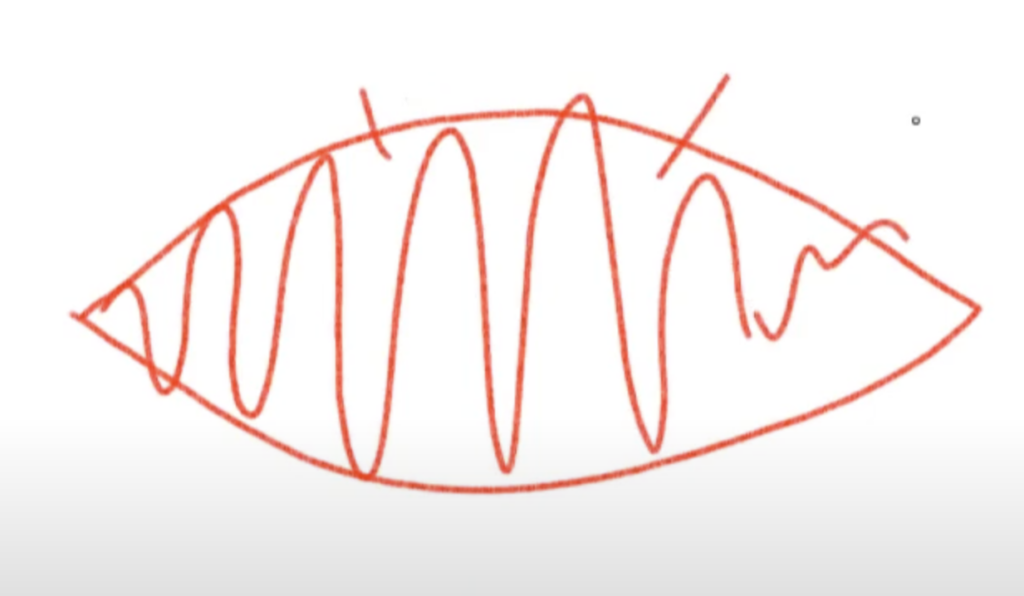
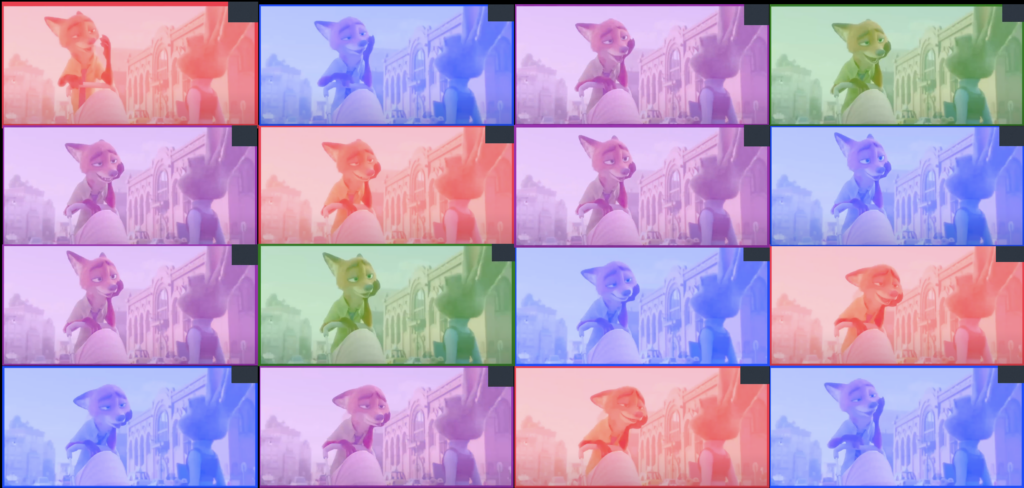
The next step is to look for antics and overshoots, ensuring that any build up of action is present and any overshoot of emotion is visible. Generally, great and intense emotions don’t come to a full stop because there simply isn’t enough time; as a result, emotions will often overshoot and settle back. The sharper and more abrupt an action, the greater the overshoot. Anticipations and overshoots are not always necessary.

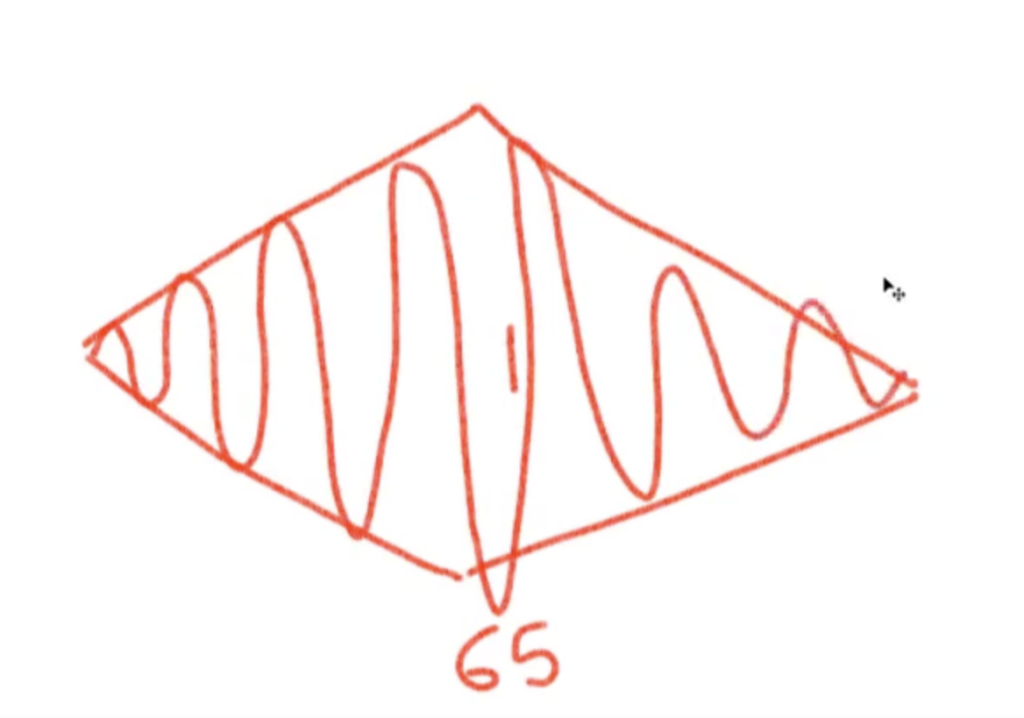
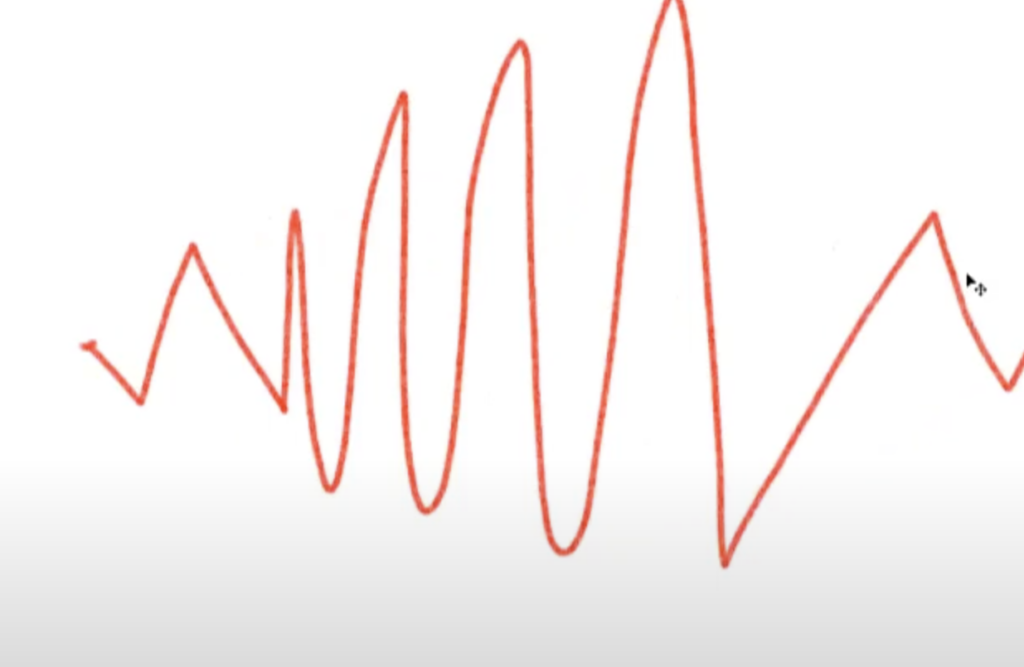
Then, it’s time to identify the spacers. Spacers define the spacing for the action. As an action starts to move from a resting state, a spacer sets of the ease out; by the same token, as an action settles into a resting state, the spacer sets the ease in. Additionally, as a character or object changes directions, the spacers help define the slow down in order for the change to occur.

Being able to identify and properly use different types of in-between poses is vital to the animation process in creating smooth, flowing actions and preserving efficiency.


Watch the full clip from an AnimSchool lecture here: 

At AnimSchool, we teach students who want to make 3D characters move and act. Our instructors are professionals at film and game animation studios like Dreamworks, Pixar, Sony Pictures, Blizzard & Disney. ⁠Get LIVE feedback on your Animation from the pros. Learn more at https://animschool.edu/

Adding Vibration to Animation

Animation is a powerful medium for storytelling and visual expression, and adding subtle details can make a significant difference in how your work is perceived. One such detail is the incorporation of vibration effects, which can bring life, energy, and realism to animated elements. Whether you’re animating a character, a piece of machinery, or any other dynamic object, introducing vibration can add depth and impact to your animations. In this video (linked below), AnimSchool instructor Louaye Moulayess explains how to add vibrations in your animation shots to better sell the struggle, force, and energy a character exerts in order to lift a heavy object.


Louaye begins by identifying the point of maximum vibration – in this case, where the character is struggling the most in order to lift the box. From there, he identifies two more points: where the start of the vibration is, and where it ends, ensuring that the beginning and ending points are at zero so as to not affect past/future poses. 

Louaye demonstrates various possibilities for the shape of a vibration curve, citing that “there are no rules.”

He then adds a key to every single frame between the start and end of the vibration, and quickly shifts each key in alternating directions to create a buildup to the apex and gradual fallout.

Add keys on each frame between the start and end, and ensure you only have the desired channel(s) keyed.

Adjust each key to create a gradual climb and fall in vibration amplitude and intensity.

Before concerning himself with the polish and exact values of each key, Louaye plays through the animation to get a feel of how the vibration looks, and then begins to slowly adjust. Louaye recommends to use check your animation using playblasts in order to see the subtle movements of the vibration. 

Louaye finishes off the animation by demonstrating how to copy and paste the vibration to another control using animation layers, citing to be careful about what controls are selected and knowing specifically what is transferring. In this case, he copied the vibration of the head’s gimbal rotation control onto a knee pole vector translation control, ensuring that he tests the animation and makes necessary corrections, such as scaling down the amplitude of the animation curve.

Incorporating vibration into your animations can significantly enhance their dynamism and realism. Whether you choose to manually animate each frame or use automated techniques, the goal is to create a believable and engaging effect that complements your animation. By mastering vibration techniques, you can add an extra layer of detail that elevates your work and captivates your audience.


Watch the full clip from an AnimSchool lecture here: 

At AnimSchool, we teach students who want to make 3D characters move and act. Our instructors are professionals at film and game animation studios like Dreamworks, Pixar, Sony Pictures, Blizzard & Disney. ⁠Get LIVE feedback on your Animation from the pros. Learn more at https://animschool.edu/

Cleaning Up Curves: Splining 101

Understanding the basics of splining your animation is key to crafting a smooth performance. AnimSchool instructor Ricky Renna explains how to spline a shot for beginner animators by demonstrating his method, in which the first step is cleaning up curves in the Graph Editor.


Before splining, Ricky recommends to ensure that your animation is stepped with keys on at least every three or four frames. Depending on the action, you may be able to get away with keying every five frames; however, the more keys you have, the more accurate your blocked animation will be to the final result. 

When you are ready to spline, select all of your keys and controllers and switch them to auto tangents. Ricky explains that he prefers to start cleaning up with the “biggest” controllers, such as the body and gimbal controls. He also mentions that he will split up the animation into sections and fully spline them one section at a time, rather than splining one controller through the entire animation, then moving on to the next. One section may range from 30-40 frames; however, depending on the animation, it may make more sense to split it up according to when one action ends and another begins, resulting in varying lengths.

Before cleaning up the curves – note the overall shape of the curve

In the Graph Editor, the key is to look for smooth curves. Ricky explains that he simply addresses one channel curve at a time before moving onto the next: Translate X, Translate Y, Translate Z…

After cleaning up the curve – note the reduced keys and smooth shape

As you delete and rearrange keys, consider how the changed keys affect the shape of the curve: is it making it more jagged? If so, try adding some keys back in to make a smoother and cleaner action. Keep in mind that one of the most important aspects is whether or not your animation reads well: does adding in an extra key actually affect the feeling and believability of the overall animation? Don’t overcomplicate things! Simplify the curve, and ensure that the intended action still reads in the easiest way possible.


Watch the full clip from an AnimSchool lecture here: 

At AnimSchool, we teach students who want to make 3D characters move and act. Our instructors are professionals at film and game animation studios like Dreamworks, Pixar, Sony Pictures, Blizzard & Disney. ⁠Get LIVE feedback on your Animation from the pros. Learn more at https://animschool.edu/