Month: June 2024

The Basics of Facial Animation

AnimSchool instructor Scott McWhinnie starts the discussion on facial animation by breaking down the face into its three main components, the eyes, brows, and mouth. 

When learning to animate, most students will slowly build their knowledge over time and, typically, facial animation is saved for an advanced level. This can lead many new animators to approach facial animation with fear and trepidation. However, just like the rest of the body, the face can be animated successfully by employing the 12 principles of animation and approaching the process thoughtfully and intentionally.


Speed

Eyes and Lids

  • Pupils and lids move very quickly, typically 1-2 frames for movement.
  • Eye darts
    • Note that eye movements are typically very jumpy (unless tracking a moving object) because the eyes need to “lock onto” something
  • Blinks
    • Down movements are quicker than ups
    • Try to offset the movements to help relieve the robotic feeling

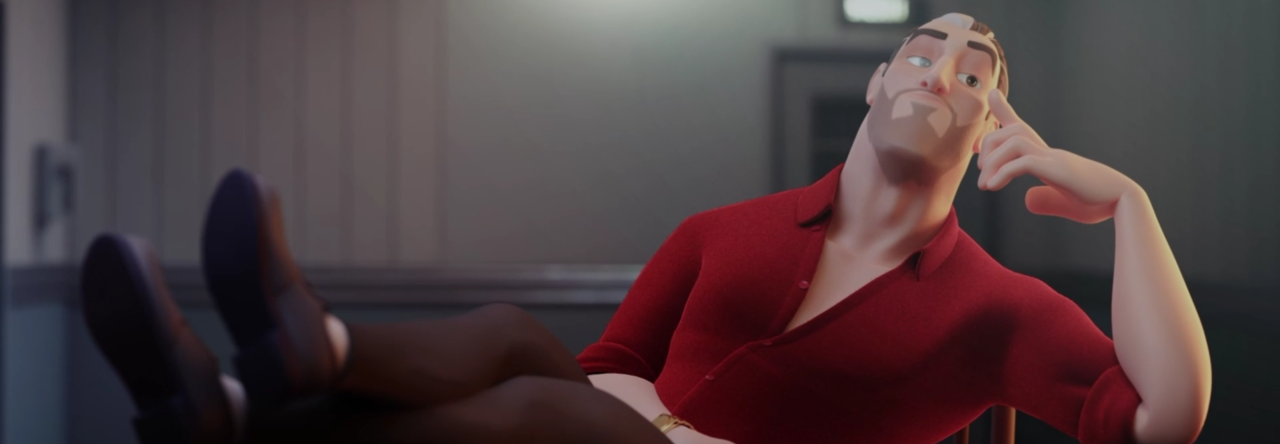
Scott McWhinnie uses examples from The Incredibles 2 to demonstrate how quickly each part of the face moves as well as how they influence one another by counting the amount of frames used for each action.

Brows

  • Brows can move slower than the eyes
  • Typically move sharply but can move intentionally slower
    • At times this could have jumpy movements if moving slowly
  • Generally staying in 3-10 frame range for speed, but can depend on the situation/context – not as hard of a rule as with the eye speed
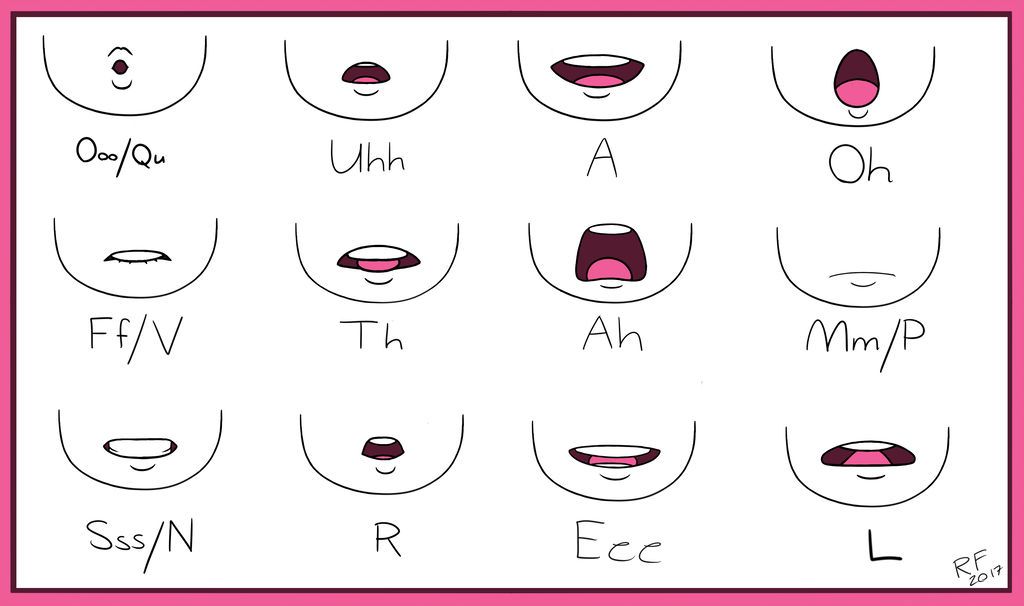
Mouth

  • Variation in speeds – depends on the situation/context
  • With lip sync, things are going to move fast
    • This is why animators try to live within an expression and animate the lip sync within that pose rather than changing the whole pose of the mouth
  • Hold the M, B, and P shapes for at least 2 frames
  • Try not to have the mouth open up for just one frame and then close (sometimes the closed shapes don’t always have to be closed all the way)
  • If the mouth moves very slowly (which it can), it will feel more deliberate and purposeful

Understanding how the major facial components independently move while influencing one another will allow an animator at any skill level to improve how they approach facial animation.


Watch the full clip from an AnimSchool lecture here: 

At AnimSchool, we teach students who want to make 3D characters move and act. Our instructors are professionals at film and game animation studios like Dreamworks, Pixar, Sony Pictures, Blizzard & Disney. ⁠Get LIVE feedback on your Animation from the pros. 
Learn more at https://animschool.edu/

Breathing Life into Idle Animations

How do you keep a character alive, when they aren’t moving? How do you enable a character to feel real and animated when they are stuck in one spot? 

Animschool Game Animation Instructor Seth Kendall breaks down a successful idle animation. The term idle often means to sit still and do nothing, but in animation, to idle means to breathe life and personality into a character in the most minute and delicate manner. To idle successfully is a true test to see if you understand what it means to create the “illusion of life.”


Preparing to Create

  • Get inspired
  • Get reference
  • Have an idea/vision of what you want to do

Creating the Idle

Seth explains that the first thing you should consider is the “base loop.” Generally, this may be some type of breathing cycle with back-and-forth movement, tensing and relaxing, etc. You’ll want something that can loop well to form a “ground texture” for the overall animation.


What to Pay Attention to

Seth breaks down a few examples of idle animations and points out notable details in each, including common elements that make a looping animation successful:

  • Good overlap: hips are driving the motion – overlap occurs as the motion travels up the spine and though the arms
  • Layers of motion: in a simple breathing idle (as seen in the examples), this may be the up/down motion of the body as the base layer, a slight head shake as another layer, accessories jingling as another, etc. Layers can become more complex as you add more specific movement.
    • Try to ensure that the layers complement each other!
  • Use variation in timing and frequency to create contrast  + draw the viewer’s attention
  • Consider adding macro variations that occur over three to six loops
    • Remember not to just repeat the fidget multiple times
  • For a more dynamic loop, blend and overlap the fidgets so that the character is never still; having the character constantly in motion can be a good way to hide the loop
  • Ensure that your base idle animation has life and variation to it

Watch the full clip on the AnimSchool YouTube channel here:

At AnimSchool, we teach students who want to make 3D characters move and act. Our instructors are professionals at film and game animation studios like Dreamworks, Pixar, Sony Pictures, Blizzard & Disney. ⁠Get LIVE feedback on your Animation from the pros. 
Learn more at https://animschool.edu/

Appeal in Animation

Appeal is often a misunderstood term in animation. It doesn’t just mean creating a cute, cuddly, and beautiful character. Any character can and should be appealing, from heroes to villains. 

Appealing animation is what keeps you watching, whether it be good or evil, beautiful or gruesome. Appealing animation captures your attention and hooks you into a scene.

What is appeal? 

Appeal is the ability to attract, interest, amuse, or stimulate the mind or emotions. Appeal is subjective. 

2024 AnimSchool Student Showcase – Carl Nyasore

2024 AnimSchool Student Showcase – Leticia Lozano

2024 AnimSchool Student Showcase – Seyed Tabatabaei

To help understand the nuances of appeal in animation, AnimSchool Instructor, Matthew Sheppard, has come up with an easy-to-remember and easy-to-navigate acronym, CRAISINS:

  • Complexity: used to support area of interest, or draw/lose attention to create clean contours/silhouette/shapes; think about what is competing for attention
  • Readability: clarity and legibility of the pose – potentially going beyond the accuracy within the 3D space to ensure the pose is effective
  • Asymmetry: weighting the face and body to support the line of action; using the “wedge” properly (opening up the character towards the action/who they are speaking to)
  • Intent: is the intention of the pose clear? Is there enough information to interpret the intent of the scene, thought, or action? Find the right balance to keep the intent of the pose/animation clear and decisive – do not be ambiguous; intent should be made clear during planning stages!
  • Silhouette: Clean up lines and contours to support the line of action/pose; hide tiny bits of information to strengthen a pose or add information to draw the audience in
  • Negative space: used to help direct the audience where to look either by creating or eliminating it
  • Simplify: reduce the information the audience sees or the amount of keys used to clarify the ideas and actions

Watch the full snippet from an AnimSchool class lecture here:

At AnimSchool, we teach students who want to make 3D characters move and act. Our instructors are professionals at film and game animation studios like Dreamworks, Pixar, Sony Pictures, Blizzard & Disney. ⁠Get LIVE feedback on your Animation from the pros. 
Learn more at https://animschool.edu/