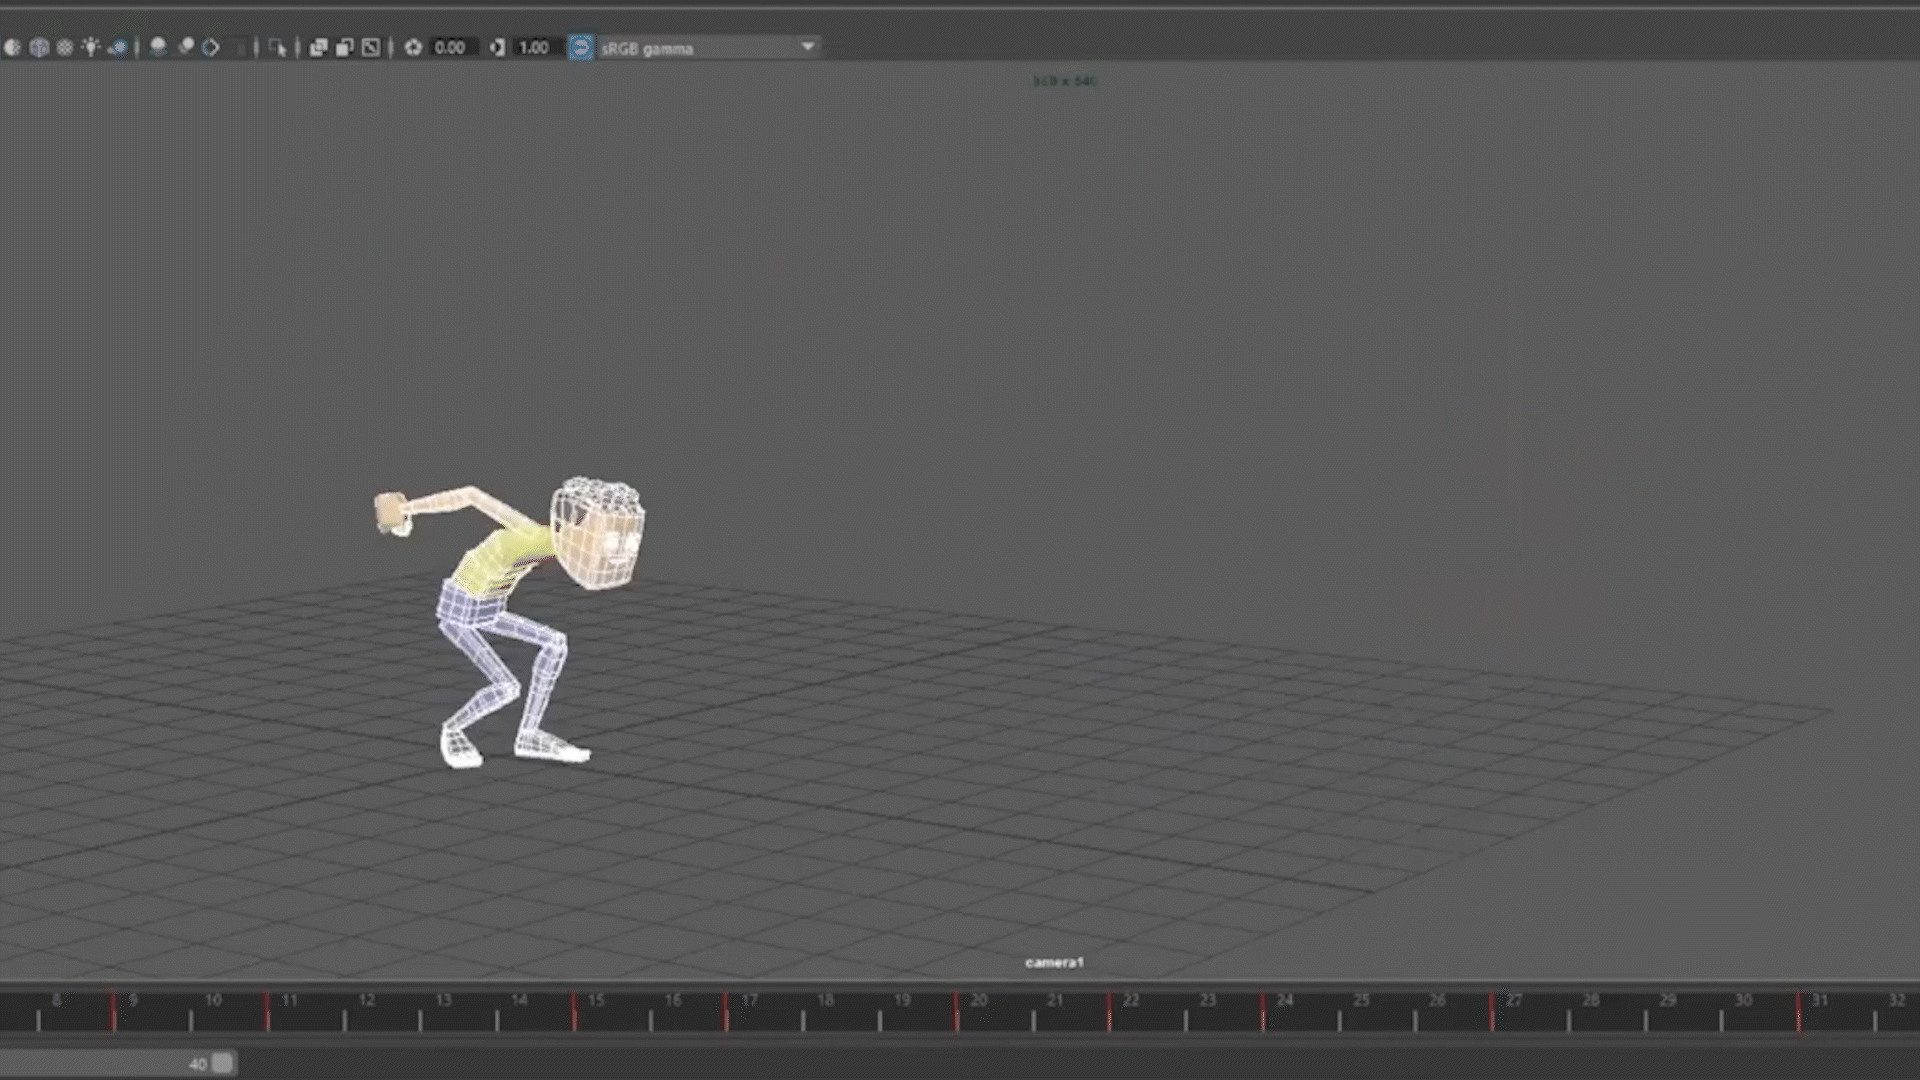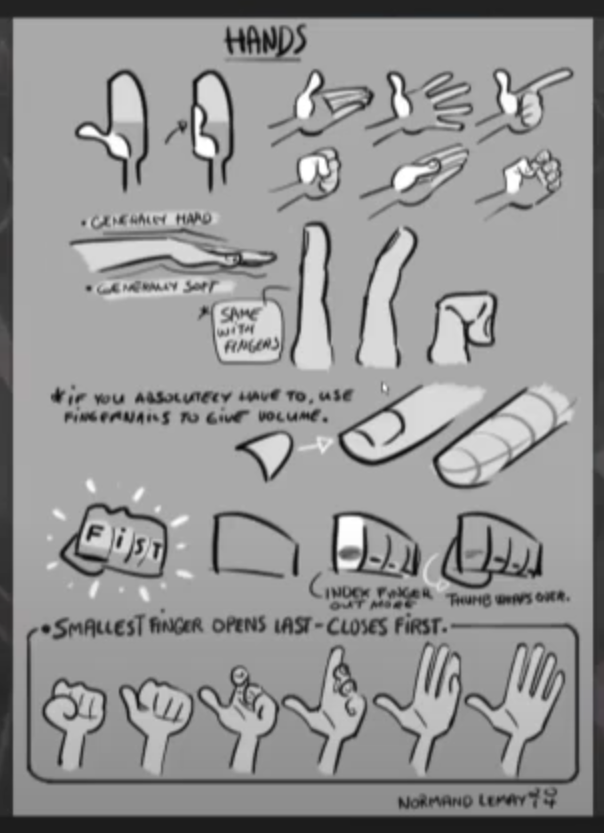
Whether it’s to make grass or hair, XGen is a powerful tool within Maya that can help take your models to the next level. In this snippet from a live AnimSchool class, instructor Koji Tsukamoto demonstrates how to get started in XGen. With Koji’s guidance, we can get a better grasp of the daunting task that is XGen, breaking down his method step by step.
XGen is Autodesk Maya’s powerful tool for generating hair, fur, and complex geometry. It has become an industry standard for 3D character design, allowing artists to fine-tune every aspect of their hair simulation—from the description and guide placement to the final sculpting.
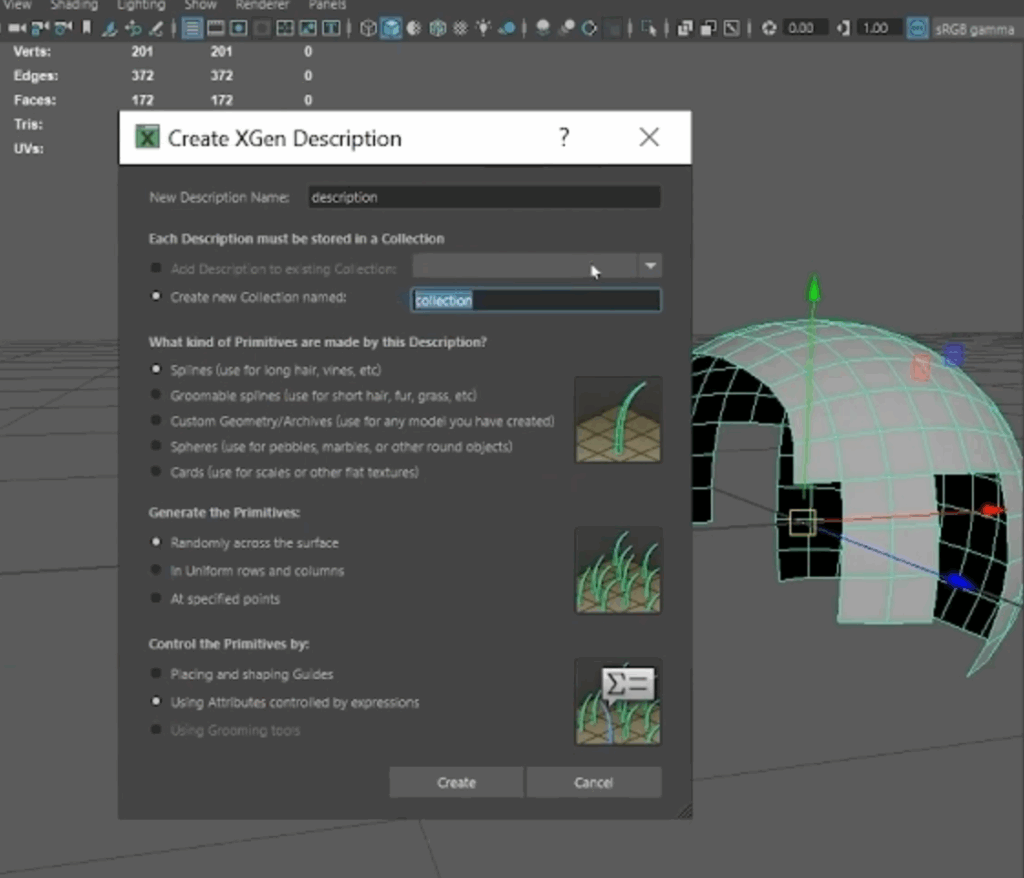
Hair creation begins by setting up “descriptions”—the building blocks for different parts of a hairstyle. You might create separate descriptions for areas like the sideburns, top of the head, or eyebrows, each with its own parameters. These can be grouped into collections to stay organized, especially when working with multiple styles or variations.
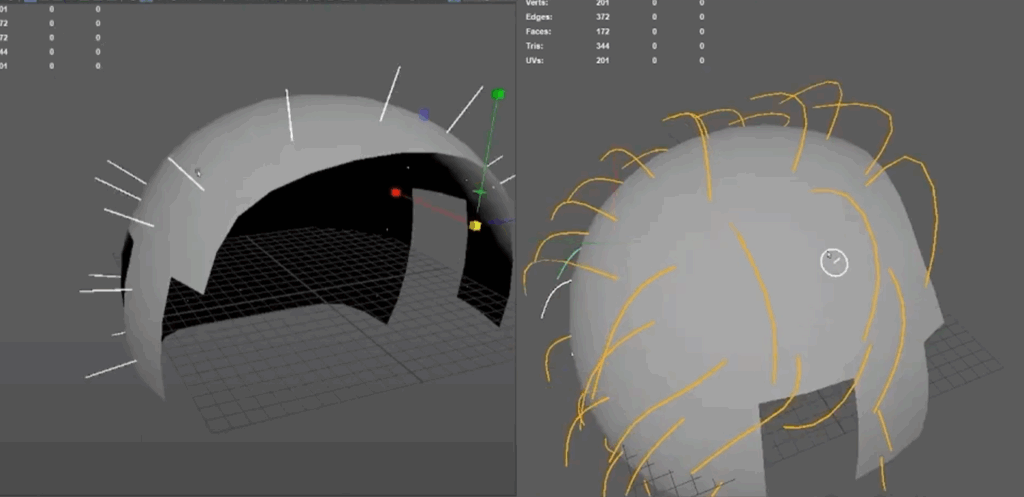
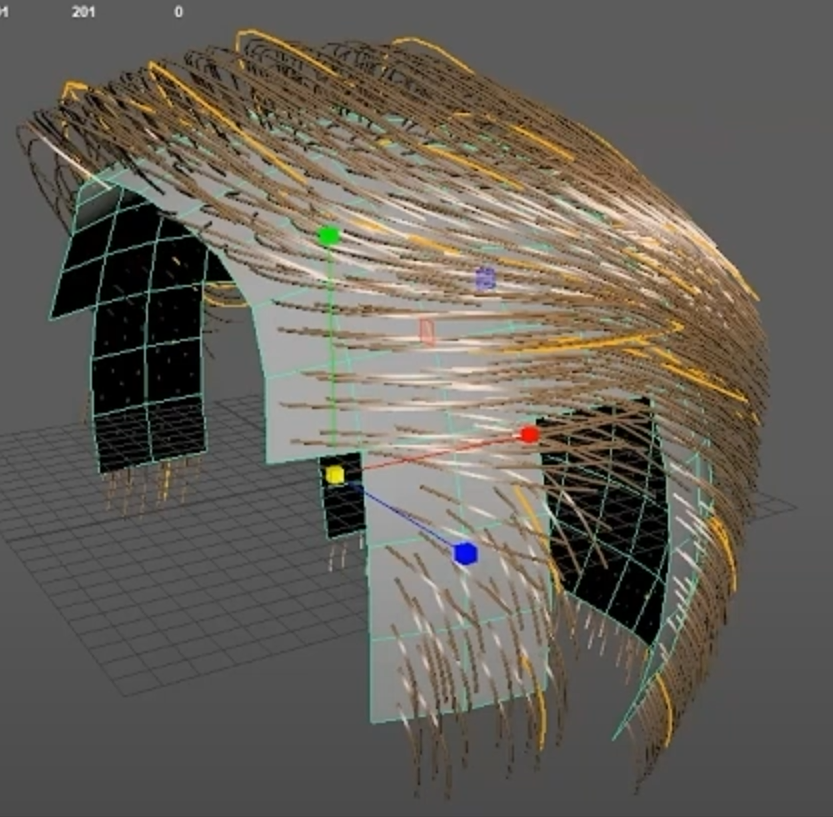
The next step is adding guide curves. These guides are essentially the blueprints for your hair, dictating its direction, flow, and overall volume. You can either scatter the guides automatically or place them manually. Manual placement is typically preferred when shaping hairlines or specific contours. The number and placement of guides determine the overall flow and density of the hair, so striking the right balance is key—too many can slow down performance, while too few can limit detail.
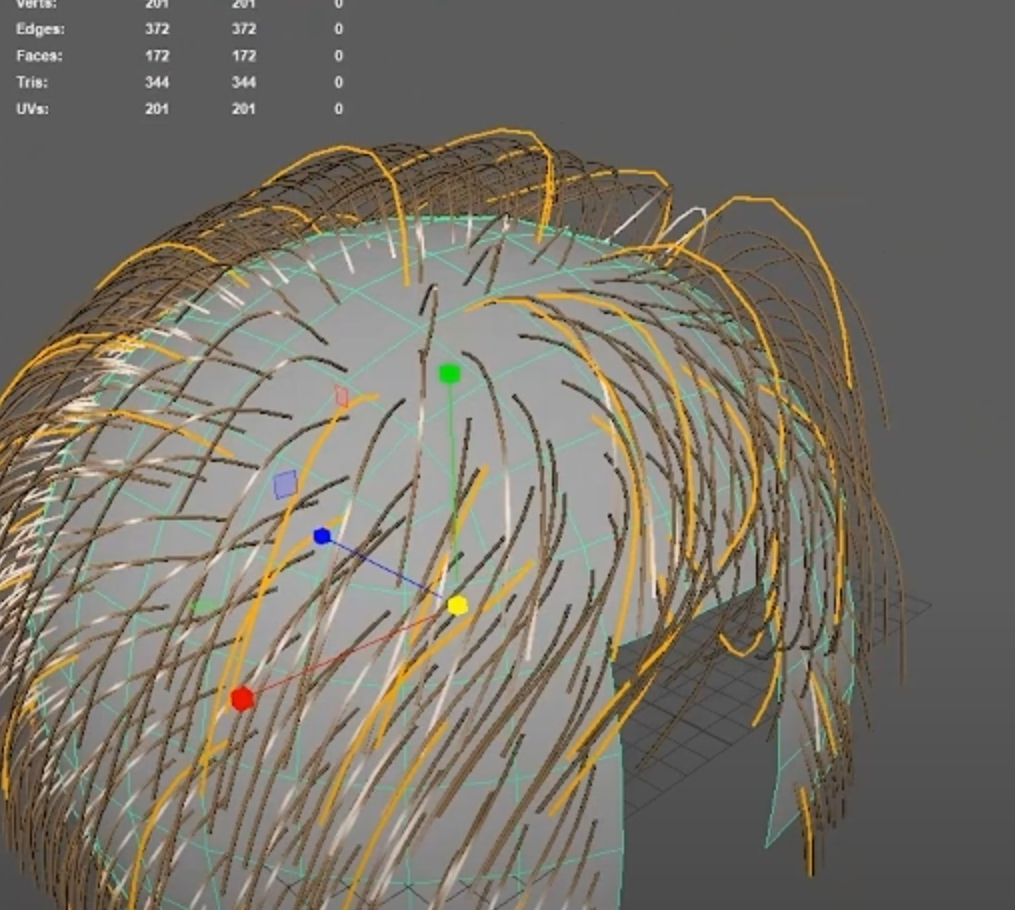
In addition to sculpting, XGen provides control over the density of the hair. While it’s tempting to max out the hair density for a more detailed look, doing so can slow down the system and make the scene harder to work with. It’s often best to start with a lower density and gradually increase it as you refine the hair’s shape and styling.
For more complex hairstyles, XGen allows you to use multiple hair descriptions for different sections of the hair. Switching between these descriptions allows you to adjust each section independently, giving you a holistic view of the character’s hairstyle. This modular approach also makes it easier to make global changes across different hair sections without disrupting the entire design. By managing descriptions, carefully placing guides, and using the sculpting and visibility tools effectively, you can achieve natural and believable hair simulations.
Watch the full clip from an AnimSchool lecture here:
At AnimSchool, we teach students who want to make 3D characters move and act. Our instructors are professionals at film and game animation studios like Dreamworks, Pixar, Sony Pictures, Blizzard & Disney. Get LIVE feedback on your Animation from the pros. Learn more at https://animschool.edu/